Crochet reindeer dolls can look surprisingly different once you move beyond the familiar brown body and red nose. Some tutorials create tiny ornaments or bag charms, while others produce soft chenille plushies, four-legged animals, seated baby reindeer, textured shelf figures, or larger character dolls designed to stand out in a holiday display.
The biggest differences are usually scale, yarn texture, amount of assembly, antler construction, and how the finished reindeer will be used. This collection compares 15 distinct approaches so you can choose a tutorial that fits your intended display, gift, or decorating plan. Rather than reproducing creator patterns, the notes below focus on practical decisions such as shape, finishing, materials, attachment points, and what to verify before you begin.
Quick List
- Crochet Little Classic Reindeer Doll
- Crochet Snuggly Plush Reindeer Doll
- Crochet Four-Legged Mini Reindeer Toy
- Crochet Low-Sew Reindeer Keychain Doll
- Crochet Chunky Rudolph-or-Woodland Reindeer Plush
- Crochet 21 cm Festive Reindeer Display Doll
- Crochet Mini Baby Reindeer Shelf Doll
- Crochet Textured Wheat Stitch Reindeer Doll
- Crochet Multi-Part Cotton Reindeer Doll
- Crochet Tiny Color-Change Reindeer Charm Doll
- Crochet Christmas Tree Reindeer Ornament
- Crochet 36 cm Large Reindeer Doll
- Crochet 30 cm Scarfed Renato Reindeer Doll
- Crochet Full-Assembly Christmas Reindeer Doll
- Crochet From-Scratch Reindeer Practice Doll
Choose the Reindeer Shape by How You Will Use It
A reindeer intended for a tree does not need the same proportions as one meant for a mantel or gift basket. Compact ornaments benefit from a recognizable face, antlers, and nose without excessive bulk. Shelf dolls can carry larger muzzles, scarves, limbs, and more dimensional antlers because they are viewed at closer range.
Four-legged designs also read differently from upright character dolls. They can work well in miniature woodland scenes or alongside sleigh decor, while a seated or upright doll generally has a stronger character-toy look. Before committing to a tutorial, decide where the finished piece will go and whether it needs to hang, sit without support, fit into a small arrangement, or make enough visual impact to work alone.
Yarn Texture Changes More Than the Surface
Chenille and other plush yarns produce a soft, rounded appearance, but the fuzzy surface can make individual stitches and small placement points harder to see. Smooth cotton or conventional plied yarn gives clearer stitch definition, which can make small facial details, color changes, and precise assembly easier to assess.
Changing the yarn from the one demonstrated in a tutorial can also change the finished scale and how firmly the doll holds its shape. A larger yarn does not simply create the same doll at an automatically predictable size because hook choice and personal tension matter too. When dimensions are important, use the creator’s stated materials as your starting reference and make substitutions only after considering how the new fabric behaves.
Plan Antlers, Facial Parts, and Gift Safety Early
Antlers, ears, muzzles, and noses make a reindeer recognizable, but they also create several attachment points where small positioning differences become noticeable. Pinning paired pieces temporarily before permanent attachment gives you a chance to compare the doll from the front, side, and top rather than judging one antler at a time.
Intended use matters as well. Dense amigurumi fabric helps keep stuffing contained, while small attached embellishments require more consideration when a project could reach a young child or pet. One featured tutorial specifically warns against safety eyes for children under three, and another includes wire in its materials, so a display version and a child-directed version should not automatically be treated as interchangeable.
1. Crochet Little Classic Reindeer Doll
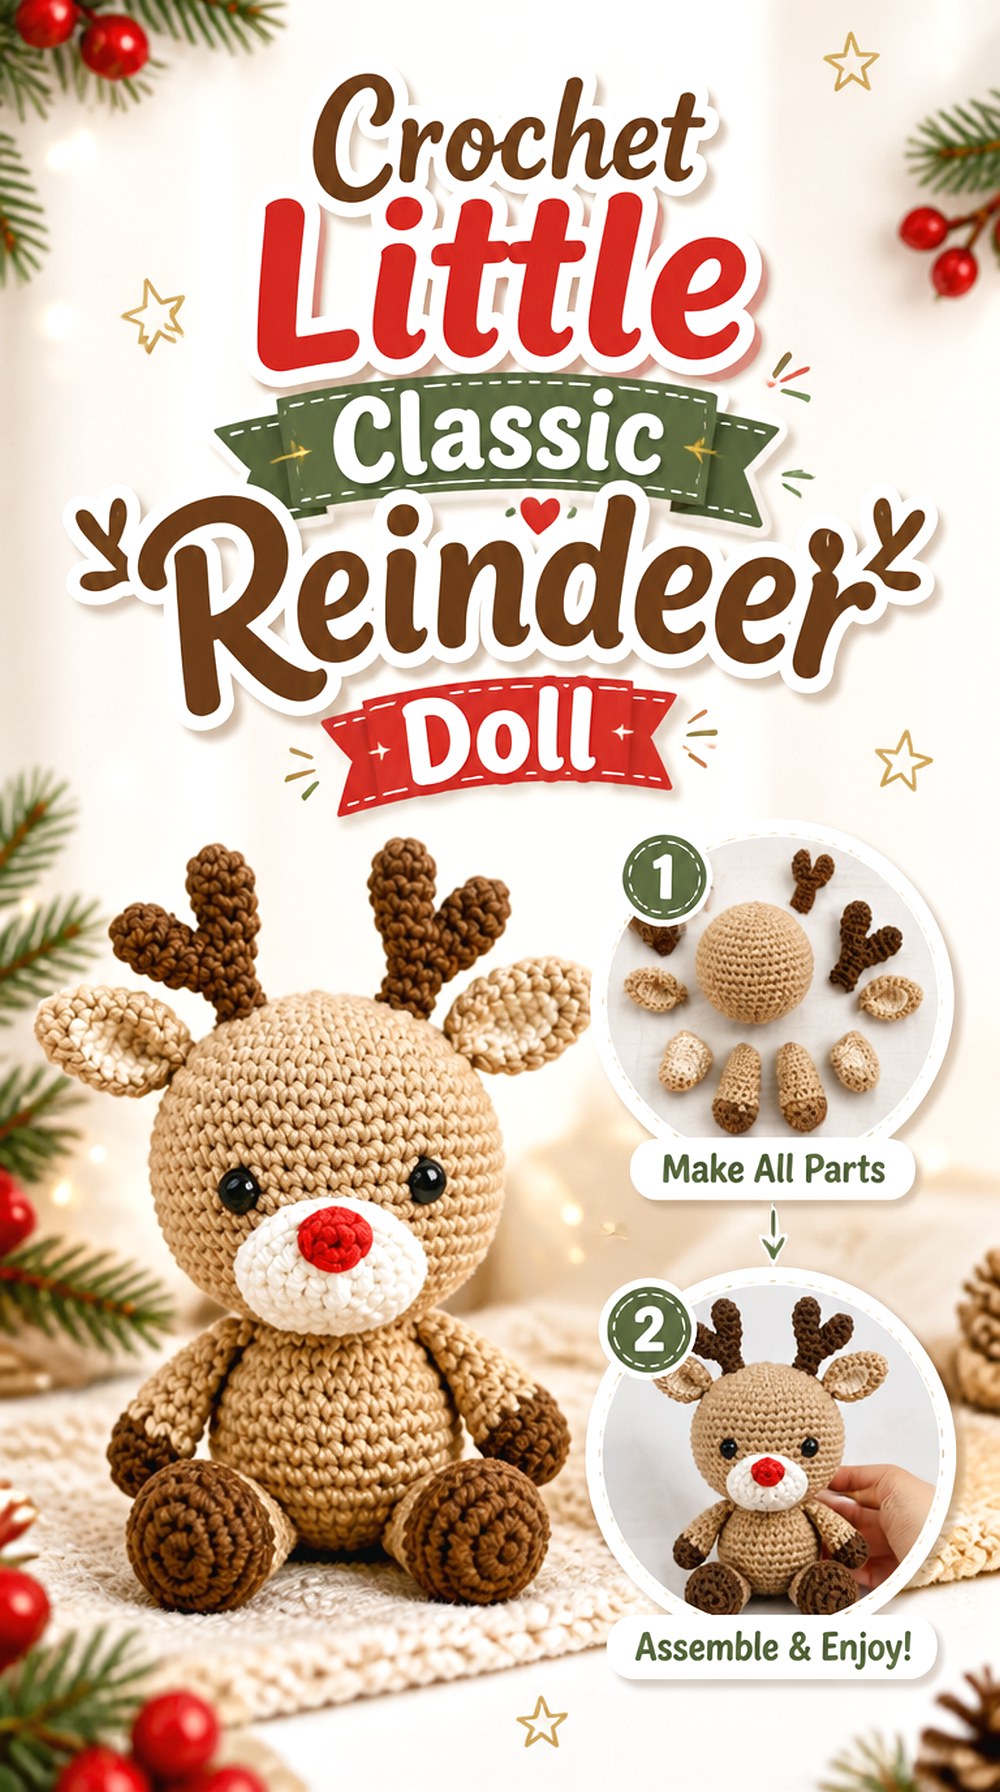
This character-style crochet reindeer is a useful starting point if you want the recognizable collection of features rather than a highly simplified ornament. Odinka Wisanindhi’s tutorial separates the project into the head and body, legs, arms, ears, muzzle, nose, antlers, and tail, giving the finished doll plenty of dimensional detail.
That construction makes this option especially relevant for crocheters who enjoy shaping and positioning individual pieces. It also gives you several places to personalize the expression without needing to change the underlying project concept. The trade-off is that finishing deserves as much attention as crocheting the individual components.
Facial Placement Has a Big Effect on the Expression
The muzzle, nose, ears, and antlers are distinct components, so their relative positions contribute heavily to the finished character. Before securing the face permanently, look at it from normal viewing distance rather than only from a few inches away. A nose that appears centered while the doll is lying flat can read differently once the head is upright.
Paired Antlers Benefit From a Symmetry Check
Rather than finishing one side completely and using your memory for the other, position both antlers and ears before final attachment. Compare height, angle, and distance from the center of the head. Perfect mathematical symmetry is unnecessary, but noticeably different angles can make the face look unintentionally tilted.
Choose This Style When You Enjoy Assembly
The number of separate character details is part of this doll’s appeal. It is less suited to someone whose main priority is minimizing sewing, but it offers more opportunities to adjust positioning and shaping during finishing. Watch the complete tutorial before assembling so you know how the creator intends the separate pieces to relate.
2. Crochet Snuggly Plush Reindeer Doll

For a softer, fuller-looking reindeer, the Rose and Lily Crochet tutorial uses Hobbii Baby Snuggle and also identifies similar plush yarn options. That material choice immediately separates this project from the smoother, more sharply defined amigurumi designs elsewhere in the collection.
Plush yarn gives the reindeer a cuddly surface and visually rounds the shaping. It can also make small stitches less obvious, so this is a better choice when softness matters more than showing every tiny crochet detail. The creator presents the project as a multipart tutorial, so factor the complete series into your planning rather than treating the first linked installment as the whole construction.
Plush Yarn Softens Small Details
A fuzzy yarn surface can visually blend decreases, increases, and joins that would be obvious in smooth cotton. That is attractive on a plush doll, but it also means you may need brighter lighting when locating stitches or aligning facial details. If you substitute another plush yarn, compare thickness rather than assuming all chenille-style yarns will produce the same result.
Multipart Viewing Is Worth Planning Ahead
Because the tutorial continues beyond the linked first installment, review the available parts before starting. This is particularly useful when you are working toward a gift deadline: knowing how much finishing remains prevents the first completed body section from giving a misleading sense that the project is nearly done.
Consider the Eye Choice Before Gifting
Rose and Lily Crochet explicitly notes that safety eyes are not recommended for children under three. If your finished reindeer is intended for a very young recipient, decide on an appropriate alternative facial treatment before closing the head rather than trying to redesign that area afterward.
Original Tutorial and Creator Credit
Creator: Rose and Lily Crochet
3. Crochet Four Legged Mini Reindeer Toy

Crochet With Tiffany takes the reindeer in a distinctly animal-like direction. The tutorial includes four legs, a body, tail, antlers, eyes, and nose rather than relying on the upright humanlike proportions common to character dolls. The creator states a finished size of about 3 inches wide, 4.5 inches tall from toe to antler, and a 4-inch-long body.
That compact quadruped silhouette can work especially well in small tabletop scenes, Christmas village arrangements, or a group of miniature reindeer. The form is the main reason to choose this tutorial over another small project: it reads as a tiny reindeer animal rather than simply a doll with antlers.
Four Legs Change the Balance
A quadruped has more contact points with the display surface than a seated character doll. Small differences in leg placement can therefore affect whether all four feet appear to sit naturally. Check the finished positioning before securing every attachment permanently, particularly if the reindeer will be displayed at eye level.
Compact Proportions Suit Grouped Displays
Because the creator provides finished dimensions, you can compare the reindeer with a shelf, tray, miniature tree, or other decor before starting. That is more reliable than assuming a project called “mini” will suit a particular space.
Keep the Animal Silhouette Readable
With a small four-legged design, the antlers, muzzle, tail, and leg spacing do much of the visual work. If you change colors, maintain enough contrast between nearby features so the compact silhouette does not become visually muddy from a distance.
Original Tutorial and Creator Credit
Creator: Crochet With Tiffany
4. Crochet Low Sew Reindeer Keychain Doll

Amigurumis Atina’s Christmas reindeer is designed around a low-sew format and chenille yarn, and the creator specifically presents the finished size as suitable for keychain use. That combination makes it one of the most functionally different projects in this roundup.
A small hanging reindeer needs to look clear at close range without carrying unnecessary bulk. The chenille gives it a plush appearance, while the reduced sewing can appeal to crocheters who enjoy shaping but would rather limit a long final assembly session.
Low-Sew Construction Reduces Finishing Work
“Low-sew” does not mean there are no placement decisions. The snout, nose, horns, and ears still have to create a balanced face. The advantage is that fewer structural pieces depend on lengthy attachment work, so you can devote more attention to the details that remain visible.
Chenille Requires Good Stitch Visibility
Small projects and fuzzy yarn can be a demanding combination because individual loops are less obvious than with smooth yarn. Work under strong light and keep your tension consistent. If you substitute a smoother fiber to make the stitches easier to see, expect the finished surface and possibly the scale to change.
Treat Keychain Hardware as a Separate Decision
The creator describes the project as an appropriate size for a keychain, but the hanging hardware still needs to suit your intended use. A decorative bag charm encounters more pulling and abrasion than a reindeer sitting on a shelf, so pay attention to how any added ring or clip is anchored.
Original Tutorial and Creator Credit
Creator: Amigurumis Atina
5. Crochet Chunky Rudolph or Woodland Reindeer Plush

Wonder Crochet demonstrates a plush reindeer and lists chunky, fuzzy yarn choices including Premier Parfait Chunky and Hobbii Honey Bunny. The materials section also distinguishes a Rudolph version from a beige reindeer version, giving this project two clearly different color directions without changing the overall form.
This is a good route if you want the generous softness of plush yarn but do not necessarily want every reindeer to look overtly Christmas-themed. A red-nosed version reads immediately as a holiday character, while a beige treatment can move closer to woodland decor.
Decide Between Character and Woodland Styling First
Changing the nose and accent palette has more impact here than simply swapping one brown for another. If the reindeer will live with Santa-themed decorations, the Rudolph treatment creates an obvious connection. If you want something that can remain on display beyond December, the more neutral color direction may be easier to integrate.
Chunky Yarn Makes Every Feature More Prominent
With thicker plush yarn, the muzzle, antlers, and facial spacing occupy more visual weight. Small placement differences can therefore look larger on the finished doll. Temporarily position the key face pieces and compare them from a normal viewing distance before securing them.
Contrast Prevents a Fuzzy Face From Disappearing
Plush yarn naturally softens edges. If the muzzle, body, and antlers are too close in value, the shape can flatten visually even when the crochet itself is correct. Use the tutorial’s demonstrated color relationships as a reference when planning substitutions rather than choosing every shade independently.
Original Tutorial and Creator Credit
Creator: Wonder Crochet
6. Crochet 21cm Festive Reindeer Display Doll
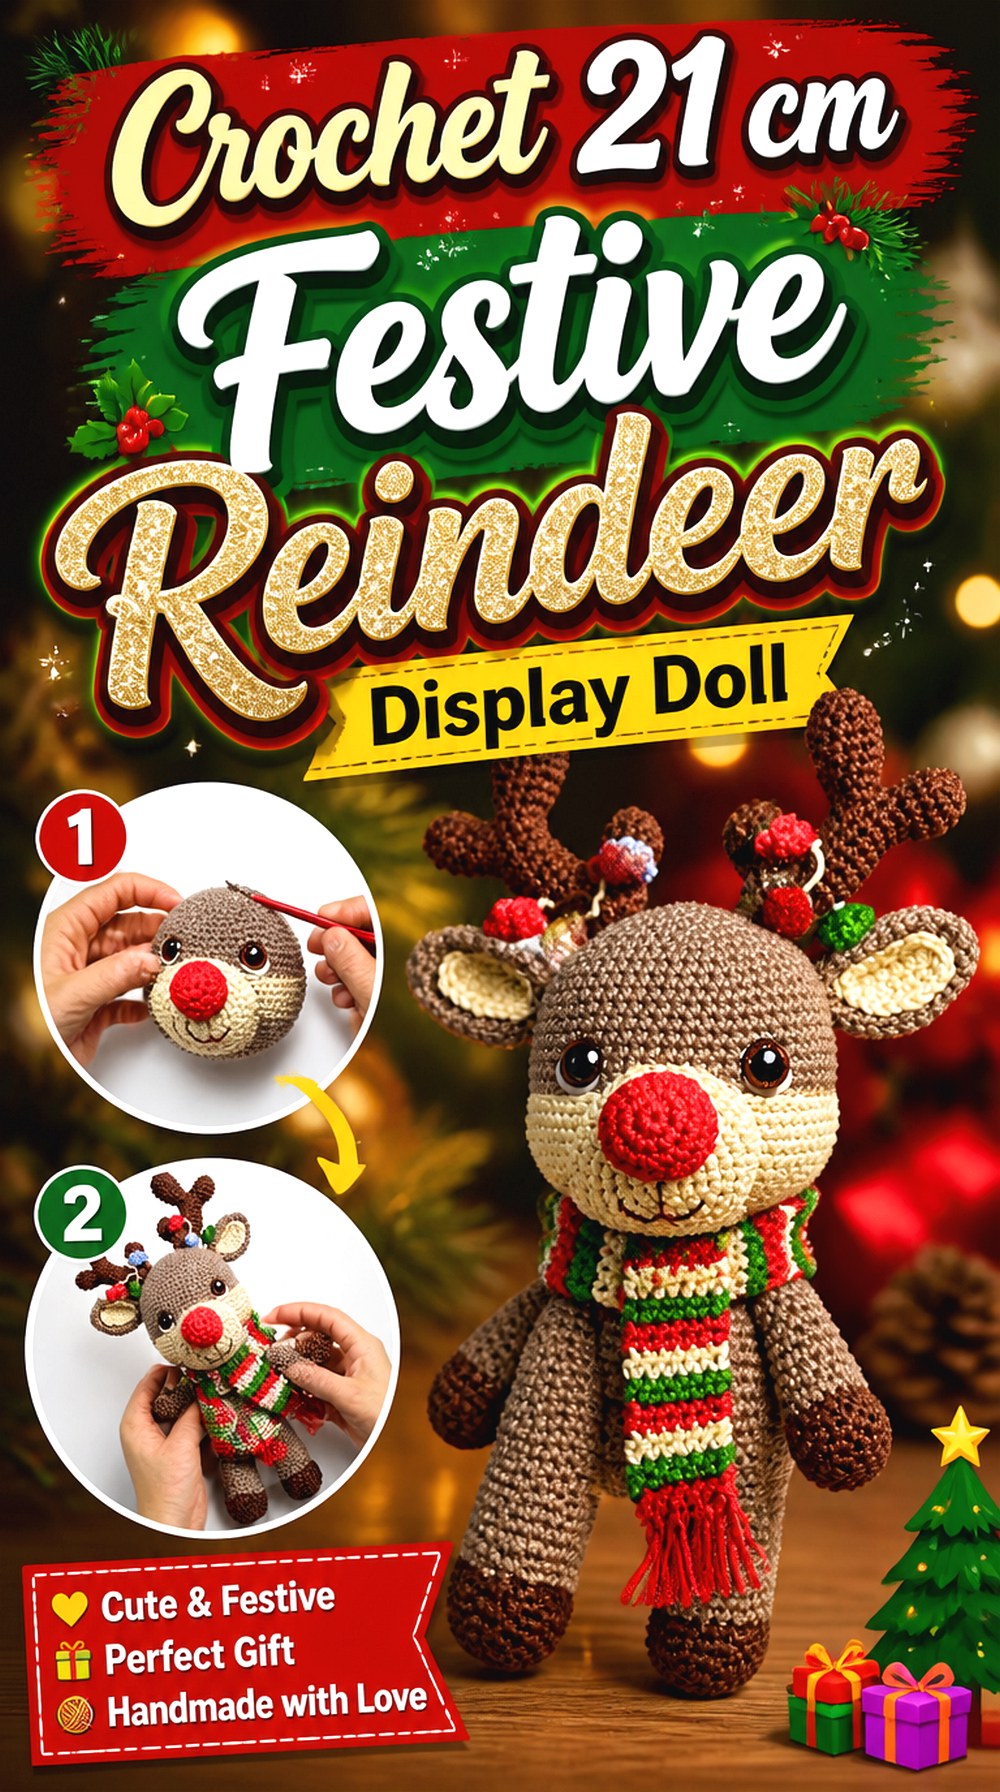
Amis Tejiendo Momentos gives this reindeer a stated finished height of 21 cm and a colorful Christmas presentation. The materials list includes multiple yarn colors, safety eyes, filling, wire, masking tape, and other finishing supplies.
Those details make it better suited to readers who want a more involved display character rather than the smallest possible ornament. Its scale provides room for the antlers, face, limbs, and festive accents to remain distinct, while the materials list also signals that you should review the complete construction before deciding whether it suits a particular recipient.
Twenty-One Centimeters Creates Real Display Presence
A 21 cm doll is large enough to function as a standalone shelf or tabletop accent rather than disappearing beside other holiday objects. Measure the intended display space first, especially if you are building several characters for the same mantel or centerpiece.
Wire Changes the Suitability Question
The creator lists wire among the required materials. Before making the project for a child, confirm exactly where and how that material is used. A decorative doll containing internal structural elements should not automatically be treated as equivalent to a soft toy intended for rough handling.
Color Can Carry the Christmas Theme
Because the source uses several festive shades, the seasonal effect does not depend entirely on a red nose. That gives you room to keep the body relatively natural while using accessories and smaller details to determine how strongly the finished doll reads as Christmas decor.
Original Tutorial and Creator Credit
Creator: Amis Tejiendo Momentos
7. Crochet Mini Baby Reindeer Shelf Doll

RepeatCrafterMe’s baby reindeer has a different silhouette from the narrow upright dolls in this list. The source gives an approximate finished size of 6 inches tall by 5 inches wide, and its feet extend out to the sides to create a compact seated character. The tutorial is a full step-by-step video rather than an inspiration clip.
The design can be made with a red Rudolph nose or a more natural nose, and the written companion material also includes optional reins. That makes it especially adaptable for a small holiday grouping where several reindeer need to look related without being completely identical.
Side-Set Feet Give It a Baby-Doll Silhouette
The width is almost as important as the height here. A reindeer with feet extending to either side occupies more horizontal shelf space than a narrow standing doll, so compare both stated dimensions with your intended arrangement instead of looking only at height.
Optional Reins Add Detail but Also Visual Activity
Reins can strengthen the Santa’s-team theme, while leaving them off produces a simpler woodland character. Decide before finishing whether the doll will be part of a sleigh display or used on its own; that context makes the accessory decision easier.
A Small Herd Can Use Controlled Variation
The source specifically discusses making multiple members of Santa’s reindeer team. If you build a group, keep the main body and overall proportions consistent while changing a limited feature such as the nose or small accents. That preserves the visual connection between the dolls.
Original Tutorial and Creator Credit
Creator: RepeatCrafterMe
8. Crochet Textured Wheat Stitch Reindeer Doll
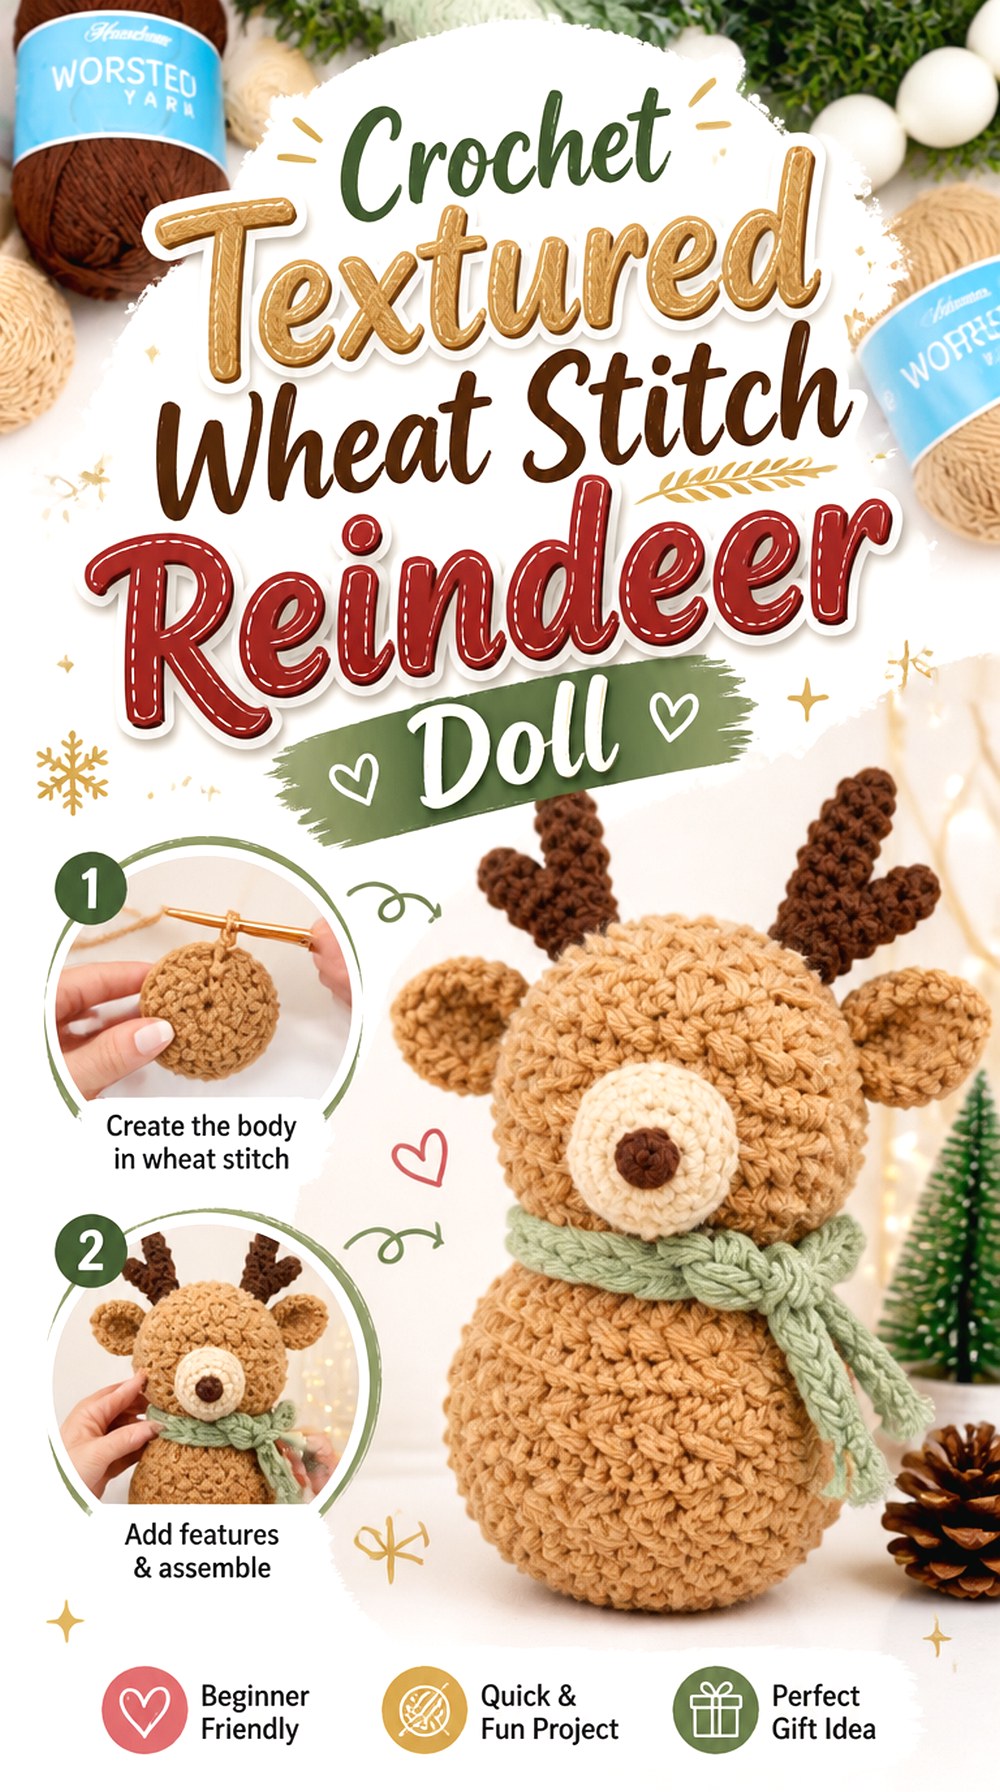
This Briana K design shifts the focus away from tiny facial decoration and toward surface texture. The reindeer is a tall rounded form worked with the designer’s Wheat Stitch, finished with antlers, a snout, and a braided scarf. The source states a finished size of about 10.5 inches tall and describes the head and body as one continuous piece.
That combination makes it a strong alternative to traditional smooth single-crochet amigurumi. The fabric itself becomes a major decorative feature, while the reduced main-body assembly keeps the silhouette comparatively simple.
Texture Does the Decorative Work
Raised texture can remain visible from farther away than small embroidered details, which makes this reindeer particularly suited to a mantel, basket, or shelf. If you change yarn, choose one that still allows the Wheat Stitch texture to read clearly rather than disappearing into an extremely fuzzy surface.
One Continuous Body Reduces Major Seaming
A connected head-and-body construction removes one of the most noticeable seams found in many character dolls. You still have finishing work around features such as the snout and antlers, but the main silhouette does not depend on joining two large stuffed forms.
Think About Display Weight Separately From Toy Use
The source discusses optional weighting for display and gives separate advice for child-directed versions. If the reindeer is meant for a child rather than a shelf, follow the safer toy-oriented choices instead of automatically duplicating every decorative display option.
Original Tutorial and Creator Credit
Creator: Briana K
9. Crochet Multi Part Cotton Reindeer Doll

Ami Saigon’s reindeer tutorial uses a traditional amigurumi approach with multiple colors and milk cotton listed as the material. The instructional series is divided into three videos, with the linked first installment serving as the starting point.
Compared with the fuzzy plush projects, the smoother yarn direction puts more emphasis on visible stitch definition and clean transitions between colors. This can suit crocheters who enjoy being able to inspect individual stitches during shaping and assembly, although the multipart format requires a little more organization.
Smooth Yarn Keeps the Surface Legible
A cleaner yarn surface makes it easier to see where color changes, joins, and attachment points land. That is particularly useful on a project with several colored elements. If you substitute fuzzy yarn, expect those boundaries to appear softer and review whether the smaller details remain proportionate.
Three Parts Make Previewing Important
The complete reindeer spans a three-video series. Save or open all installments before you begin so you know how the work is divided and what components remain after the first video. That simple check is especially useful when planning a holiday deadline.
Color Planning Can Simplify the Final Look
The tutorial lists several colors, but you do not necessarily need every reindeer in a collection to carry the same visual density. Before buying yarn, decide which features must contrast clearly and which can remain within the same neutral family.
Original Tutorial and Creator Credit
Creator: Ami Saigon
10. Crochet Tiny Color Change Reindeer Charm Doll
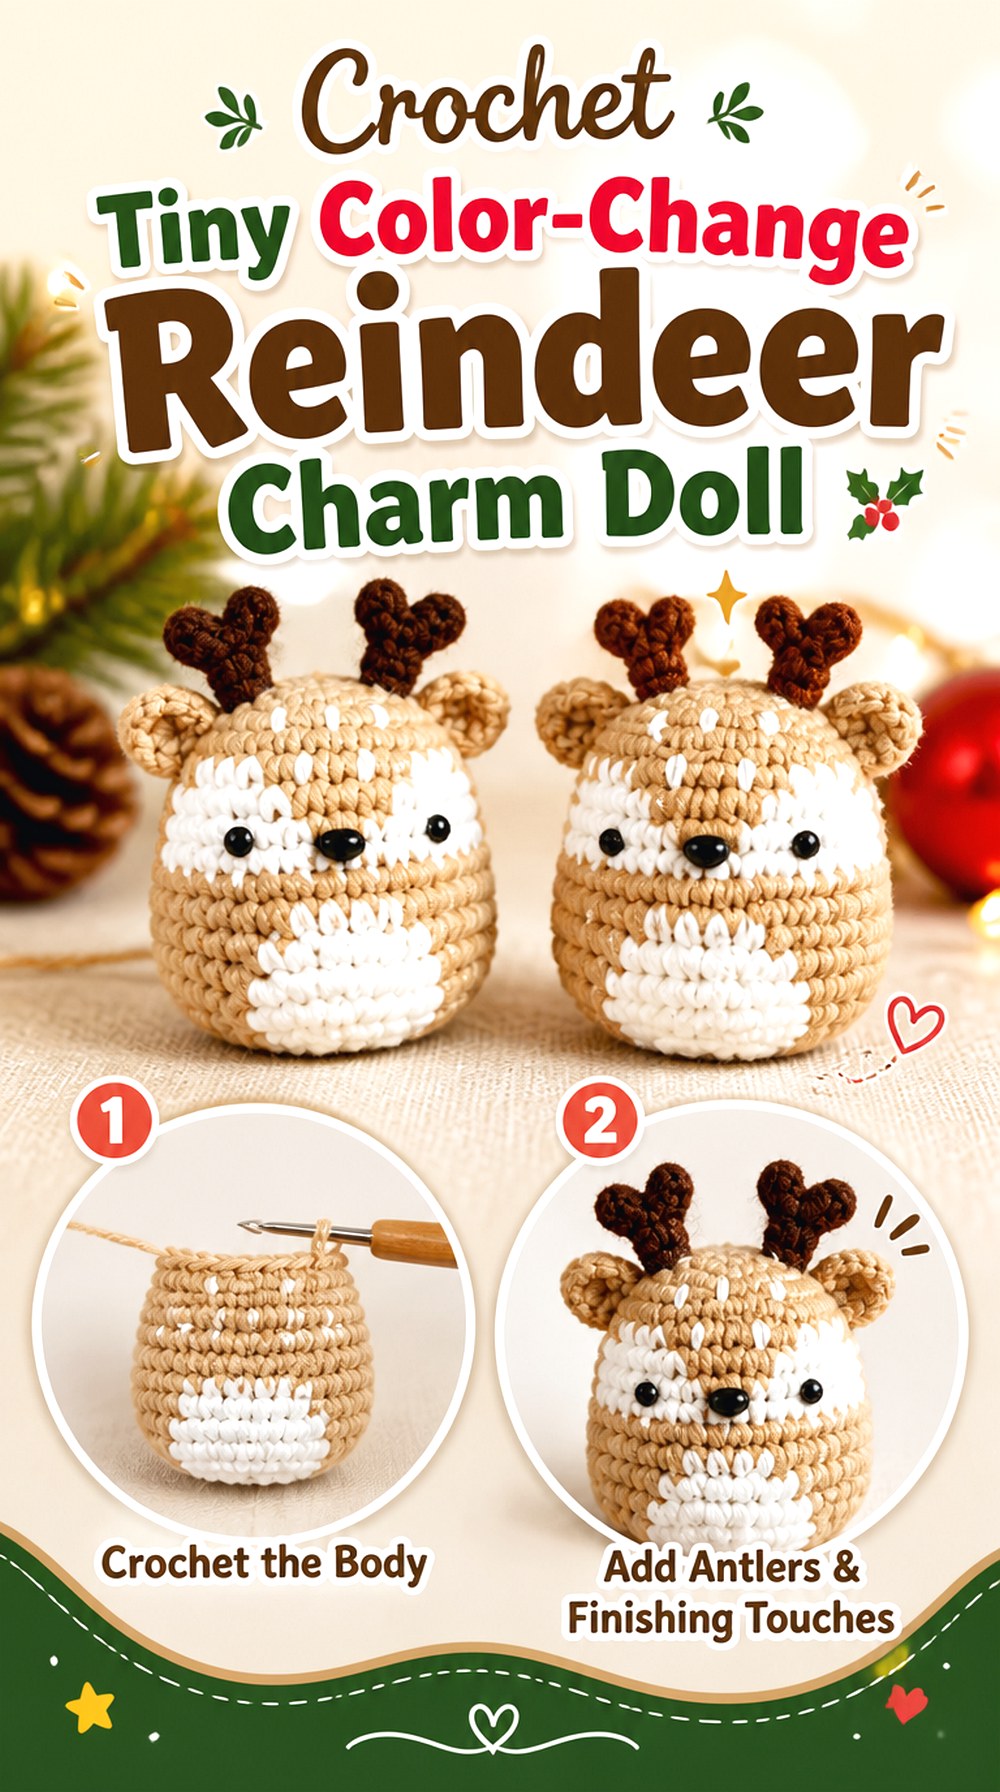
Hobbyku_gurumi Channel’s reindeer is intentionally small. The creator states that, with the demonstrated milk-cotton yarn and hook, the head-and-body section measures about 7 cm high and suggests the finished piece for uses such as a keychain, bag charm, or hanging decoration. The tutorial also includes color-changing technique.
That scale separates this project from the larger plushies and display dolls. Because there is less physical space for each detail, clean contrast and proportion become more important than adding a long list of accessories.
Seven Centimeters Leaves Little Room for Muddy Contrast
At charm scale, nearby colors can visually merge when viewed from several feet away. Keep the muzzle, nose, and antlers distinguishable from the main body, particularly if you choose a subdued palette.
Color Changes Become Part of the Learning Value
The creator specifically notes color-changing technique in the project. If that is new to you, make the tutorial’s demonstrated yarn and color arrangement your first reference before experimenting with a more complex palette.
Scale Substitutions Need Caution
Using thicker yarn may turn a charm into a noticeably larger doll, while finer yarn may make the face more difficult to handle. The creator’s stated 7 cm measurement applies to the demonstrated material setup, so do not assume it will remain unchanged after substitutions.
Original Tutorial and Creator Credit
Creator: Hobbyku_gurumi Channel
11. Crochet Christmas Tree Reindeer Ornament

Creando Con Musa explicitly presents this crochet reindeer as a Christmas-tree ornament, although the creator notes that it can be used in other ways as well. The process is presented through subtitles, and a separate basic-body tutorial is referenced for viewers who want additional explanation of the underlying shape.
That makes the project a useful choice for readers who want a hanging reindeer rather than a large tabletop doll. Ornament scale changes the priorities: a clear silhouette, manageable weight, and an attachment point that works with the intended branch matter more than elaborate clothing.
Tree Display Rewards a Clean Silhouette
An ornament is often viewed against branches, lights, and other decorations. Keep the antlers and face visually distinct so they do not disappear into a busy background. A reindeer that looks perfectly clear against a white work surface can read differently once it is on the tree.
Subtitles Change the Learning Rhythm
Because the creator provides the process through subtitles, this tutorial may suit viewers who like pausing and reading each section rather than relying entirely on spoken instruction. It is worth checking your screen size and subtitle visibility before starting with yarn in hand.
Check the Hanging Point Before Finishing
Decide where the ornament will hang from and make sure that point keeps the reindeer facing forward instead of rotating sideways. Any added hanging loop should be considered part of the final balance rather than an afterthought attached to whichever stitch is most convenient.
Original Tutorial and Creator Credit
Creator: Creando Con Musa
12. Crochet 36cm Large Reindeer Doll

Rozangela Mendes Crochê’s reindeer moves firmly into statement-doll territory. The creator gives the finished measurement as 36 cm and lists a 2.5 mm hook, filling, eye hardware, and several other materials.
A doll at this scale can show more visible shaping and detail than a tiny ornament, but it also exposes alignment differences more clearly. If your goal is a centerpiece-style handmade reindeer, a larger project can provide the visual impact you want. If storage is limited, however, the finished dimensions should be part of the decision before you begin.
Larger Scale Magnifies Alignment
When the head and body are larger, the distance between eyes, ears, and antlers becomes more visually obvious. Pin paired pieces and view the doll upright whenever possible before committing to permanent placement.
Storage Is Part of the Project Plan
A 36 cm seasonal doll requires substantially more off-season storage than a keychain or ornament. Consider whether the antlers can be stored without being crushed and choose a container with enough clearance rather than compressing the finished figure.
Review Every Attachment Material for the Recipient
The creator’s materials list includes several finishing items. If the reindeer is being made as a child’s toy rather than decorative amigurumi, evaluate each attachment and embellishment for that intended use instead of assuming a display-oriented finishing choice is automatically suitable.
Original Tutorial and Creator Credit
Creator: Rozangela Mendes Crochê
13. Crochet 30cm Scarfed Renato Reindeer Doll
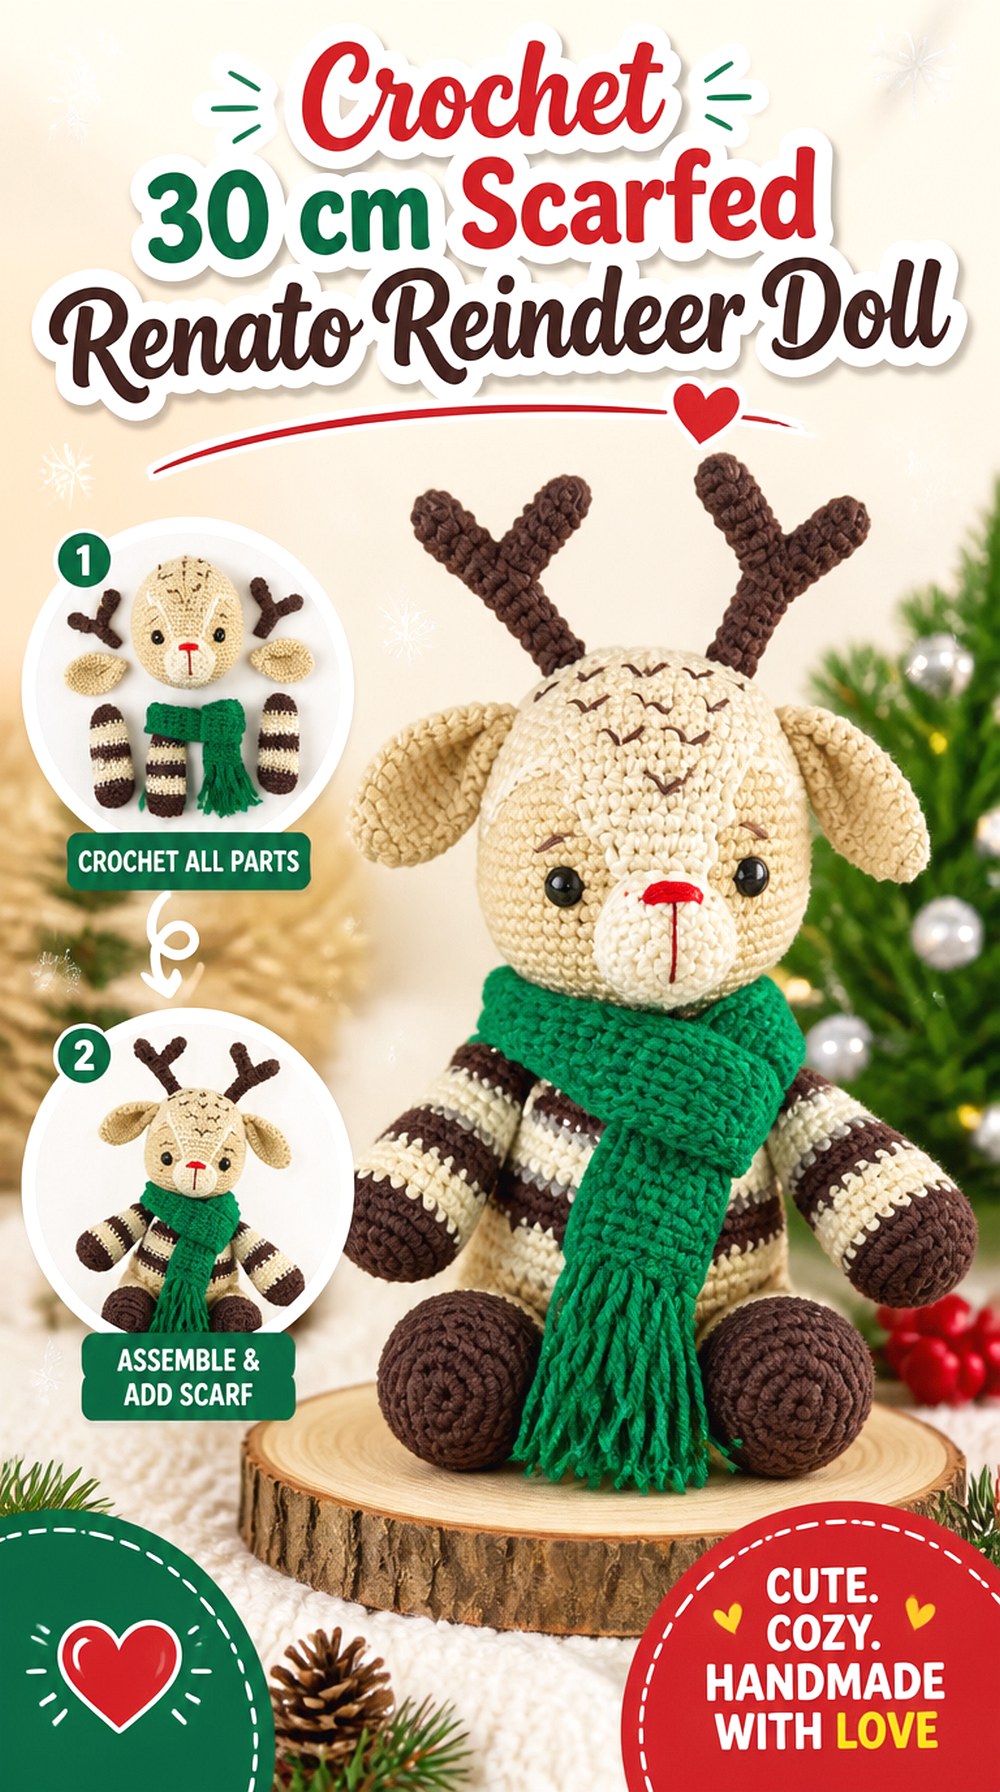
FesTeje Crochet introduces this character as Renato the reindeer and states a finished measurement of 30 cm from antlers to legs. The creator also notes that cotton yarn is used for the reindeer while the scarf is crocheted with acrylic yarn.
The scarf gives this project a clothing-accessory element without turning the reindeer into a fully dressed doll. That makes it a good middle ground between natural animal styling and heavily decorated Christmas characters. At 30 cm, it is also substantial enough for the scarf and facial details to remain visually important.
The Scarf Creates a Natural Focal Point
A contrasting scarf can separate the head from the body and introduce Christmas color without changing the reindeer’s main yarn. If you want a more neutral version, choose a quieter scarf color rather than changing every component.
Cotton and Acrylic Create Different Surface Roles
The source deliberately uses cotton for the reindeer and acrylic for the scarf. That illustrates a useful design principle: an accessory does not have to behave exactly like the stuffed body. If substituting fibers, judge the body for shape and stitch definition while judging the scarf for flexibility and appearance.
Thirty Centimeters Needs a Planned Display Spot
Because the creator states the overall measurement, you can check shelf clearance before investing time in the project. Remember that antlers can make the useful vertical clearance slightly more important than the body alone suggests.
Original Tutorial and Creator Credit
Creator: FesTeje Crochet
14. Crochet Full Assembly Christmas Reindeer Doll
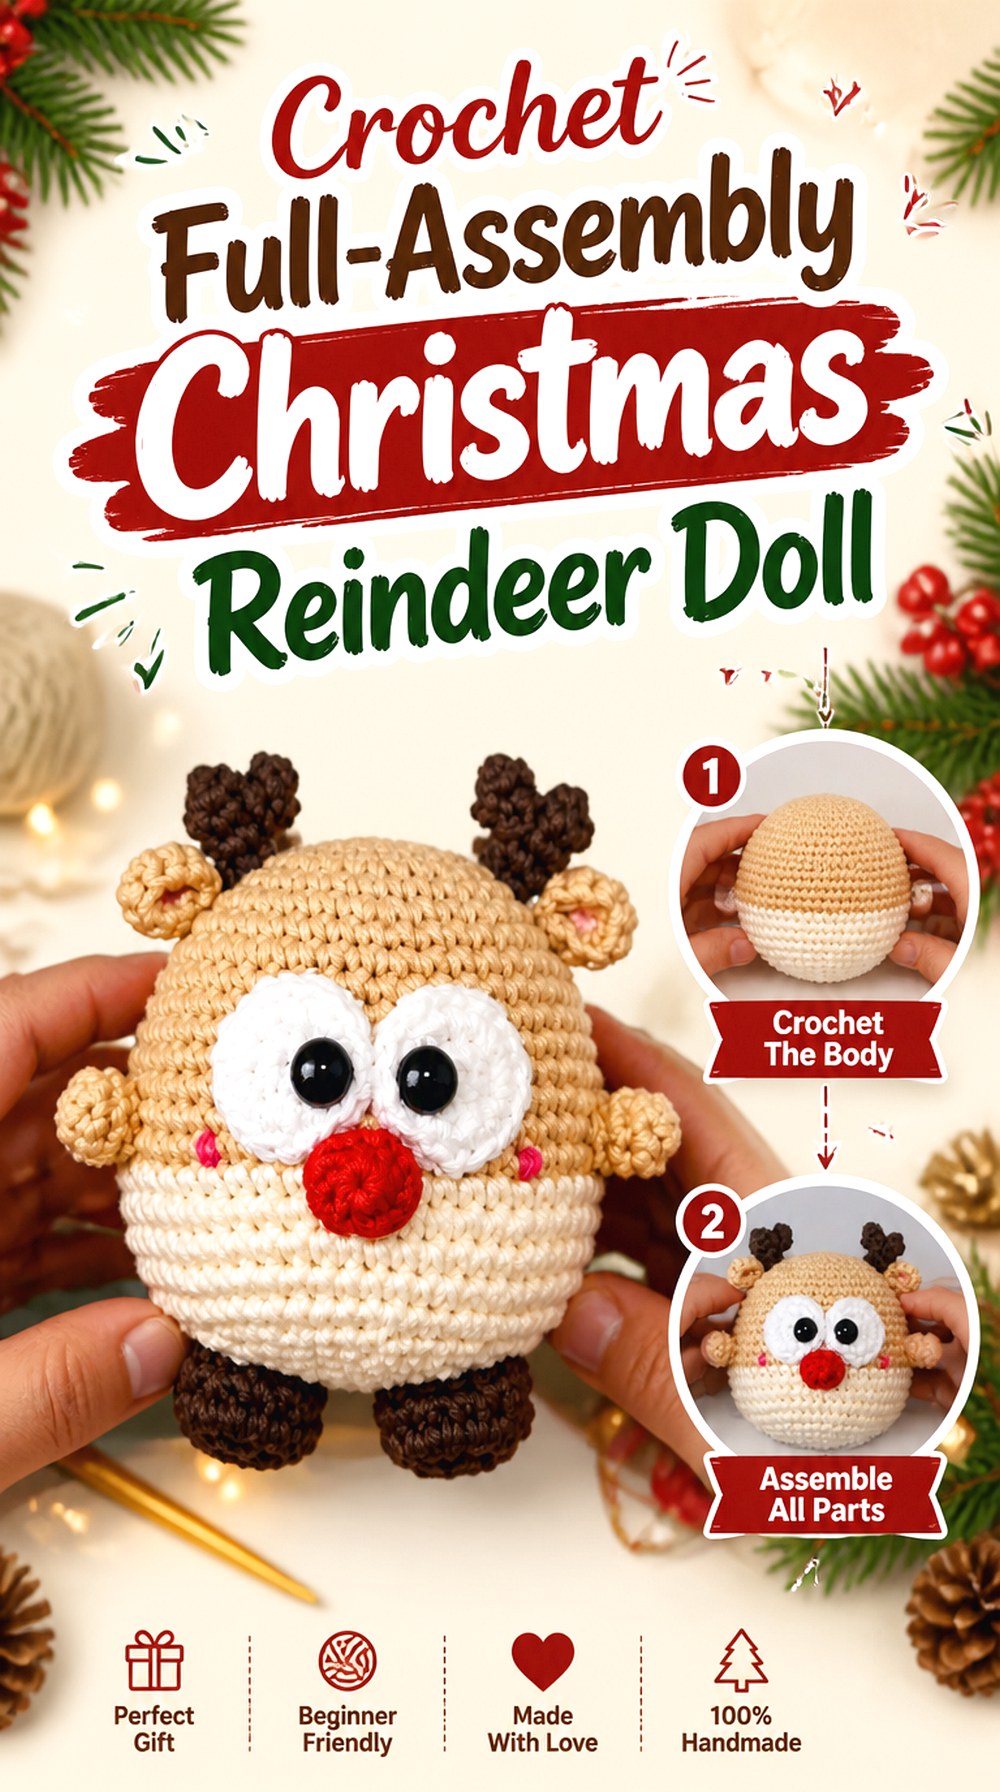
Cositas a Crochet Monterrey presents the whole Christmas reindeer process in one long tutorial with English text. The video’s chapters separately identify the body, hands, feet, ears, small and large horns, nose, eyes, assembly, and final result.
That organization makes this a useful option if you prefer one continuous video reference rather than moving through a multipart series. It is still a detailed character build with several components, so the convenience comes from keeping the instruction in one place—not from eliminating finishing work.
One Video Reduces Context Switching
For crocheters who frequently pause, rewind, and resume, a single chaptered video can be easier to navigate than several separate installments. Use the chapter structure to preview the assembly before you begin sewing components together.
Separate Hands and Feet Strengthen the Doll Look
Distinct hands and feet push the finished reindeer toward a character doll rather than the four-legged animal silhouette seen earlier in this list. Choose this format when that anthropomorphic holiday look fits your display better than a realistic deer stance.
English Text Can Support Visual Following
The title specifically identifies English text in the tutorial. That may be useful for viewers who want to combine visual demonstration with readable terminology, particularly when checking component names or moving between sections.
Original Tutorial and Creator Credit
Creator: Cositas a Crochet Monterrey
15. Crochet From Scratch Reindeer Practice Doll
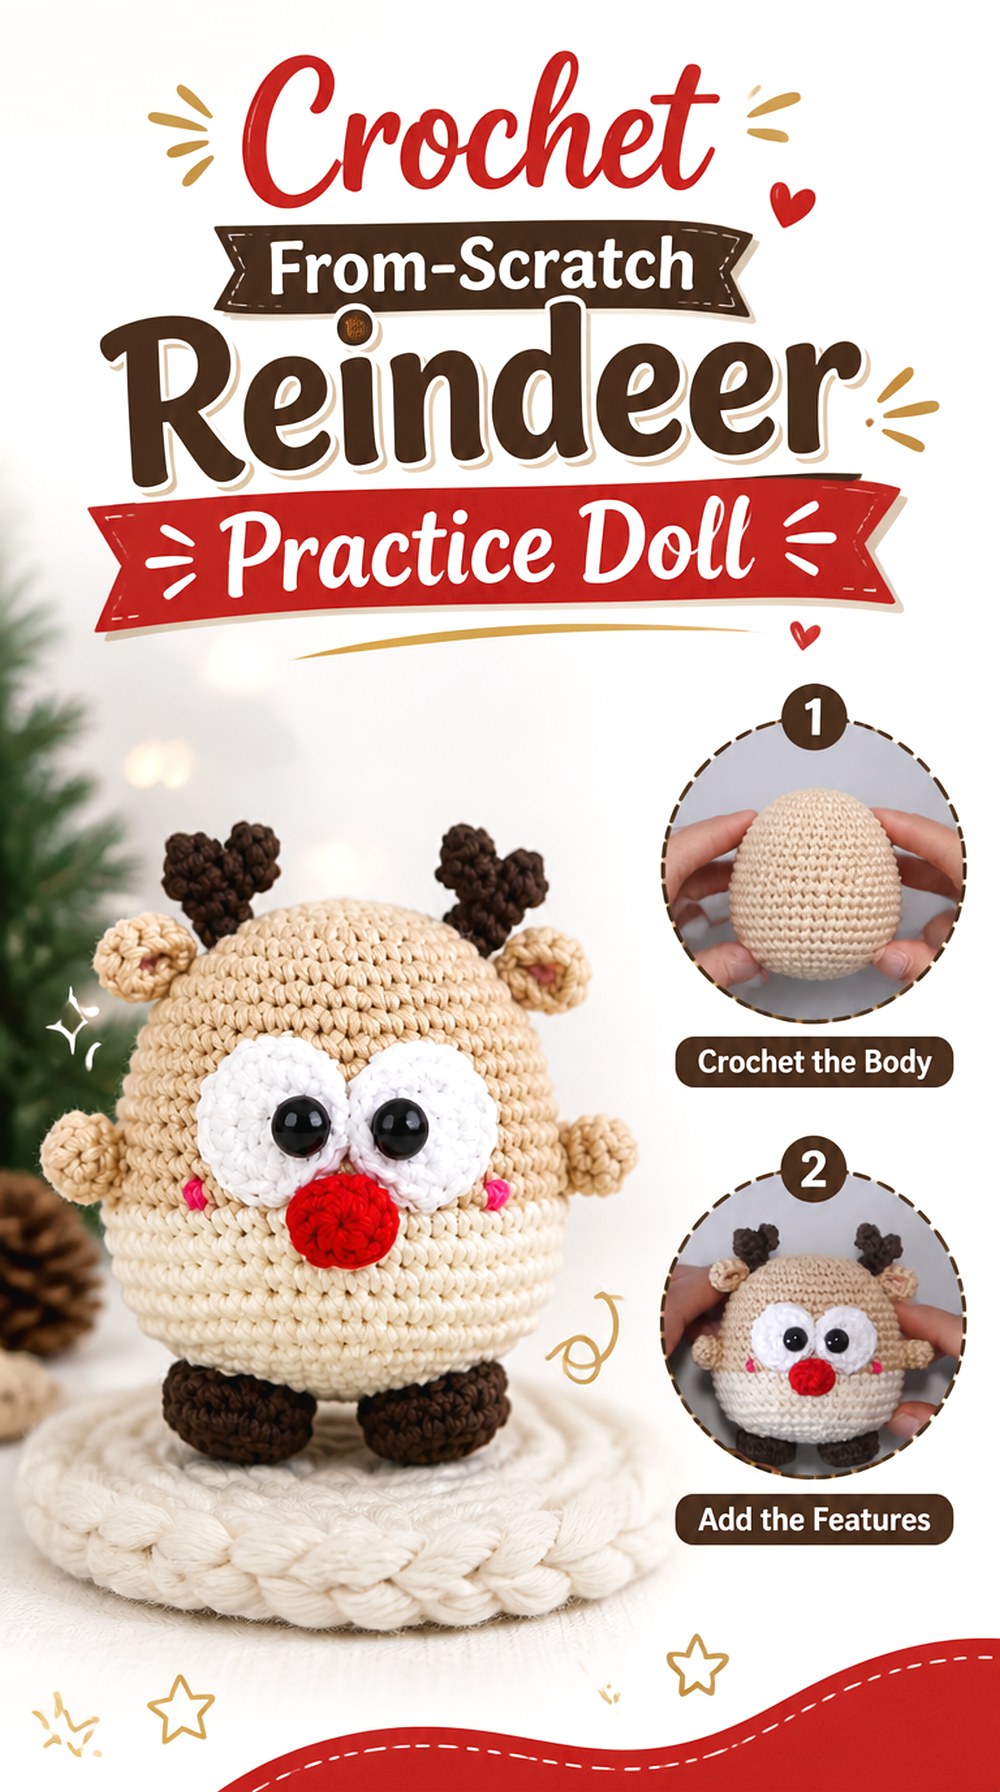
AMIGURUMIS ANTI ESTRÉS approaches the reindeer as a slower learning project for crocheters with limited amigurumi experience. The first installment covers foundational parts including legs, ears, snout, and nose, with the project continuing through later chapters.
That teaching style makes this idea different from choosing a tutorial solely because of the finished scale or decorative style. It suits readers who want the reindeer project to double as structured amigurumi practice and who are comfortable progressing through a series rather than completing the whole doll from one video.
Small Components Provide Early Tension Feedback
Beginning with pieces such as ears or a snout gives you an early chance to judge whether your fabric is dense enough to hide stuffing and whether your chosen yarn is easy to control. Correcting tension at that stage is easier than discovering a major inconsistency after completing a large body section.
A Slower Pace Can Help With Placement Confidence
The creator describes the tutorial as aimed at beginners with little experience and emphasizes clear, step-by-step explanation. That can be valuable when you want time to understand why pieces are positioned rather than simply copying the final look quickly.
Confirm the Full Series Before a Deadline Project
Because the linked video is an opening installment rather than a single complete lesson, locate the continuation before starting a time-sensitive gift. That lets you see the full learning path and prevents an unfinished reindeer from becoming a surprise late in the project.
Conclusion
Choose your crochet reindeer doll by finished use first and decorative details second. The tiny charm, low-sew keychain, and tree ornament make sense when space and weight matter. Crochet With Tiffany’s four-legged version offers a more animal-like silhouette, while the larger 21 cm, 30 cm, and 36 cm dolls create stronger holiday display pieces. Plush yarn options emphasize softness, whereas the Wheat Stitch and smoother-yarn projects make texture or stitch definition more visible.
Once you have chosen the right scale and construction style, review the original tutorial for its exact materials, construction, assembly, and finishing details. That is also the right time to confirm any child-safety considerations or creator-specific usage terms.
Frequently Asked Questions
What yarn should I choose for a crochet reindeer doll?
Choose by the finish you want rather than by color alone. Smooth cotton, acrylic, or other clearly plied yarn makes stitches and small facial details easier to see. Chenille and plush yarn create a softer, rounder reindeer but can hide individual stitch openings. If you substitute a different yarn weight from the tutorial, expect the scale and firmness to change and adjust your planning accordingly.
Can I turn any crochet reindeer doll into an ornament or keychain?
Not automatically. A small doll can still be too heavy or bulky for a tree branch or bag charm, particularly if you replace the demonstrated yarn with something thicker. Check the finished dimensions when the creator supplies them, then consider the balance and attachment point. Hanging hardware should be anchored appropriately for the amount of movement and abrasion the finished item will experience.
How can I keep crochet reindeer antlers from looking uneven?
Position both antlers before permanently attaching either one. Pin them temporarily, then inspect the head from the front, side, and top. Compare the angle relative to the ears and center of the face rather than relying only on the number of stitches between attachment points. If a particular tutorial uses internal support or a special construction method, follow that creator’s guidance instead of improvising a structural material.
Are safety eyes appropriate for every crochet reindeer doll?
No. Intended use matters. Rose and Lily Crochet specifically warns that safety eyes are not recommended for children under three. For a reindeer intended for a young child, embroidered facial details can remove detachable plastic eye components. Also review antlers, buttons, bells, wire, and other embellishments rather than evaluating the eyes in isolation.
Should I choose a low-sew or multi-piece reindeer?
Choose low-sew when you want to reduce attachment work and prefer more of the shaping to happen during the main crochet construction. Choose a multi-piece design when you value control over the position of limbs, ears, muzzle, and antlers. Multi-piece dolls require more finishing, but they can give you additional opportunities to adjust the expression and pose before everything is permanently secured.
Can I make a Christmas reindeer look less seasonal?
Yes, when the underlying design allows it. A natural-colored nose, neutral scarf, and subdued accessory palette can move a reindeer away from an obvious Rudolph or Christmas-character look. Wonder Crochet demonstrates both Rudolph-oriented and beige reindeer material directions, while Briana K discusses natural and more festive color options for the textured design. Keep enough contrast around the face so the features remain clear.
Can I sell finished reindeer made from these YouTube tutorials?
Do not assume one rule applies to every creator. Pattern-use and finished-item sales terms are set by the individual designer and may differ between tutorials or change over time. Check the current video description, linked pattern page, or creator shop terms before making items for sale. Crediting a creator does not by itself grant permission to reproduce or redistribute their pattern or instructional material.