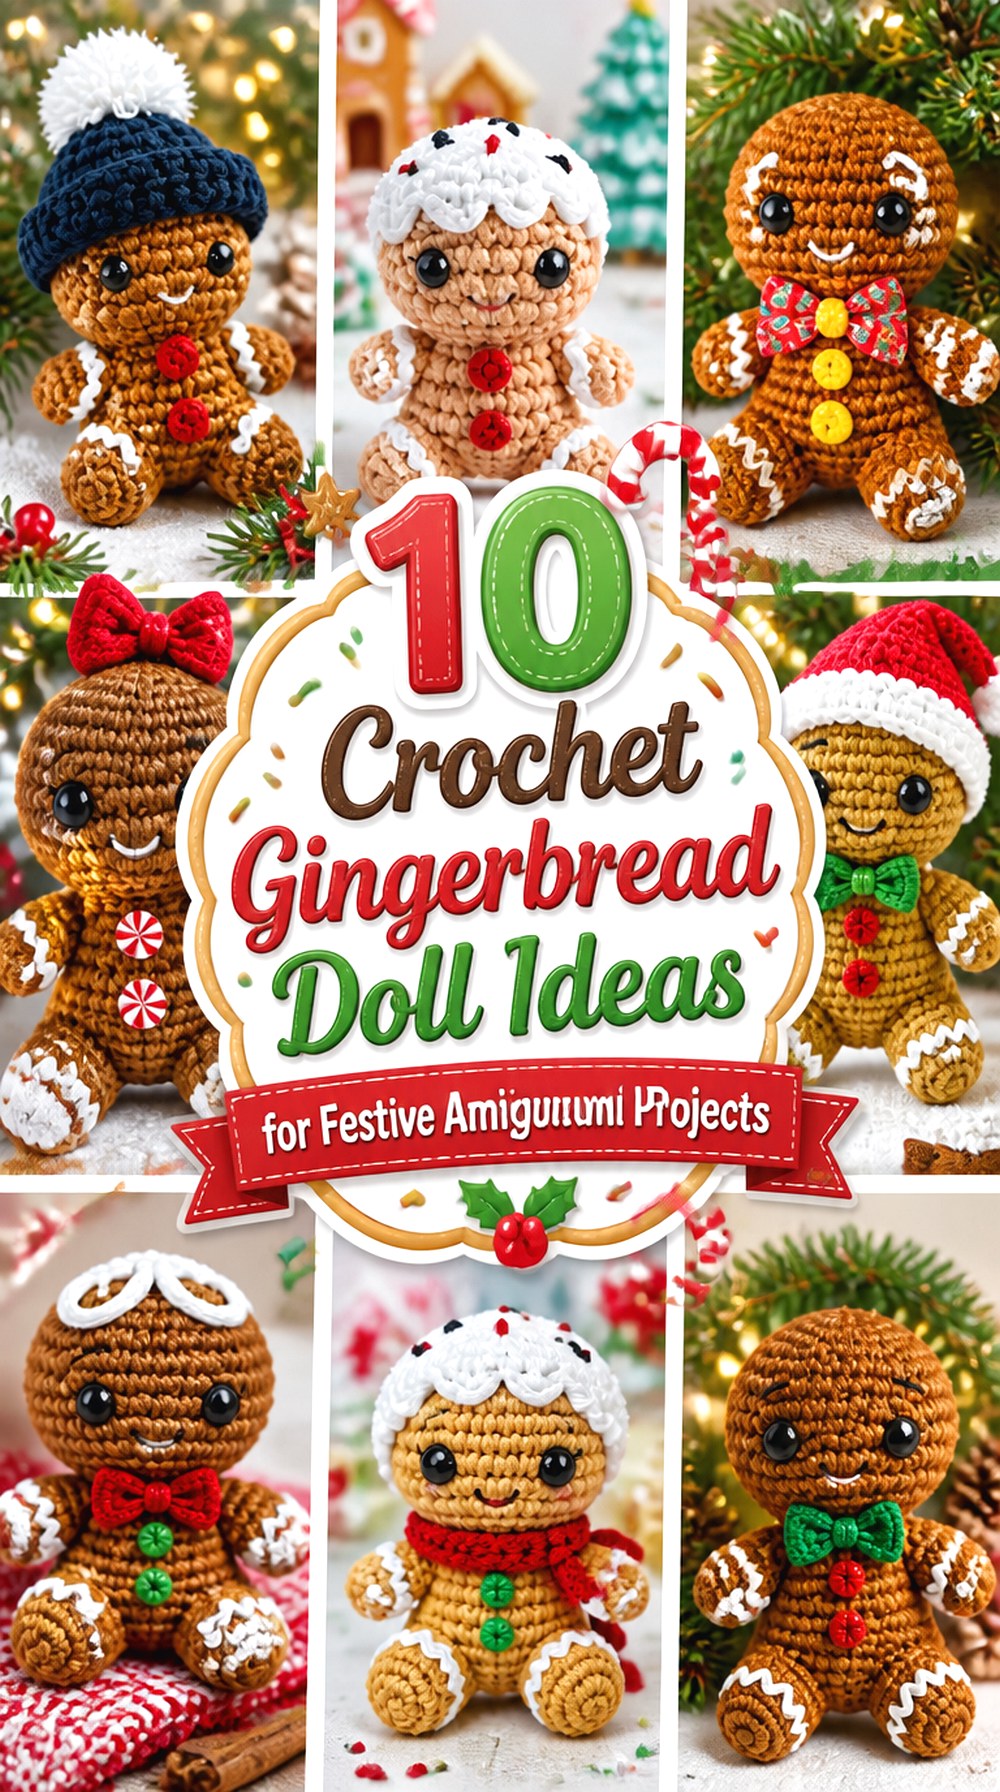

Crochet gingerbread dolls can take surprisingly different forms. Some are rounded and heavily stuffed, others use flatter panels, and several shrink the cookie-person shape into a lightweight ornament. The decoration can also change the character completely, from simple embroidered icing to holly, bows, pom-poms, hats, and colorful “candy” accents.
This collection focuses on those practical differences so you can choose a project that suits its intended use. You’ll find options for cuddly holiday plushies, compact display dolls, low-sew constructions, flat cookie characters, and small hanging decorations. Along the way, the comparisons cover stuffing, structure, embellishment placement, scaling, and gifting considerations so you can plan the finished object before committing to a particular tutorial.
Quick List
- Crochet Gingerbread Buddy Doll with Holly Icing
- Crochet Low-Sew Gingerbread Plush Doll
- Crochet One-Piece Gingerbread Man Doll
- Crochet Flat-Panel Gingerbread Cuddler Doll
- Crochet Mini Gingerbread Amigurumi Doll
- Crochet Tiny Gingerbread Man Doll
- Crochet No-Stuff Gingerbread Cookie Doll
- Crochet Frosted Gingerbread Doll Ornament
- Crochet Sprinkled Gingerbread Cookie Doll
- Crochet Classic Gingerbread Man Amigurumi Doll
Choose the Gingerbread Silhouette Before the Decorations
The biggest difference between these projects is not the frosting color; it is construction. A three-dimensional amigurumi with a rounded head behaves differently from a flat-panel cuddler or an unstuffed cookie. A deeply stuffed doll can work well as a shelf character or soft seasonal plush, while flatter shapes are easier to hang, layer into garlands, or store with other holiday decorations.
Assembly matters too. Some tutorials minimize sewing by continuing from the legs into the torso and head, while others deliberately use separate components to create a more sculpted silhouette. For amigurumi projects, shape retention, stuffing visibility, attachment placement, and the intended recipient are useful decisions to make before choosing a design.
Match Yarn Texture to the Finished Job
Smooth yarn usually gives icing lines, facial embroidery, and small decorative stitches a clearer outline. Plush or chenille yarn creates a softer, fuller-looking gingerbread character, but its fuzzy surface can make tiny details less distinct. That trade-off is especially noticeable on miniature dolls, where a small button or embroidered feature occupies a larger percentage of the finished body.
Changing yarn weight can also change overall scale even when the general construction remains similar. Heather Corinne, for example, notes that a heavier yarn and larger hook can enlarge her gingerbread design, while Cosy Rosie Crochet publishes examples made at more than one yarn scale. Before substituting yarn, check whether eyes, ribbons, buttons, and hanging loops will still look proportional to the new fabric.
Decide Between Display Details and Gift-Friendly Details
Gingerbread dolls invite decorative extras: safety eyes, pom-poms, ribbons, bows, faux candy buttons, and icing trim. Those details are useful for creating a strong holiday look, but the intended use should guide how they are attached. A shelf decoration can tolerate decorative components that may be unsuitable for a frequently handled toy.
For a doll intended for a baby or very young child, removable or hard components deserve particular attention. Nicole Chase’s gingerbread guidance specifically warns about safety eyes and noses as choking hazards for babies and suggests yarn, felt, or embroidered alternatives. For any gift, inspect seams and attachments after finishing rather than assuming a decoration is secure simply because it looks firmly positioned.
1. Crochet Gingerbread Buddy Doll with Holly Icing
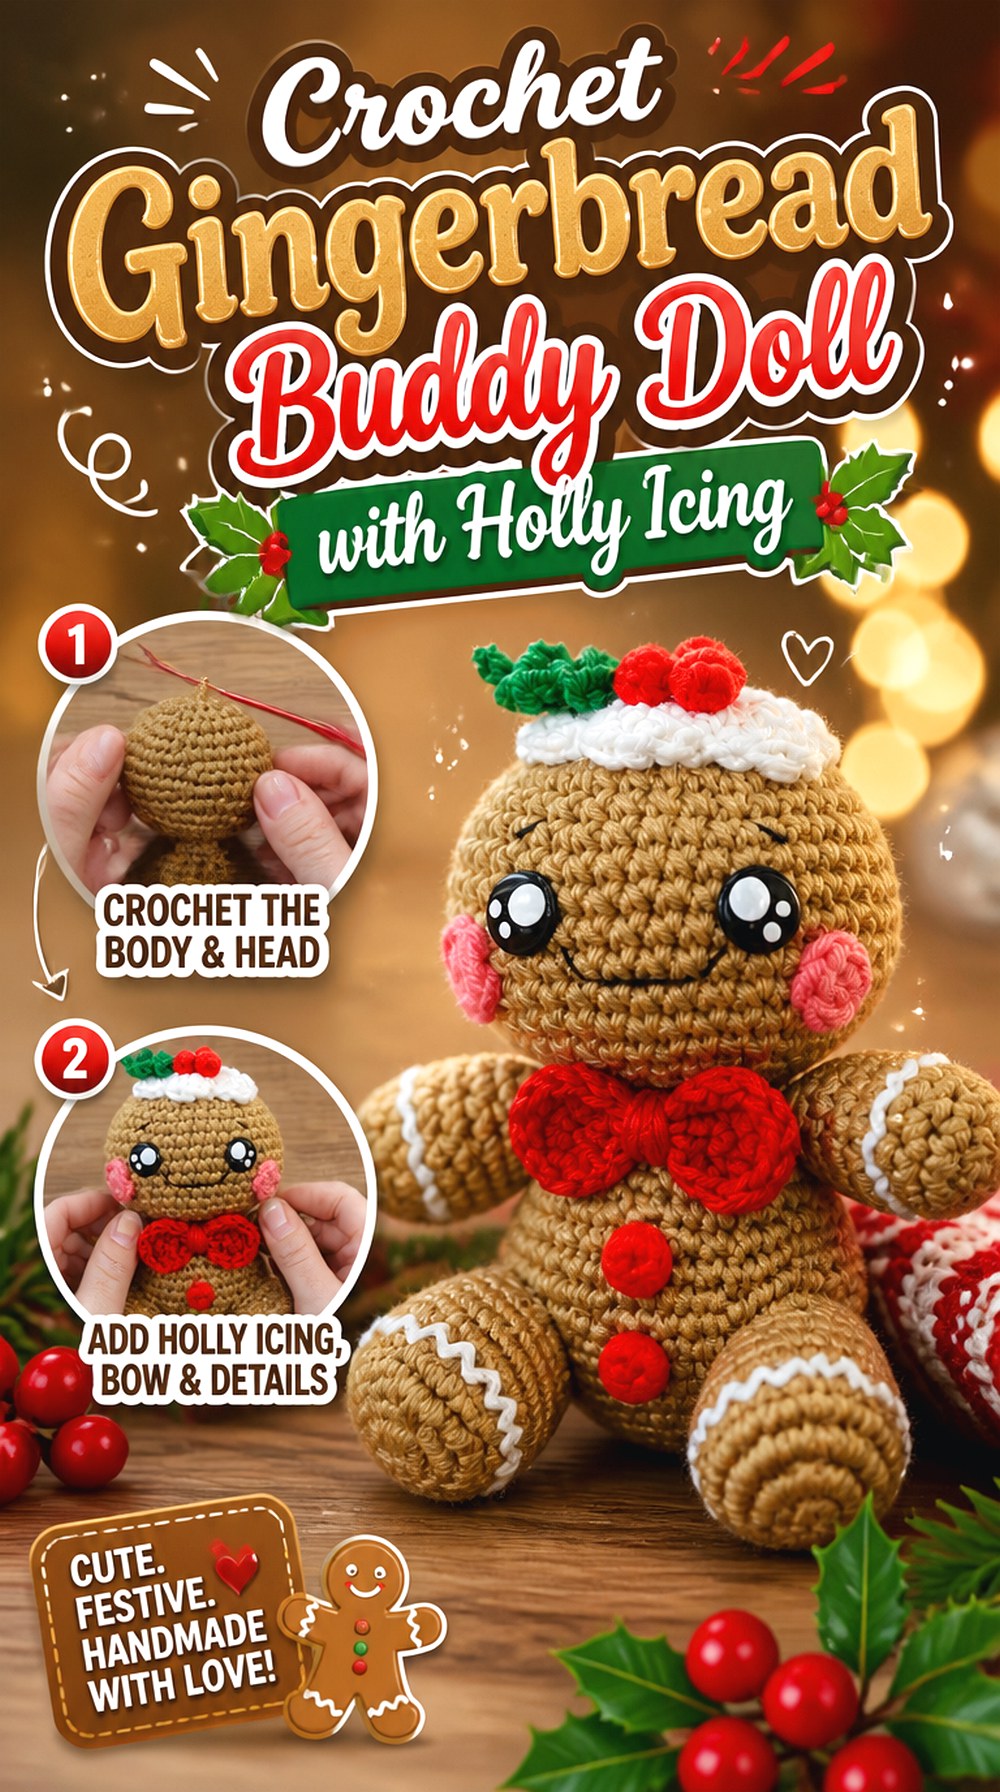
This version takes the gingerbread theme beyond a plain cookie silhouette. Pixeled Peach’s finished character has a broad amigurumi head and body plus icing, a holly accent, bow tie, cheeks, gumdrop-style decorations, arms, and legs. The result reads more like a fully developed holiday character than a simple gingerbread ornament.
Choose this direction when decorative personality matters more than minimizing assembly. Because several visual elements compete for attention, it also gives you more opportunities to coordinate a Christmas palette or simplify the surface if you prefer a quieter look.
The Oblong Head Is Part of the Character
The creator deliberately shapes the head away from a perfect sphere, so stuffing affects more than firmness—it contributes to the recognizable silhouette. When adapting a rounded amigurumi like this, compare the profile from the front and side before closing the head. Over-concentrating stuffing in one area can turn a softly widened shape into a ball and reduce the visual difference between this buddy-style doll and more conventional gingerbread figures.
Holly, Bow Tie, and Icing Need Visual Breathing Room
This doll combines several accents around the upper body and face. Before permanently attaching them, temporarily position the holly, bow tie, cheeks, and icing and check the whole figure from a normal viewing distance. If every decoration is equally large or equally bright, the face can lose emphasis. One practical adaptation is to keep one accessory dominant and let the remaining details act as smaller supporting accents rather than competing focal points.
Separate Limbs Give More Control Over the Pose
The tutorial includes individually constructed arms and legs that are attached later. That means placement deserves attention before sewing. Pin or hold both sides in position and compare their height and angle before fastening the first limb permanently. Small placement differences that seem insignificant while working close to the fabric can become obvious once the doll is standing or sitting on display.
2. Crochet Low Sew Gingerbread Plush Doll

Reigning Charmz approaches the gingerbread doll from an assembly-saving angle. The tutorial describes the design as low-sew, with only the arms requiring sewing. That makes the project meaningfully different from dolls built from numerous independent body pieces.
The finished idea suits crocheters who like a substantial stuffed gingerbread person but would rather spend less of the project aligning limbs and closing multiple seams. Low-sew does not mean finishing can be ignored, though. Facial details, stuffing distribution, and the position of the attached arms still have a major effect on how balanced the final character looks.
Fewer Seams Put More Emphasis on Crochet Shaping
When much of a stuffed figure is formed continuously, there are fewer sewn joints available to correct the silhouette afterward. Watch the proportions develop as you work and compare both sides of the body before stuffing firmly. If one section begins leaning or twisting, it is easier to address the issue while the fabric is still accessible than after the body has been filled and the finishing details are in place.
Arm Placement Becomes the Main Assembly Checkpoint
Because the creator identifies the arms as the sewn components, they become an important symmetry point. Before securing either arm, position both and check them from the front. Consider whether you want them to hang straight, angle slightly outward, or sit closer to the torso. Matching their height usually matters more visually than making every sewing stitch identical.
Original Tutorial and Creator Credit
Creator: Reigning Charmz
3. Crochet One Piece Gingerbread Man Doll
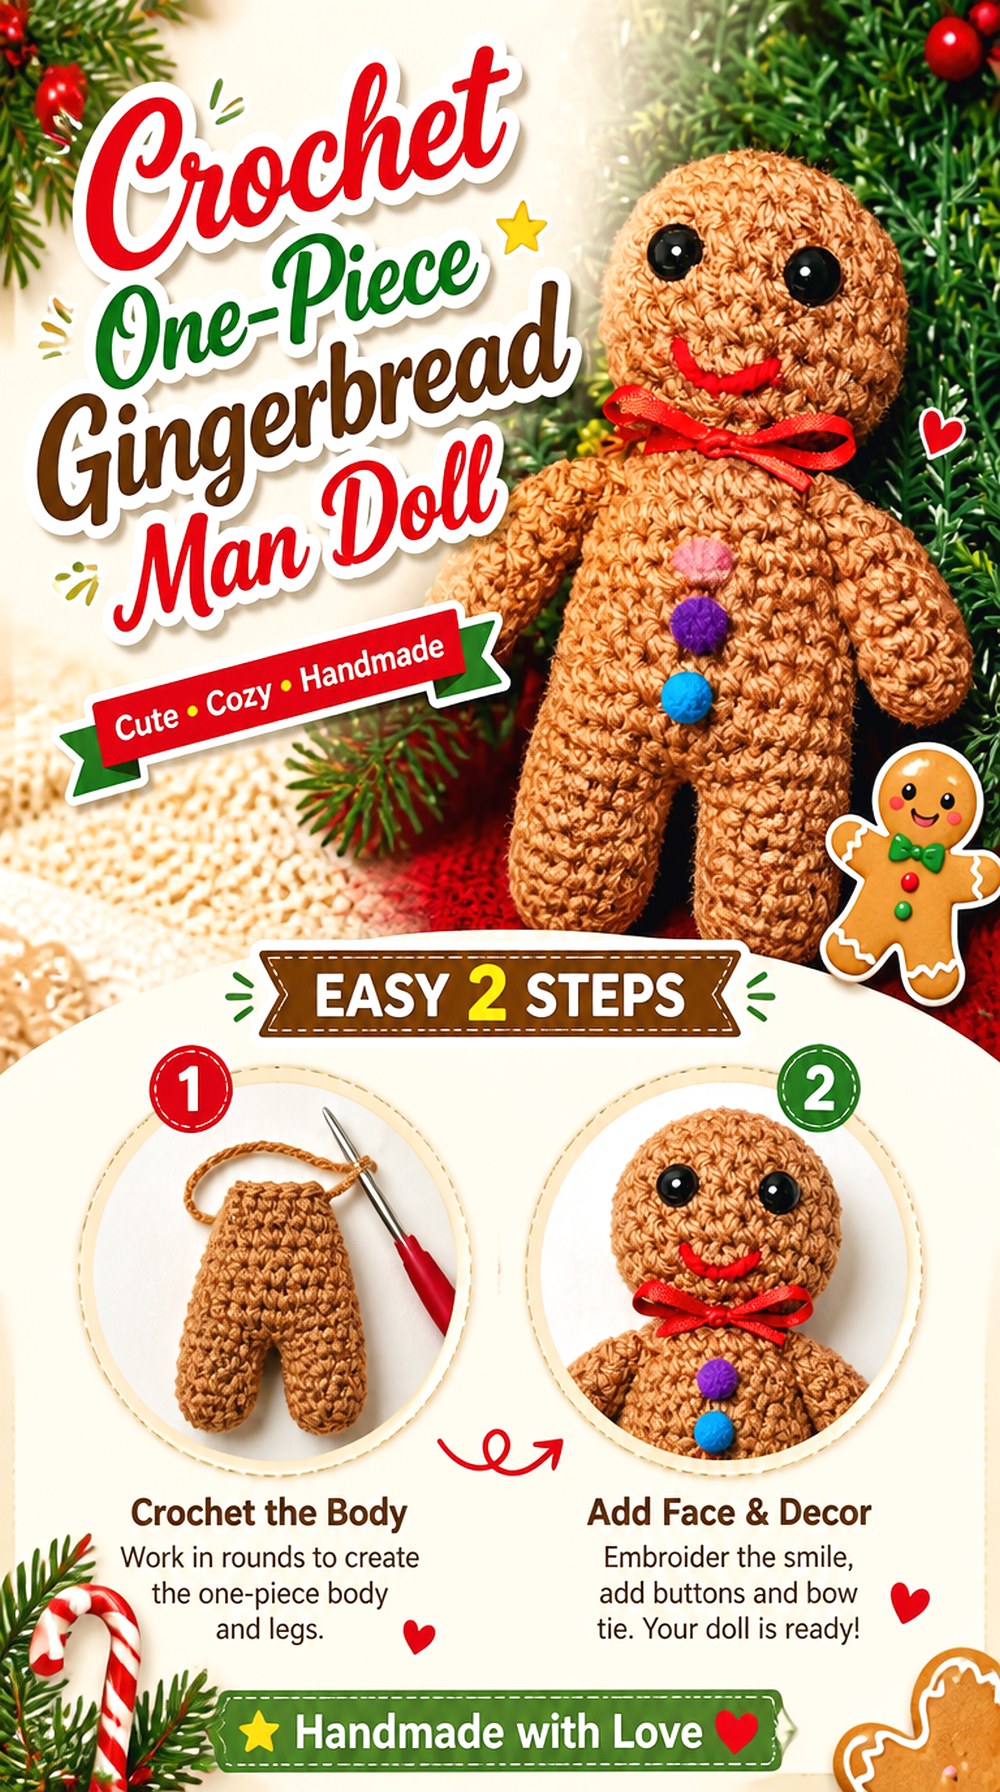
Cosy Rosie Crochet’s gingerbread design connects the head, body, and legs into one primary construction, with the arms added separately. The creator describes it as a low-sew project and demonstrates the design with Aran-weight acrylic yarn in the video.
This makes a practical middle ground between a fully segmented amigurumi and a completely no-sew character. The familiar gingerbread outline remains clear, while reducing major joining seams around the torso and legs. It is a useful option for making a set because the same base silhouette can carry different ribbon, face, or “candy” details without changing the underlying body construction.
Continuous Body Construction Helps Keep the Centerline Clean
A continuous torso can eliminate some of the shifting that occurs when separate legs, body, and head are sewn together. Even so, watch where the beginning of the rounds travels and decide which side should become the back before adding visible embellishments. That simple orientation check helps keep any less-attractive transition areas away from the face and keeps buttons, smiles, and icing visually centered.
Yarn Weight Can Change the Role of the Doll
Cosy Rosie Crochet provides examples at different yarn scales on the accompanying pattern page, showing that changing yarn weight affects finished size. A smaller version may function better as compact seasonal decor, while a larger one has more visual presence on a shelf. If you change yarn, also reassess the scale of eyes, ribbon, and pom-pom decorations instead of transferring accessory sizes automatically.
Glued Decorations Need a Use Check
The video materials include small decorative pom-poms as well as glue options. That can be perfectly workable for decorative display, but it should influence where you plan to use the finished doll. For something frequently handled, assess whether sewn or embroidered substitutes would better suit the job. The decision is less about appearance than about how much abrasion and pulling the finished piece is likely to receive.
Original Tutorial and Creator Credit
Creator: Cosy Rosie Crochet
4. Crochet Flat Panel Gingerbread Cuddler Doll
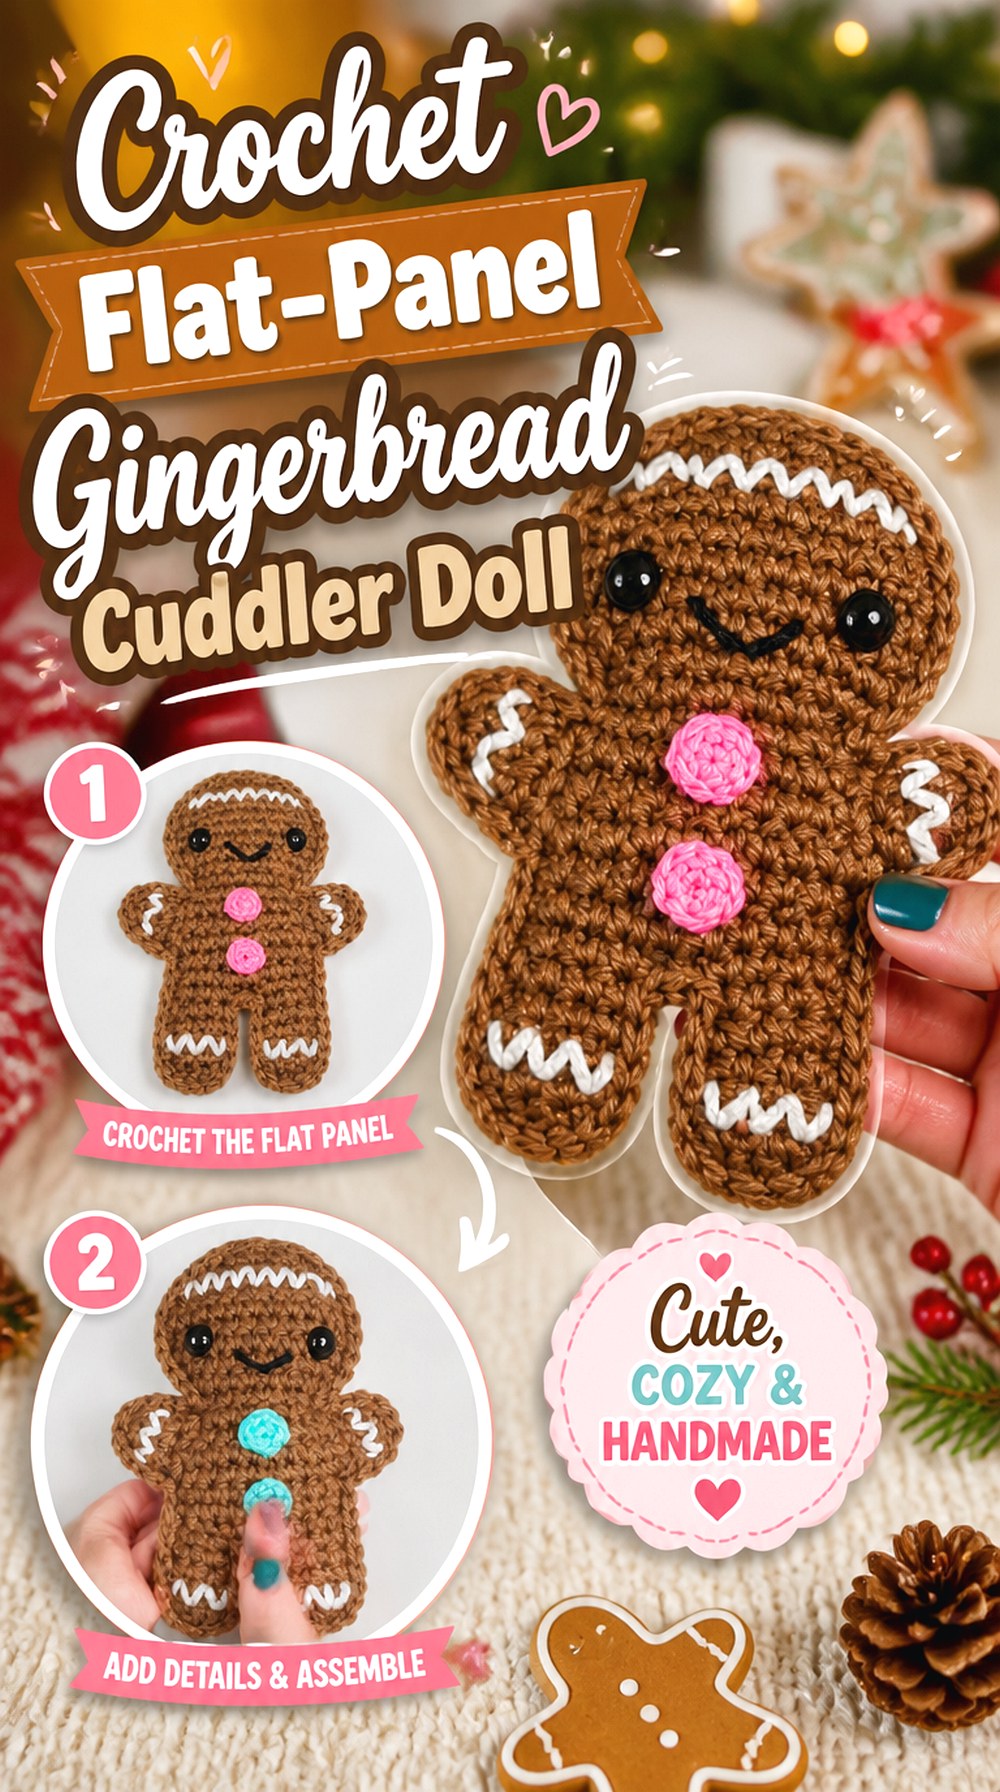
Heather Corinne Crochets uses a different construction route: front and back panels form the main gingerbread shape and are joined around the edges with stuffing inside. The tutorial presents the finished piece as suitable for a small lovey-style character or ornament.
That flatter structure changes both the feel and the storage footprint. Instead of a rounded torso and spherical head, the familiar cookie outline does most of the visual work. It is a useful choice when you want a gingerbread figure that can sit flatter against a gift, wall display, tree, or storage box while still having enough filling to feel dimensional.
Panel Matching Matters Before the Edges Are Joined
Two-panel construction works best when the front and back closely match. Compare them before adding the face or beginning final assembly. If one piece is noticeably wider or longer, forcing the edges together can create rippling around the outline. Correcting shape differences earlier is usually cleaner than relying on stuffing to hide them, because stuffing can exaggerate uneven areas instead of disguising them.
Light Stuffing Preserves the Cookie-Like Profile
The strength of this style is its flatter gingerbread silhouette. Adding more filling will create more volume, but it can also make the seams bulge and push the project toward a pillow-like form. Decide whether you want a slim cuddler, a softly padded ornament, or a fuller display piece before closing the final section. That intended depth should guide the stuffing amount rather than filling until the fabric feels completely firm.
Scaling Up Changes More Than Height
Heather notes that heavier yarn and a larger hook can increase the finished size. If you use that strategy, check the proportions of the eyes and surface details as well. An embellishment that looks balanced on the original scale may appear undersized after the body grows. The same applies to hanging loops: a larger, heavier figure needs a hanging method appropriate to its new weight and purpose.
Original Tutorial and Creator Credit
Creator: Heather Corinne Crochets
5. Crochet Mini Gingerbread Amigurumi Doll
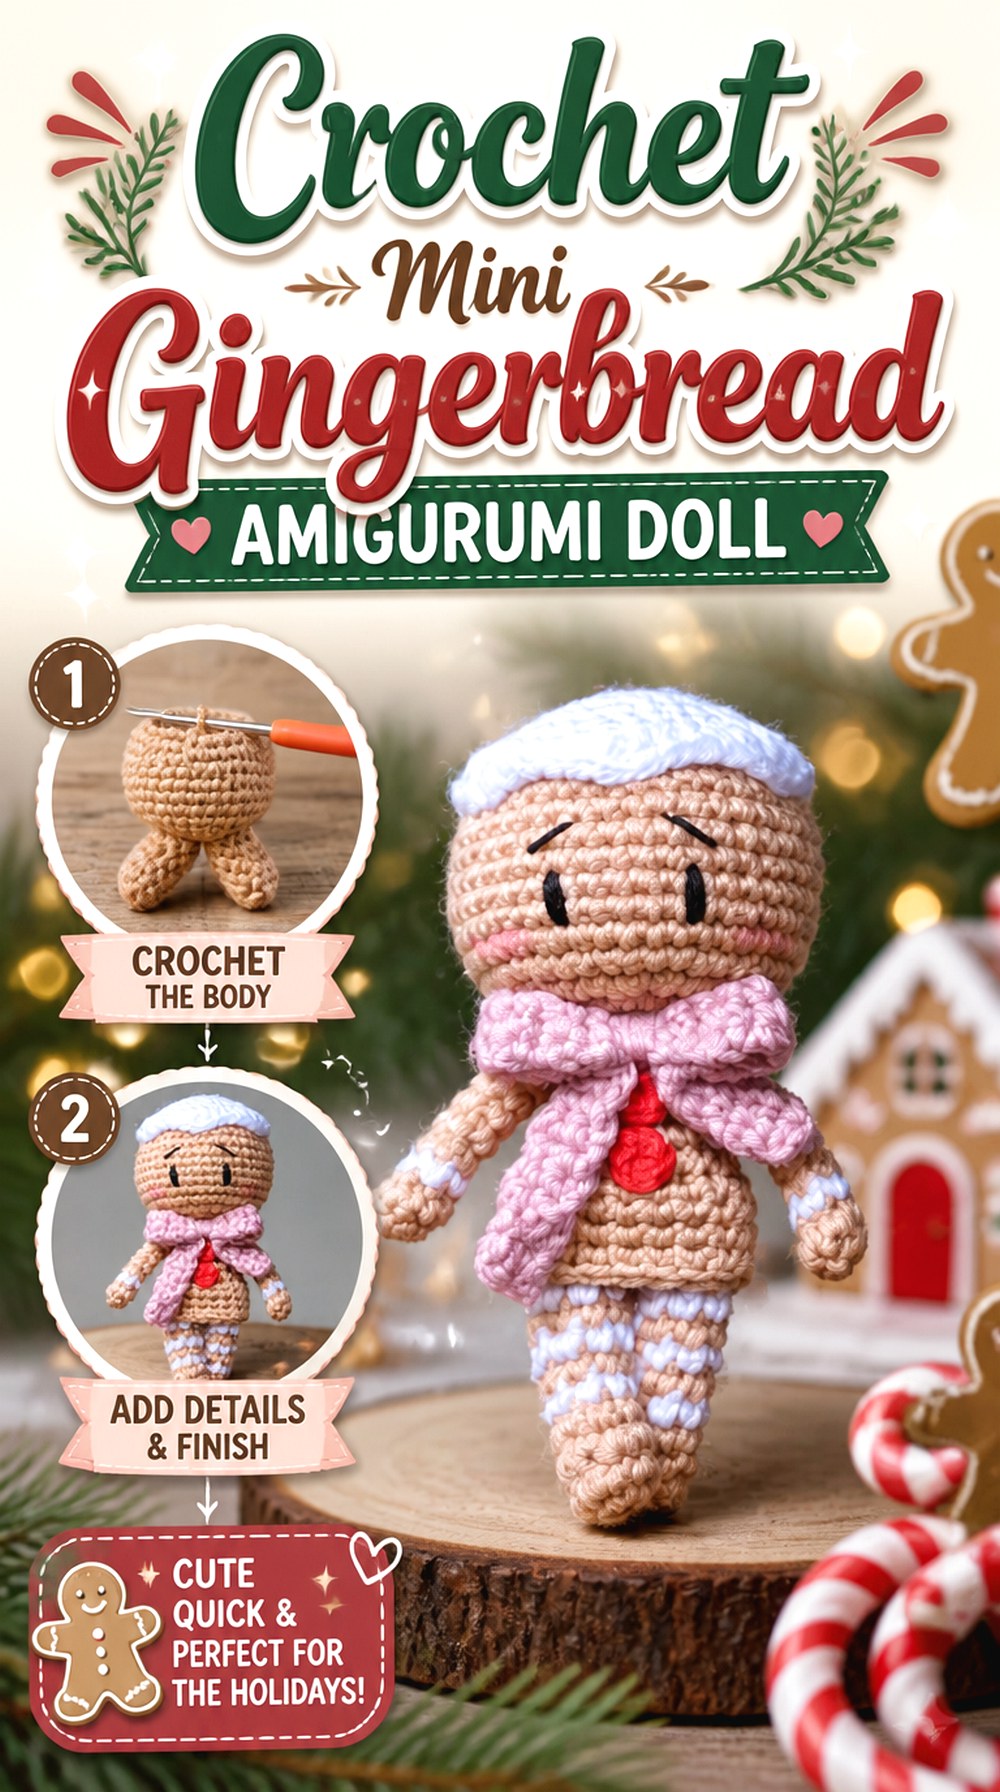
ToyGurumi’s gingerbread project keeps the classic amigurumi look but compresses it into a small finished character. The creator lists the doll at about four inches when made with the demonstrated medium-weight yarn and hook combination.
That scale makes the idea useful when you want an actual dimensional doll without the visual bulk of a larger plush. It can stand alone as a miniature seasonal character or work among several small Christmas figures. Because the surface area is limited, the face and icing details have to share a much smaller canvas, so proportion and placement become especially noticeable.
Small Faces Benefit From Simple Details
On a miniature doll, a tiny shift in eye or mouth position changes the expression more dramatically than it would on a larger head. Mark the intended placements before permanently attaching or embroidering them. If you plan to substitute embroidered eyes for hard ones, keep the shapes relatively simple so the face remains readable rather than becoming crowded with tiny stitches.
Keep Stuffing Away From Visible Gaps
ToyGurumi’s tutorial uses medium yarn for a small finished amigurumi. Compact stuffed figures can reveal filling quickly if the fabric opens under tension. As you stuff, check the stretched areas around increases, decreases, and narrow joins. If white filling begins showing, adding more stuffing is unlikely to help; the better choice is usually to preserve a firm but not over-expanded shape.
Ornament Use Needs a Balanced Hanging Point
The creator presents the project as a Christmas ornament as well as an amigurumi doll. If you add a hanger, test the balance before securing it permanently. A loop placed too far forward or backward can make a dimensional doll tip face-down or lean away from the viewer. Temporarily hold the figure by the proposed point and adjust until the face hangs at the angle you want.
Original Tutorial and Creator Credit
Creator: ToyGurumi
6. Crochet Tiny Gingerbread Man Doll
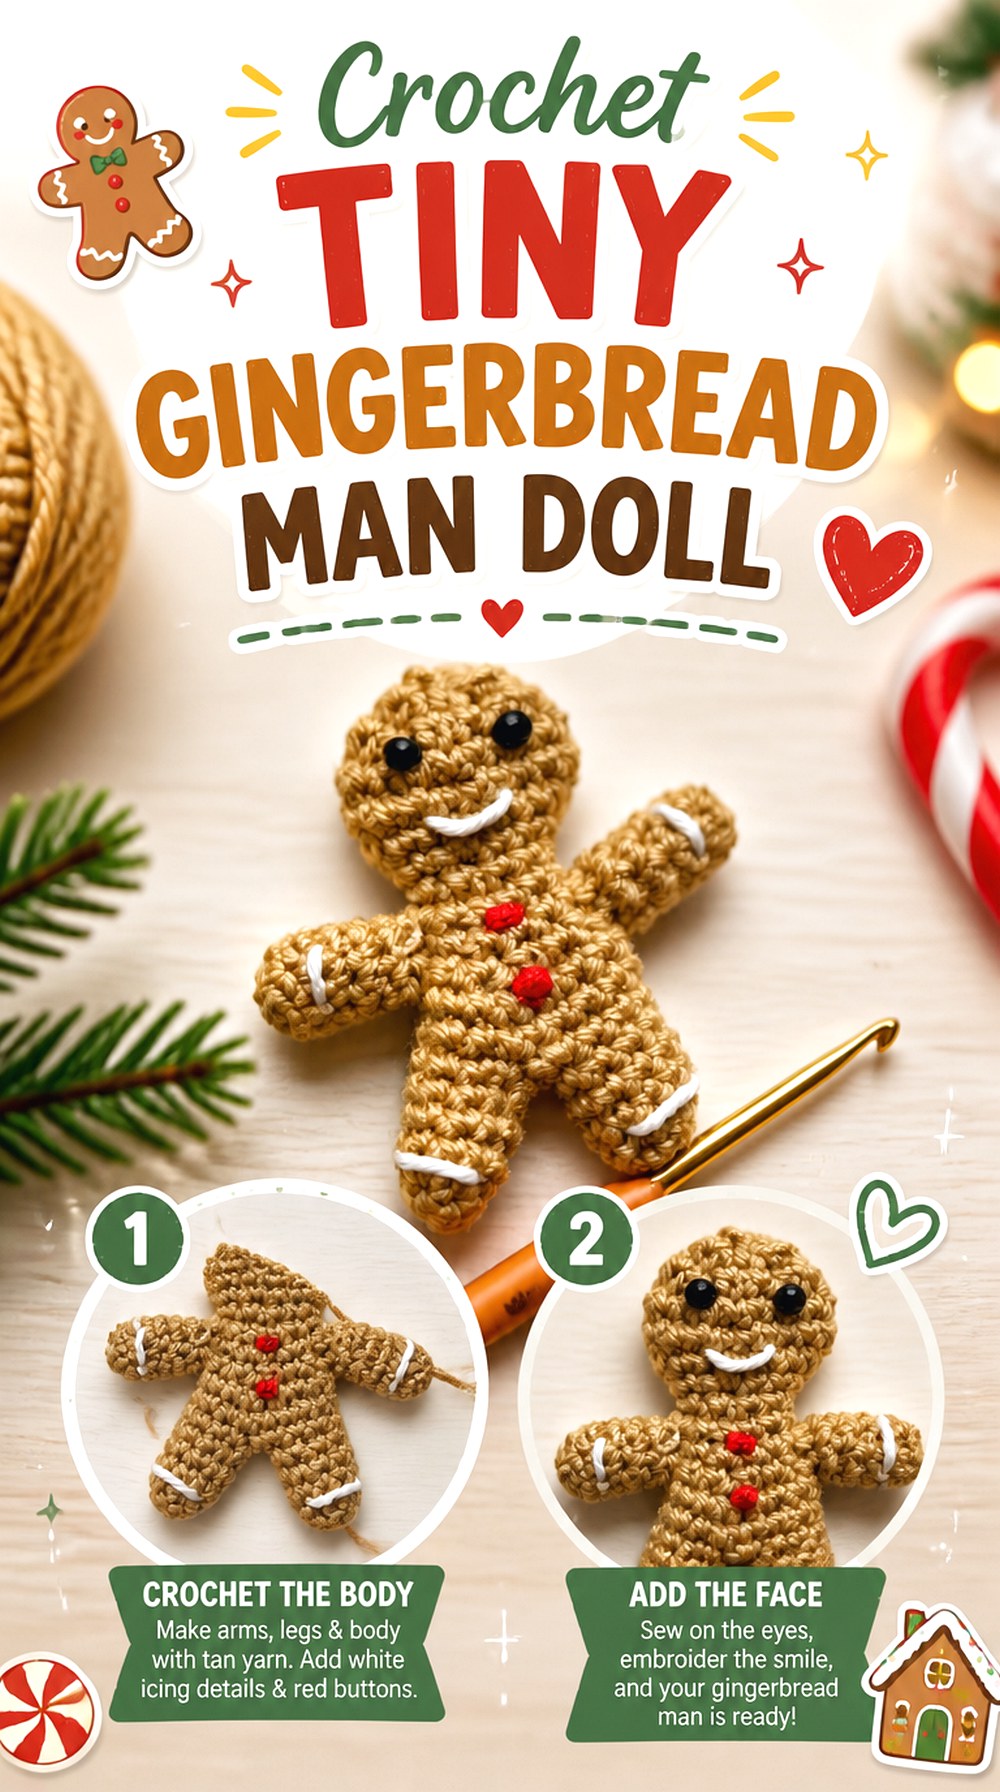
GratiaProject’s gingerbread man is even more compact. The creator lists the finished example at about 2.5 by 2.5 inches and demonstrates the project using DK yarn with a 3.5 mm hook.
That makes this option particularly relevant for small-scale decorating. It still has separate arms and recognizable gingerbread features, but its footprint is closer to a miniature ornament than a cuddly doll. The tutorial also discusses working in joined rounds, which gives crocheters a different learning route from the continuous-spiral amigurumi seen elsewhere in this collection.
Tiny Scale Makes Icing Placement More Important
When the whole figure is only a few inches across, decorative stripes can easily overpower the limbs. Before adding icing or buttons, look at how much plain brown fabric remains visible. Leaving enough background color around each accent helps preserve the gingerbread-cookie effect. If adapting the colors, prioritize contrast between the body and icing rather than adding numerous similarly weighted decorative shades.
Joined Rounds Create a Different Surface Rhythm
The creator demonstrates a joined-round approach and recommends tracking the beginning of the round. If you usually make amigurumi in continuous spirals, pay attention to how the join sits in relation to the front. Decide early which area will become the back so the face and buttons can be centered independently of any visible round transition.
Original Tutorial and Creator Credit
Creator: GratiaProject
7. Crochet No Stuff Gingerbread Cookie Doll
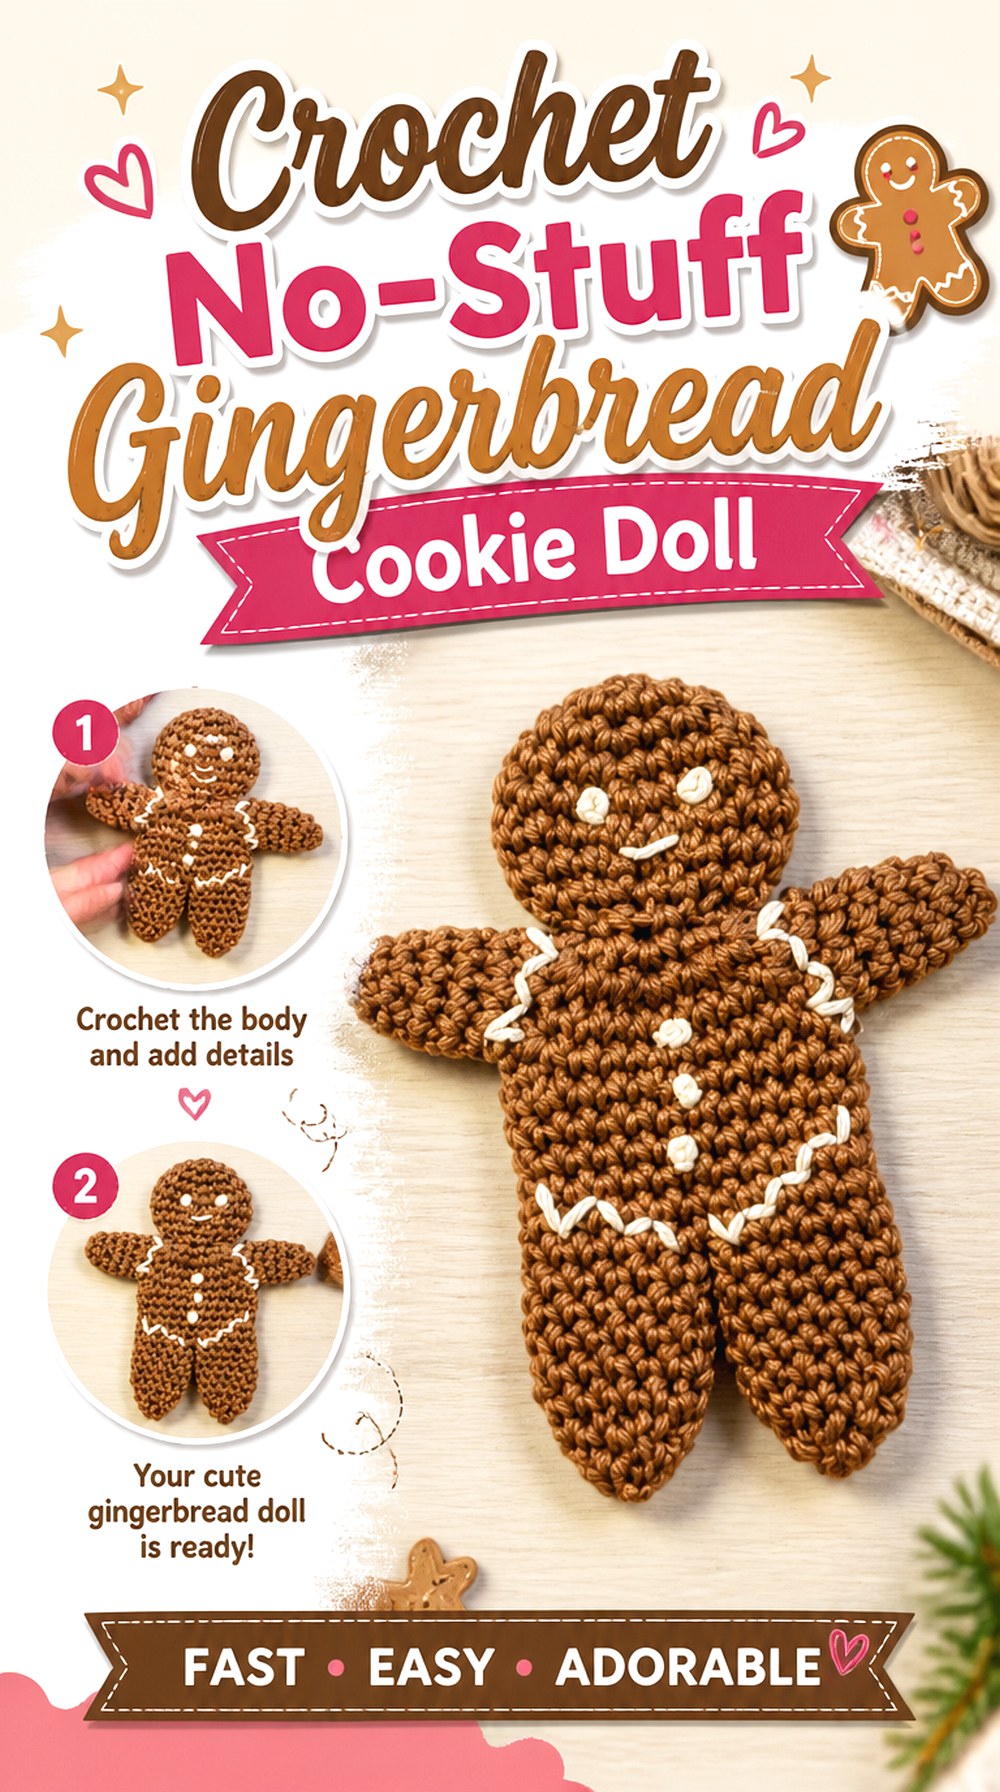
Pocket Yarnlings removes two common amigurumi tasks entirely: the gingerbread cookie is made without sewing separate body pieces together and without stuffing. The associated pattern describes it as one continuous piece, while the video presents it as a tiny Christmas cookie suitable for ornament, topper, or miniature decorative use.
The result is intentionally flatter and more cookie-like than the plush dolls above. That makes it a useful choice when storage space, hanging weight, or a crisp silhouette matters more than squeezable volume. It is also visually distinct enough to mix with stuffed gingerbread dolls rather than appearing like a duplicate.
Flat Construction Makes the Outline the Main Feature
Without stuffing to create volume, the success of the design depends more heavily on the contour of the head, arms, torso, and legs. After finishing the body, smooth it flat and check whether any section curls or twists before adding decoration. Gentle shaping and appropriate finishing can make a bigger difference here than trying to create depth that the project was not designed to have.
Embroidery Keeps the Surface Lightweight
The tutorial emphasizes embroidered icing details rather than bulky attached decorations. That suits a flat cookie because the embellishments do not pull one area forward or make the figure hang unevenly. If you customize the face or icing, keep thread tension relaxed enough that the embroidery sits on the surface without puckering the surrounding crochet fabric.
Original Tutorial and Creator Credit
Creator: Pocket Yarnlings
8. Crochet Frosted Gingerbread Doll Ornament
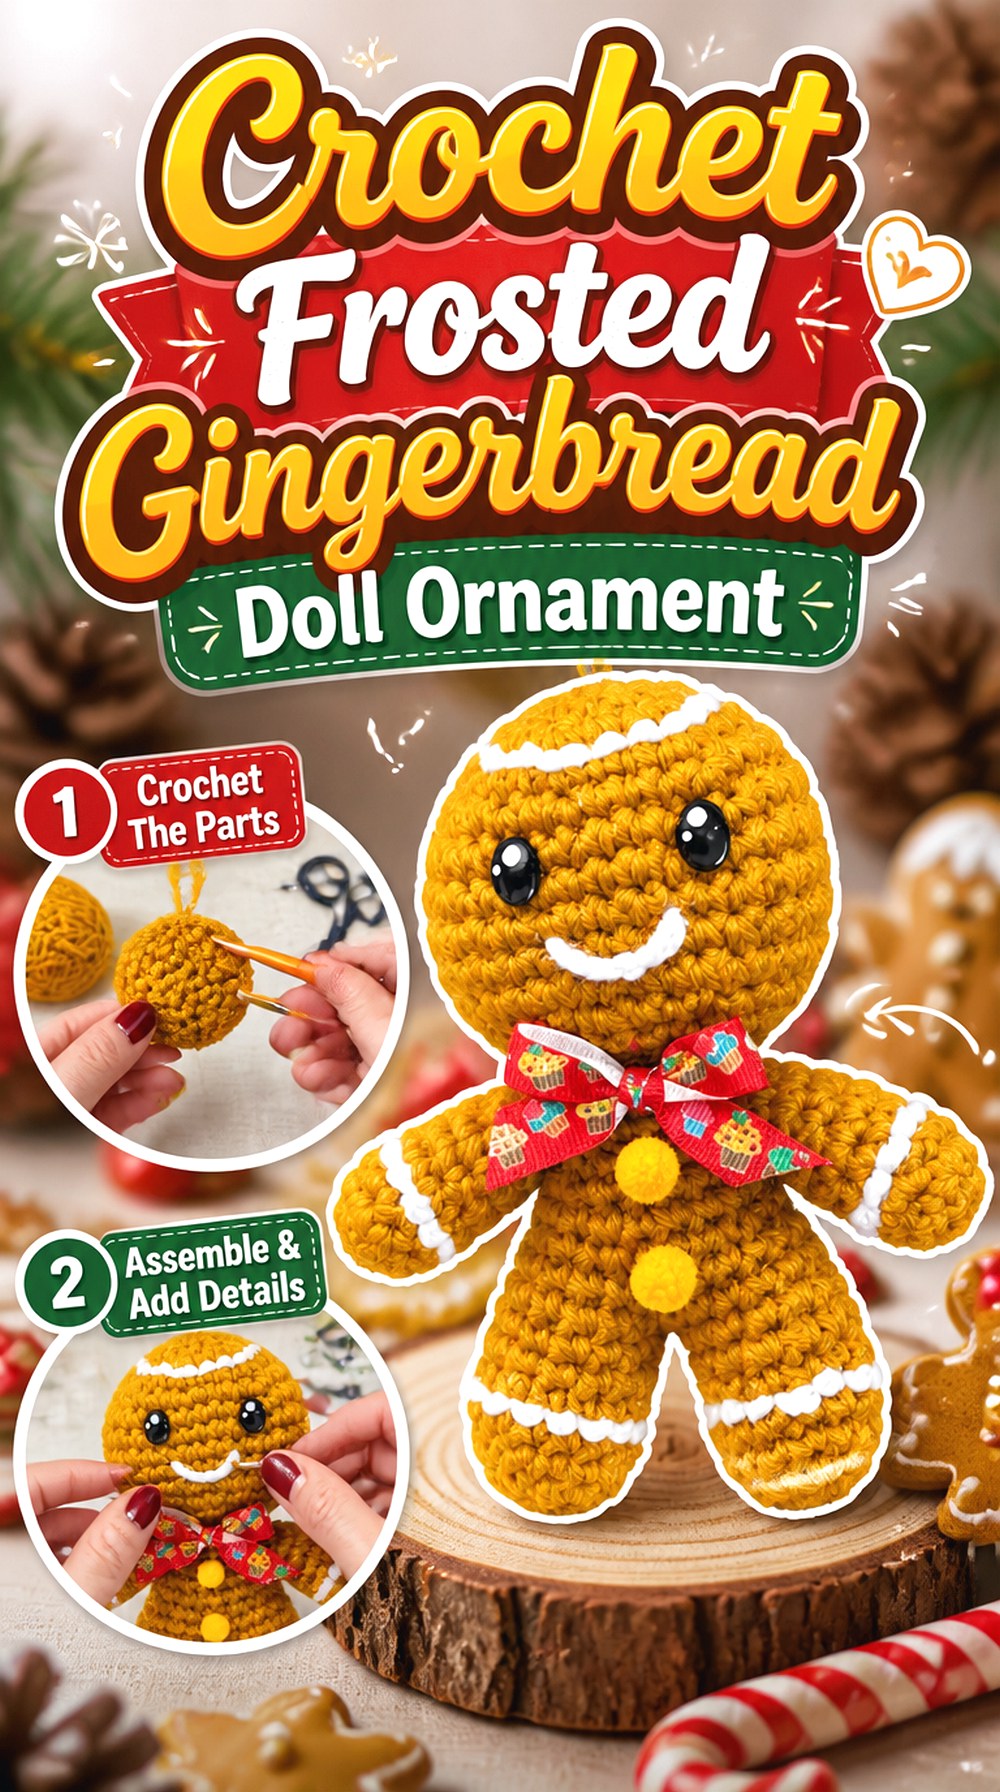
La casita de puchis focuses specifically on a gingerbread amigurumi Christmas ornament. The demonstrated materials include mustard and white angorita yarn, a size 3 hook, oval eyes, pom-poms, and ribbon, giving the finished piece a distinctly decorated hanging-object identity.
This is a good direction if your main goal is tree display rather than a doll that needs to sit upright or tolerate frequent handling. The ribbon and surface accents contribute directly to the ornament function, so their placement and weight deserve as much thought as the crocheted body itself.
The Hanging Loop Should Support the Whole Figure
Attach the ribbon where the ornament hangs upright without twisting. Before securing it, hold the doll from the proposed point and see where the center of gravity settles. Decorative eyes, pom-poms, and thicker frosting can move the visual and physical balance slightly. A small adjustment in loop placement can keep the face presented toward the viewer instead of turning sideways on a branch.
Pom-Poms Change the Best Use for the Finished Piece
Pom-poms add dimensional “candy” texture, but they also create protruding parts that can catch on storage materials or loosen under repeated handling. For a tree ornament, that may be an acceptable trade-off. If you are adapting the same idea into a toy, consider whether embroidered or crocheted details would better match the intended use and the recipient.
Subtitles Make Visual Checkpoints More Important
The tutorial notes that subtitles are available. When following a subtitled crochet video, use the finished-object views and close-up demonstrations as checkpoints rather than reading ahead and assuming placement. Pause when the face, ribbon, or decorative pieces are shown from the front so you can compare orientation before permanently attaching anything.
Original Tutorial and Creator Credit
Creator: La casita de puchis
9. Crochet Sprinkled Gingerbread Cookie Doll
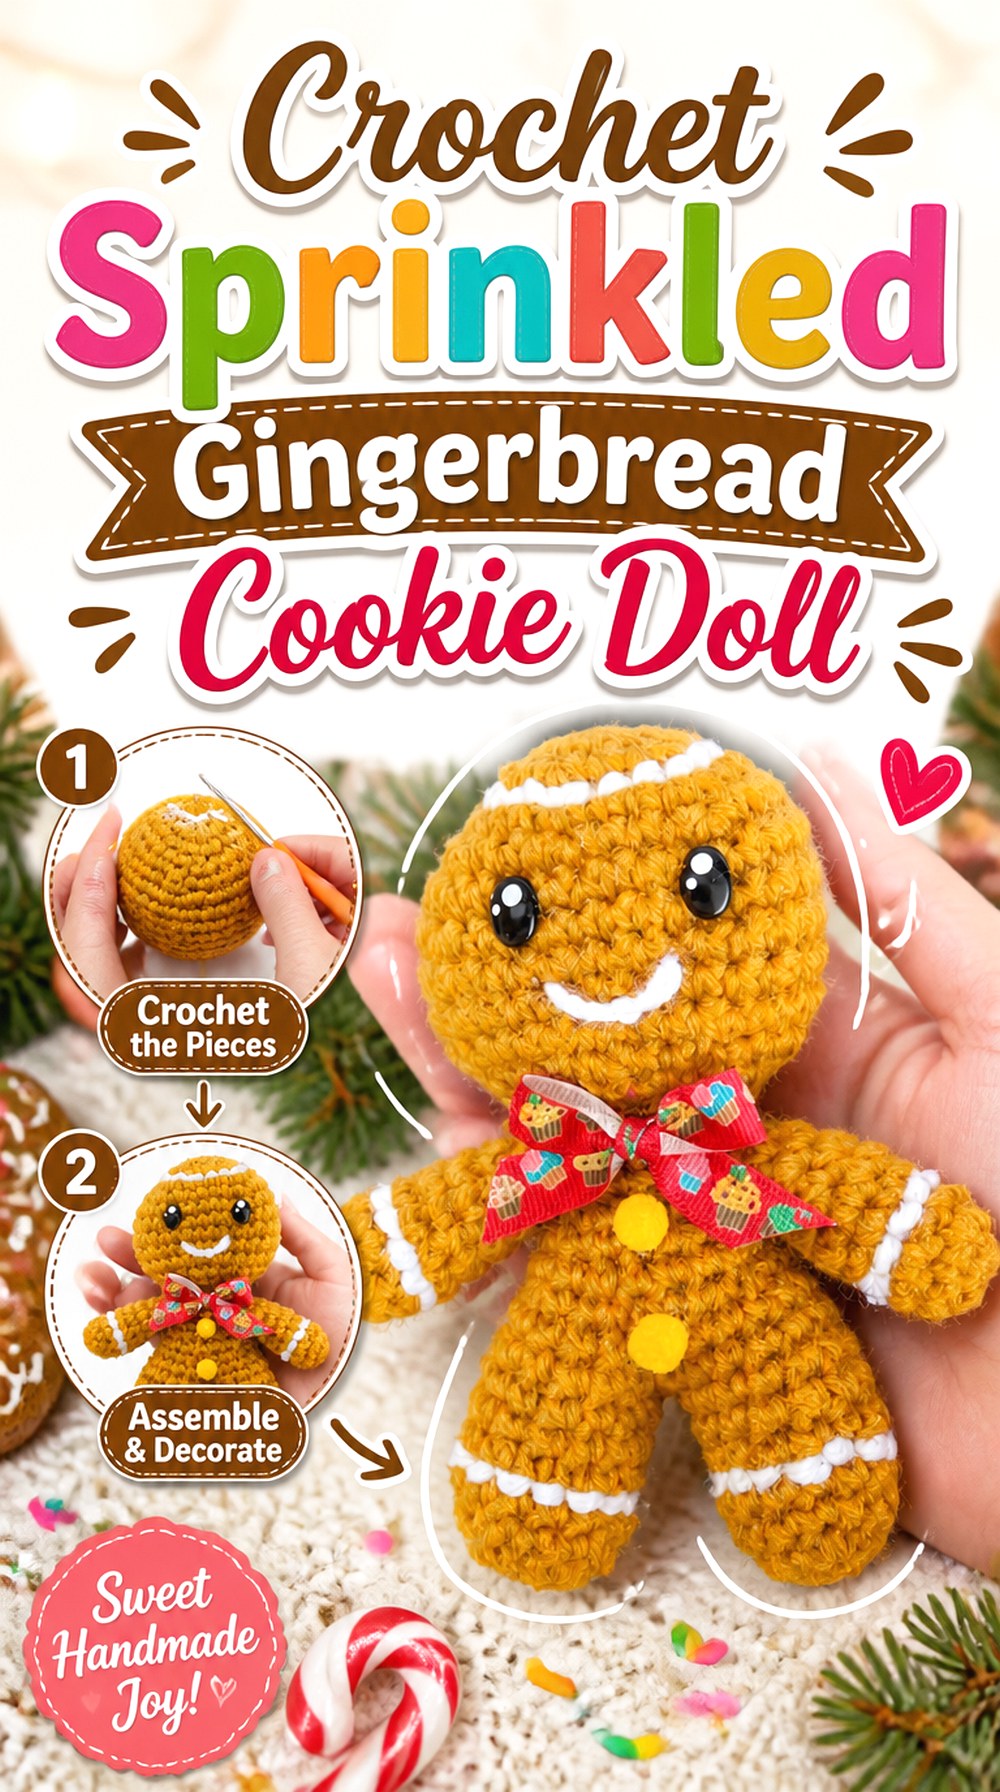
Amigurumis Atina gives the gingerbread cookie a more confectionery look through chenille yarn, icing, buttons, a hat, pom-pom styling, and sprinkle-like decoration. The creator describes the finished project as a mini gingerbread cookie that is almost seamless and suitable for a keychain or tree decoration.
Compared with the simpler miniature dolls in this roundup, this idea puts more emphasis on the “decorated dessert” side of the theme. It is a strong option if you enjoy surface details and want the finished piece to read immediately as a frosted Christmas cookie rather than simply a brown amigurumi person.
Chenille Softens Small Decorative Edges
The demonstrated project uses chenille for much of the doll. That gives the character a plush appearance, but fuzzy fibers can visually soften the edges of tiny icing and facial elements. When substituting colors, choose accents with enough contrast to remain readable against the body. Adding more tiny decorations is not always the answer; clearer contrast often has a stronger effect on a miniature surface.
The Hat Shifts the Visual Weight Upward
A decorated hat makes the head the dominant part of the silhouette. Before final attachment, view the doll with the hat temporarily positioned and make sure the face still has enough open space. If you enlarge the hat or add a bigger pom-pom, you may need to keep the torso decorations simpler so the miniature figure does not become top-heavy visually.
Keychain and Tree Use Ask for Different Hardware
The creator suggests both keychain and tree-decoration uses. Those jobs put different demands on the attachment point. A tree ornament is mostly stationary, while a keychain is moved, pulled, and rubbed against other objects. If adapting the doll for a frequently handled accessory, assess the hanger and every decorative attachment for that more demanding use instead of treating the two applications as interchangeable.
Original Tutorial and Creator Credit
Creator: Amigurumis Atina
10. Crochet Classic Gingerbread Man Amigurumi Doll

Odinka Wisanindhi’s tutorial keeps the design close to the familiar gingerbread-person silhouette. The construction begins at the feet, continues into the body and head, and adds separate arms plus a small bow and embroidered details.
This is a useful final option for readers who want a straightforward character shape without the larger accessory set found on the holly buddy or sprinkled cookie. Because the lower body flows into the torso and head, the finished piece has a strong continuous center while the attached arms provide just enough separate assembly to adjust the overall stance.
Leg Joining Determines the Lower-Body Symmetry
Because the two feet are brought together before the torso continues, check their orientation at the join rather than waiting until the head is complete. If one foot rotates differently from the other, that difference can become more noticeable after stuffing. Looking at the joined legs from both front and side gives you a better checkpoint than relying on stitch position alone.
Embroidered Icing Keeps the Classic Shape Uncluttered
The tutorial uses embroidered details on the hands and feet along with a simple face and bow. This lighter decoration lets the gingerbread silhouette remain the main feature. If you want to personalize it, change one category at a time—such as bow color or button style—then reassess the balance before adding another decorative layer.
Separate Arms Let You Fine-Tune the Final Stance
Since the arms are attached after the main body is formed, you can decide whether the doll should look more compact or more open. Hold both arms in place before sewing and compare the angle against the width of the head and legs. Symmetrical placement works well for a classic cookie-person appearance, while even a slight angle can give the figure more character without changing the underlying pattern.
Original Tutorial and Creator Credit
Creator: Odinka Wisanindhi
Which Crochet Gingerbread Doll Style Should You Choose?
For a fuller holiday character with lots of personality, the Pixeled Peach buddy gives you the most room for layered accessories. Reigning Charmz and Cosy Rosie Crochet make more sense when reducing sewn assembly is a priority. Heather Corinne’s two-panel doll is the strongest contrast to rounded amigurumi because it stays flatter and can work as a cuddler or ornament.
For small-scale decorating, ToyGurumi and GratiaProject offer compact stuffed characters, while La casita de puchis and Amigurumis Atina lean more strongly into ornament styling. Pocket Yarnlings is the clearest choice when you specifically want to avoid stuffing. Odinka Wisanindhi sits between those extremes with a classic dimensional gingerbread-person shape and relatively simple finishing.
Conclusion
The most useful way to choose among these 10 crochet gingerbread doll ideas is to decide what the finished piece needs to do. Choose a rounded or low-sew plush for more volume, a flat-panel or unstuffed cookie when storage and hanging matter, or a decorated miniature when the project is primarily for a Christmas tree or seasonal display.
Then compare the finishing demands. Holly, hats, pom-poms, bows, and ribbon create stronger character but add attachment decisions, while embroidered icing keeps the surface simpler. Once you have chosen the construction and intended use, follow the linked original tutorials for their exact construction details and finishing sequence.
Frequently Asked Questions
What is the difference between a crochet gingerbread doll and a gingerbread ornament?
A doll is usually designed as a dimensional character that can be held, displayed, or posed, while an ornament prioritizes low weight and a secure hanging point. There is plenty of overlap. ToyGurumi’s tutorial, for example, describes the same small amigurumi as both a doll and Christmas ornament. Decide based on how you intend to use the finished piece rather than the label alone.
What yarn works well for crochet gingerbread dolls?
There is no single required fiber or yarn weight. Smooth yarn makes small icing and embroidery details easier to see, while chenille produces a softer plush surface. The verified tutorials in this collection range from DK and medium-weight yarn to Aran and chenille. If substituting yarn, choose a hook and accessory scale that produces suitably dense fabric for the intended project.
Should I use safety eyes or embroidered eyes on a gingerbread doll?
That depends on who will receive it and how it will be used. Safety eyes give a clean, dimensional appearance, but hard or detachable components require extra caution for babies and very young children. Nicole Chase specifically recommends yarn, felt, or embroidered alternatives for baby items because safety eyes and noses can present a choking hazard. Decorative shelf pieces have different requirements from toys intended for frequent handling.
How can I keep stuffing from showing through my crochet gingerbread doll?
Aim for fabric dense enough to contain the filling without stretching the stitches excessively. Stuff gradually and check the areas around shaping changes as the doll fills. If gaps become visible, forcing in more stuffing generally makes them wider. A smaller suitable hook relative to the yarn can help create denser amigurumi fabric; Nicole Chase also recommends a smaller hook for this purpose in her gingerbread pattern notes.
Can I make a crochet gingerbread doll larger or smaller than the tutorial?
Often, changing yarn weight and using a hook appropriate to that yarn will change the overall scale, but it can also alter firmness, drape, and accessory proportions. Heather Corinne explicitly notes that heavier yarn and a larger hook can enlarge her design, while Cosy Rosie Crochet shows different finished sizes with different yarn weights. Recheck eyes, buttons, ribbons, and hanging loops whenever you change scale.
Which gingerbread doll construction is easiest to store after Christmas?
Flatter projects generally take up less storage depth than firmly stuffed three-dimensional dolls. Pocket Yarnlings’ no-stuff cookie is particularly compact because it is intentionally flat, while Heather Corinne’s two-panel design can remain relatively slim depending on how heavily it is stuffed. For reusable seasonal decor, also consider whether protruding pom-poms, bows, or other embellishments need protection from crushing during storage.


