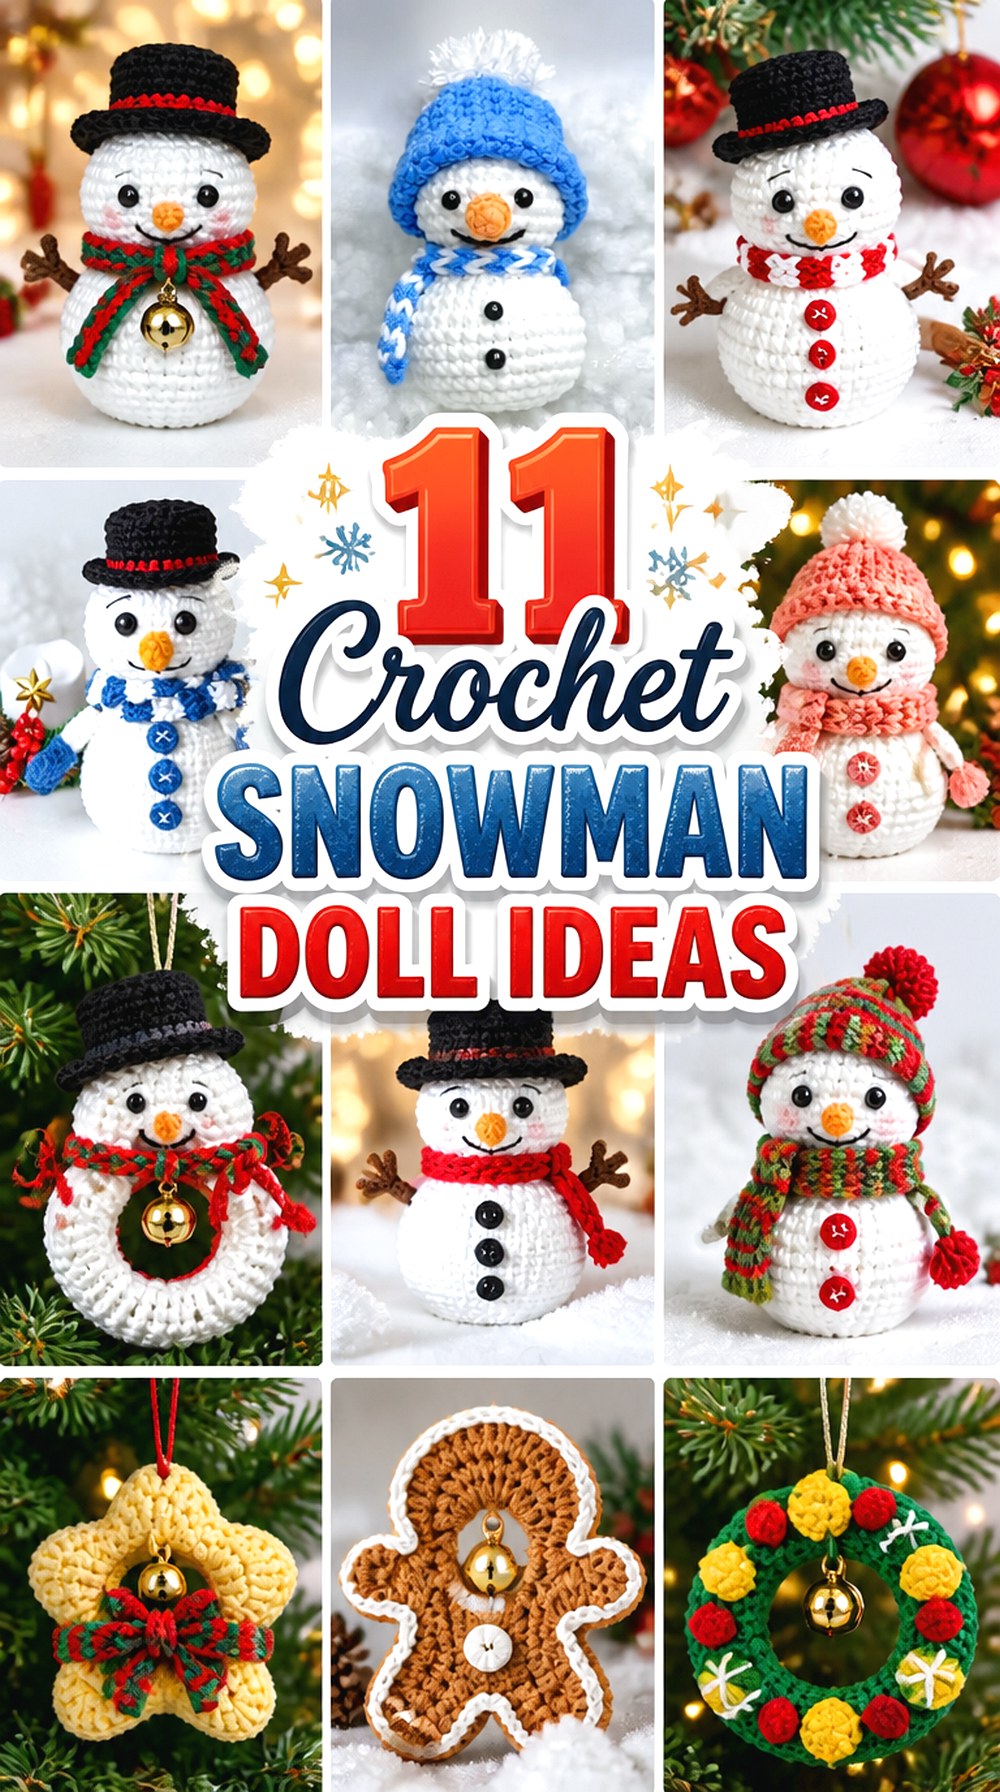

Crochet snowman dolls can look surprisingly different even when they share the familiar white body, carrot nose, scarf, and winter hat. Some designs are compact amigurumi for small displays, while others use thick yarn for a fuller plush shape. You can also choose flat ragdoll construction, one-piece bodies with very little assembly, or small snowmen designed specifically to hang on a tree.
These 11 ideas focus on those practical differences rather than color changes alone. You’ll find options with top hats, beanies, holly details, bells, chunky textures, decorative accessories, and multiple construction styles. The comparisons below also explain what to consider before changing yarn, adding small embellishments, adjusting stuffing, or turning a decorative snowman into a giftable toy.
Quick List
- Crochet Mini Top-Hat Snowman Doll
- Crochet One-Piece Top-Hat Snowman Doll
- Crochet Huggable Blanket-Yarn Snowman Plush
- Crochet Chunky Beanie Snowman Doll
- Crochet Flat Ragdoll Snowman Ornament
- Crochet Classic Hanging Snowman Doll
- Crochet Holly-Trimmed Snowman Doll
- Crochet Bell-Accent Snowman Ornament Doll
- Crochet Chenille Snowman Doll with Winter Details
- Crochet Detailed Hat-and-Scarf Snowman Doll
- Crochet Compact Snowman Charm Doll
Choose the Snowman Construction Before the Accessories
The biggest difference between snowman dolls is often hidden beneath the scarf and hat. Traditional amigurumi usually builds rounded three-dimensional forms in the round. A one-piece design can reduce the amount of later assembly, while a ragdoll is worked more like a flat shape and creates a noticeably different silhouette.
Think about where the finished snowman will go before choosing. A fuller stuffed design usually makes more sense for a shelf, gift basket, or plush display. A flatter doll takes up less storage space and works well in hanging decorations or garlands. If sewing separate pieces is the part of amigurumi you enjoy least, prioritize tutorials that intentionally minimize assembly rather than choosing solely by the finished face.
Yarn, Stuffing, and Scale Change the Personality
Changing yarn can alter far more than the color of a crochet snowman. Smooth cotton-blend or similar yarns make individual stitches and embroidered features easier to see, while chenille and blanket yarn create a softer, more substantial surface. A thicker yarn can also enlarge a design significantly when paired with an appropriate hook.
Stuffing affects the silhouette just as much. Rounded snowballs need enough filling to keep their shape, but packing them too aggressively can stretch the fabric and expose gaps between stitches. Before substituting a dramatically different yarn, check how the tutorial handles the neck, base, hat, and facial pieces. Those areas may behave differently once the finished doll becomes heavier, softer, or larger than the creator’s version.
Plan Small Parts Around Display or Gifting
Buttons, beads, bells, safety eyes, pom-poms, decorative berries, and glued details can give a snowman far more personality, but the intended use matters. A shelf ornament can support decorative elements that may not be appropriate on something intended for frequent handling.
For a baby, young child, or pet-accessible gift, assess every small or detachable component rather than assuming an amigurumi project is automatically suitable as a toy. Embroidered facial details can sometimes replace rigid pieces when that better suits the recipient. Also check whether hanging loops and long scarf ends are appropriate for the intended setting. When a tutorial uses glued embellishments, treat the original project primarily as decorative unless you have independently chosen a secure finishing method suited to your use.
1. Crochet Mini Top Hat Snowman Doll

This compact snowman keeps the classic winter character recognizable without relying on an oversized body. The tutorial includes a traditional top hat, carrot-style nose, twig-like arms, and dark “coal” details, giving the doll a more old-fashioned snowman appearance than the beanie-wearing plush designs later in this list.
Its smaller format makes it especially useful when you want a snowman that can sit among other miniature winter figures rather than dominate a mantel. Because the facial details, arms, and hat contribute so much to the character, careful placement matters more here than simply adding extra stuffing.
The Top Hat Sets the Silhouette
A structured top hat gives this snowman a clearly defined upper edge instead of the soft point created by a winter beanie. If you adapt the colors, keep enough contrast between the hat and white head so its shape remains readable from a distance.
Also look at the hat-to-head proportion before substituting heavier yarn. A dramatically thicker hat can visually overwhelm a miniature body even when both pieces are technically made from the same pattern.
Small Facial Features Need Deliberate Placement
With a compact doll, moving the eyes, nose, or mouth only slightly can noticeably change the expression. Position temporary features before permanently securing them whenever your materials allow.
This is particularly useful if you substitute safety eyes, embroidery, or another face treatment for the creator’s version. Rather than copying measurements between different yarns, judge placement against the actual head you have crocheted.
Keep the Base Useful for Its Final Display
A small snowman that will spend most of its time on a shelf should be able to sit without constantly tipping forward under its hat. Before closing the body, check the distribution of stuffing and whether the base is staying reasonably level.
If your version is meant to hang instead, balance becomes less important than selecting a secure suspension point that keeps the face oriented forward.
2. Crochet One Piece Top Hat Snowman Doll
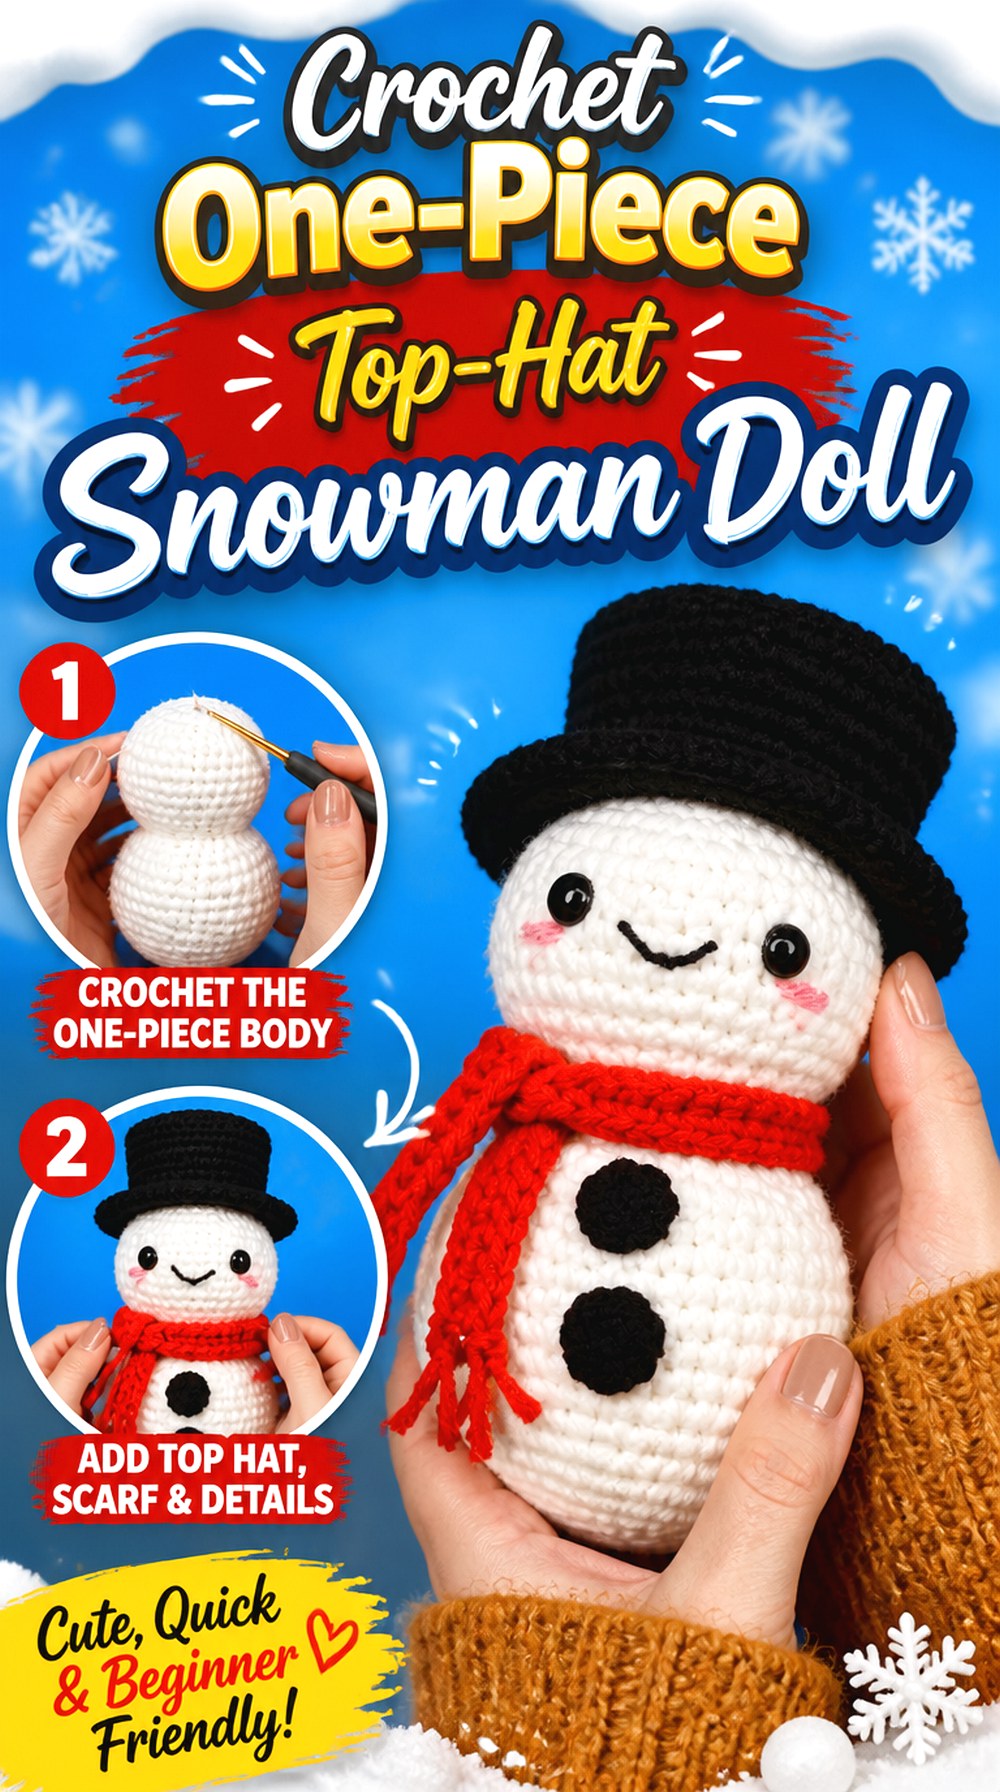
This snowman is a useful alternative for crocheters who like three-dimensional amigurumi but would rather reduce the number of body pieces that need to be attached afterward. Hooked by Robin’s version forms the main snowman in one piece, then adds finishing elements such as the scarf, top hat, facial embroidery, and coal-style buttons.
The continuous body gives the finished doll a clean stacked-snowball profile without a separate head seam. That makes this idea meaningfully different from multi-piece amigurumi, especially if assembly is usually the point where your projects slow down. The black top hat also keeps the look traditional despite the more streamlined construction.
One-Piece Construction Reduces a Major Join
Eliminating a separate head attachment means you do not need to align and sew a large round head onto a stuffed torso. That can help avoid an obviously tilted neck seam.
It does not eliminate finishing altogether. Accessories and decorative parts still require attention, so choose this design because you prefer continuous body shaping—not because you expect absolutely no needle work.
Shape the Neck Before the Body Is Closed
With head and torso flowing into each other, the transition between the two snowballs becomes a major visual checkpoint. Stuffing should support both sections while preserving a visible narrowing around the neck.
If that transition disappears, the doll can begin to look like one elongated oval. Check the side profile as well as the front while you can still redistribute the filling.
Removable-Looking Accessories Add Contrast
The narrow scarf and dark top hat visually divide a mostly white body. This makes accessory color one of the simplest adaptation points without changing the snowman’s fundamental construction.
For a quieter winter display, use muted accessory colors. For Christmas decor, stronger contrast can make the scarf and hat more noticeable. Keep the facial details visible against whichever palette you choose.
Original Tutorial and Creator Credit
Creator: Hooked by Robin
3.Crochet Huggable Blanket Yarn Snowman Plush
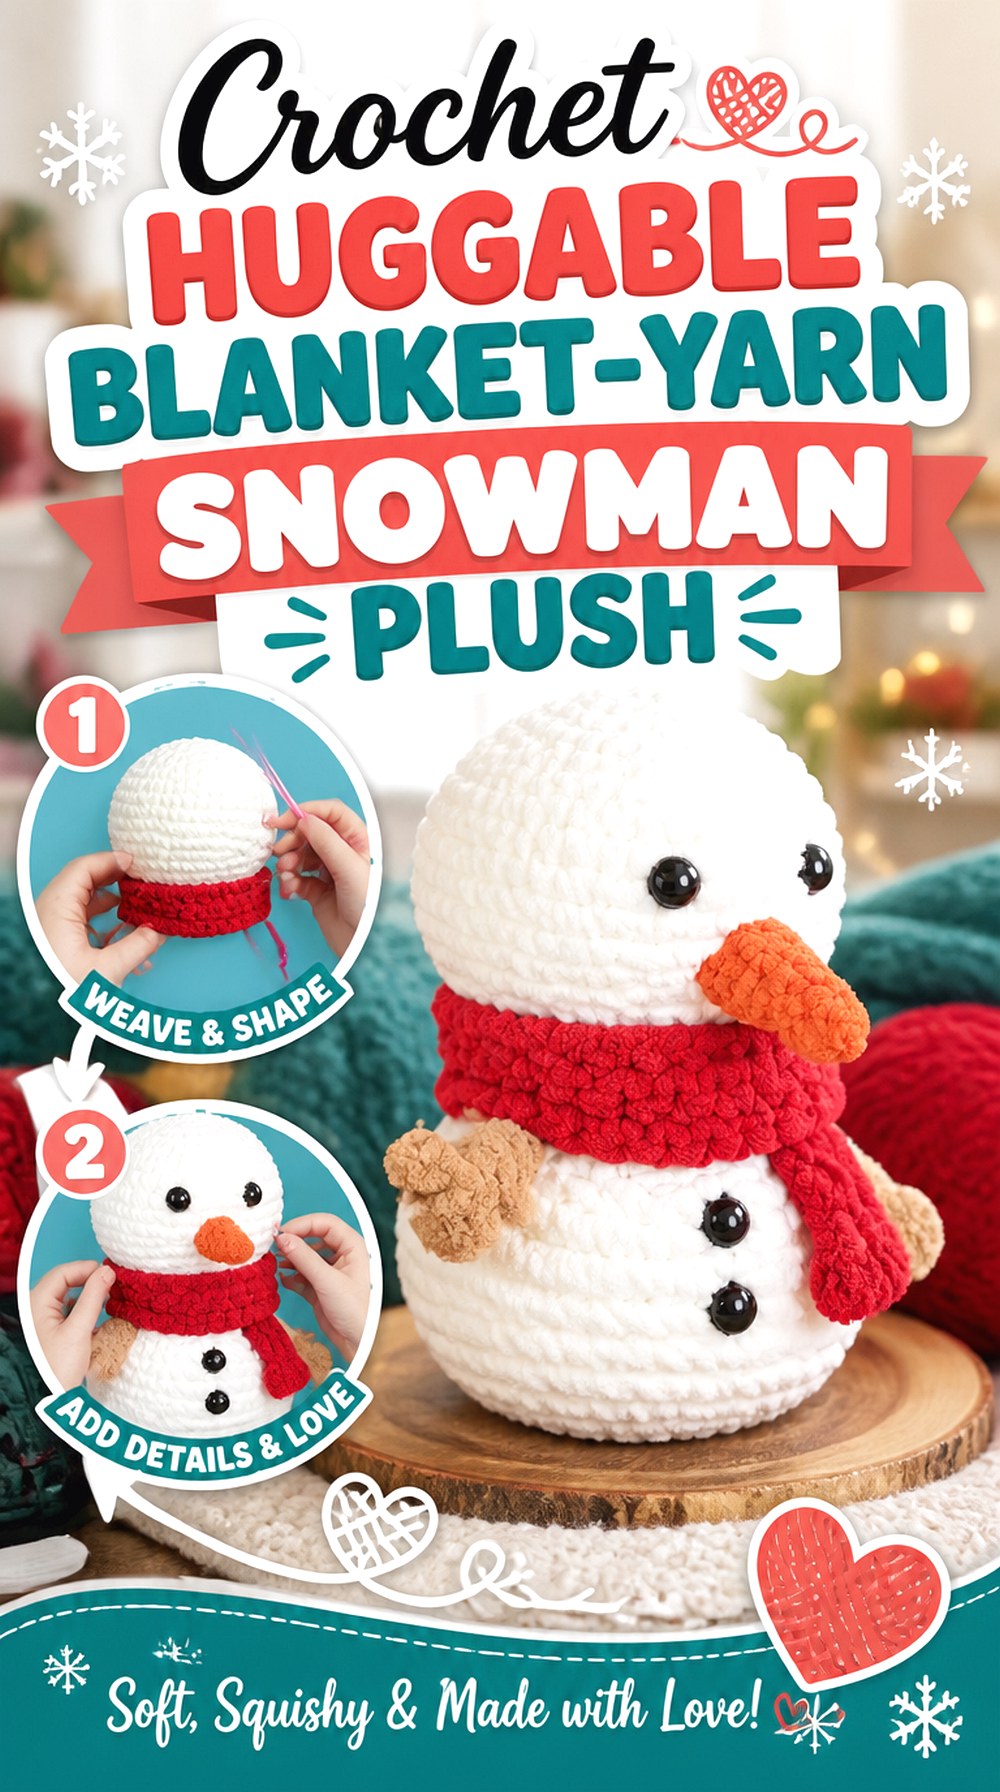
For a snowman with more physical presence, this version moves away from miniature amigurumi and toward a fuller plush format. DBHandmades describes the project as huggable-sized and uses blanket yarn, which creates a substantially different surface from the finer-yarn snowmen in this collection.
The broader proportions make it suitable for a chair, bedroom shelf, holiday basket, or floor-level seasonal display where a tiny amigurumi could disappear visually. Large features also give the hat, carrot nose, eyes, and traditional snowman colors more room to register. The trade-off is that bulky yarn can hide small stitch details, so overall shaping becomes especially important.
Blanket Yarn Makes the Outline More Important
Plush yarn softens stitch definition, so the eye reads the overall snowman shape before individual crochet texture. Concentrate on smooth changes between wider and narrower sections instead of expecting crisp stitches to provide structure.
If you notice uneven lumps, redistribute stuffing before the openings become difficult to access. A fuller body makes small shaping inconsistencies more visible from across the room.
Bigger Does Not Automatically Mean Firmer
A large plush snowman can still become floppy if the stuffing does not adequately support its body and neck. At the same time, forcing in excessive filling can stretch bulky crochet fabric.
Aim for a body that retains its intended rounded form without making the stitches look strained. The head should remain supported when the doll is moved or repositioned.
Check Small Parts Against the Larger Scale
Eyes and facial pieces that look proportional on fine-yarn amigurumi may appear undersized when transferred to blanket yarn. Use the tutorial’s finished proportions as your visual guide rather than carrying accessory sizes over from another snowman design.
This principle also applies to hats and scarves. A very narrow accessory can disappear visually against a broad plush body.
Original Tutorial and Creator Credit
Creator: DBHandmades
4. Crochet Chunky Beanie Snowman Doll

This plush snowman from Wonder Crochet uses super-bulky chenille-style yarn and pairs the rounded white body with a soft winter beanie and scarf. Compared with a top-hat snowman, the hat immediately creates a more casual stuffed-toy appearance.
The thick yarn also produces a softer visual surface, so the finished character feels more like a winter plush than a miniature collectible. This format works well when you want bold proportions and fewer tiny visual details. The creator uses separate accessories and facial components, giving you clear opportunities to personalize color while keeping the recognizable snowman silhouette intact.
A Soft Beanie Changes the Character
A beanie follows the curve of the head instead of adding the rigid horizontal lines of a top hat. That makes the snowman look softer and more contemporary.
When adjusting the hat, check that it does not drop so low that it competes with the eyes. A little visible white head between the facial features and hat edge helps keep the expression readable.
Chunky Yarn Rewards Simple Details
Thick plush fibers can visually swallow very fine embroidery or tiny accessories. Rather than adding more and more decoration, use a few features with enough size and contrast to remain visible against the body.
The carrot nose, scarf, eyes, and hat already establish the character. Extra embellishments should have a clear purpose rather than filling every available space.
Protect the Round Body Shape
Chunky crochet can change shape noticeably as it is stuffed. Rotate the doll while filling so you can compare the front, back, and side profiles instead of checking only the face.
If one side becomes flatter, adjust the stuffing before finishing. This is especially important if you want the snowman to photograph evenly from multiple angles.
Original Tutorial and Creator Credit
Creator: Wonder Crochet
5. Crochet Flat Ragdoll Snowman Ornament
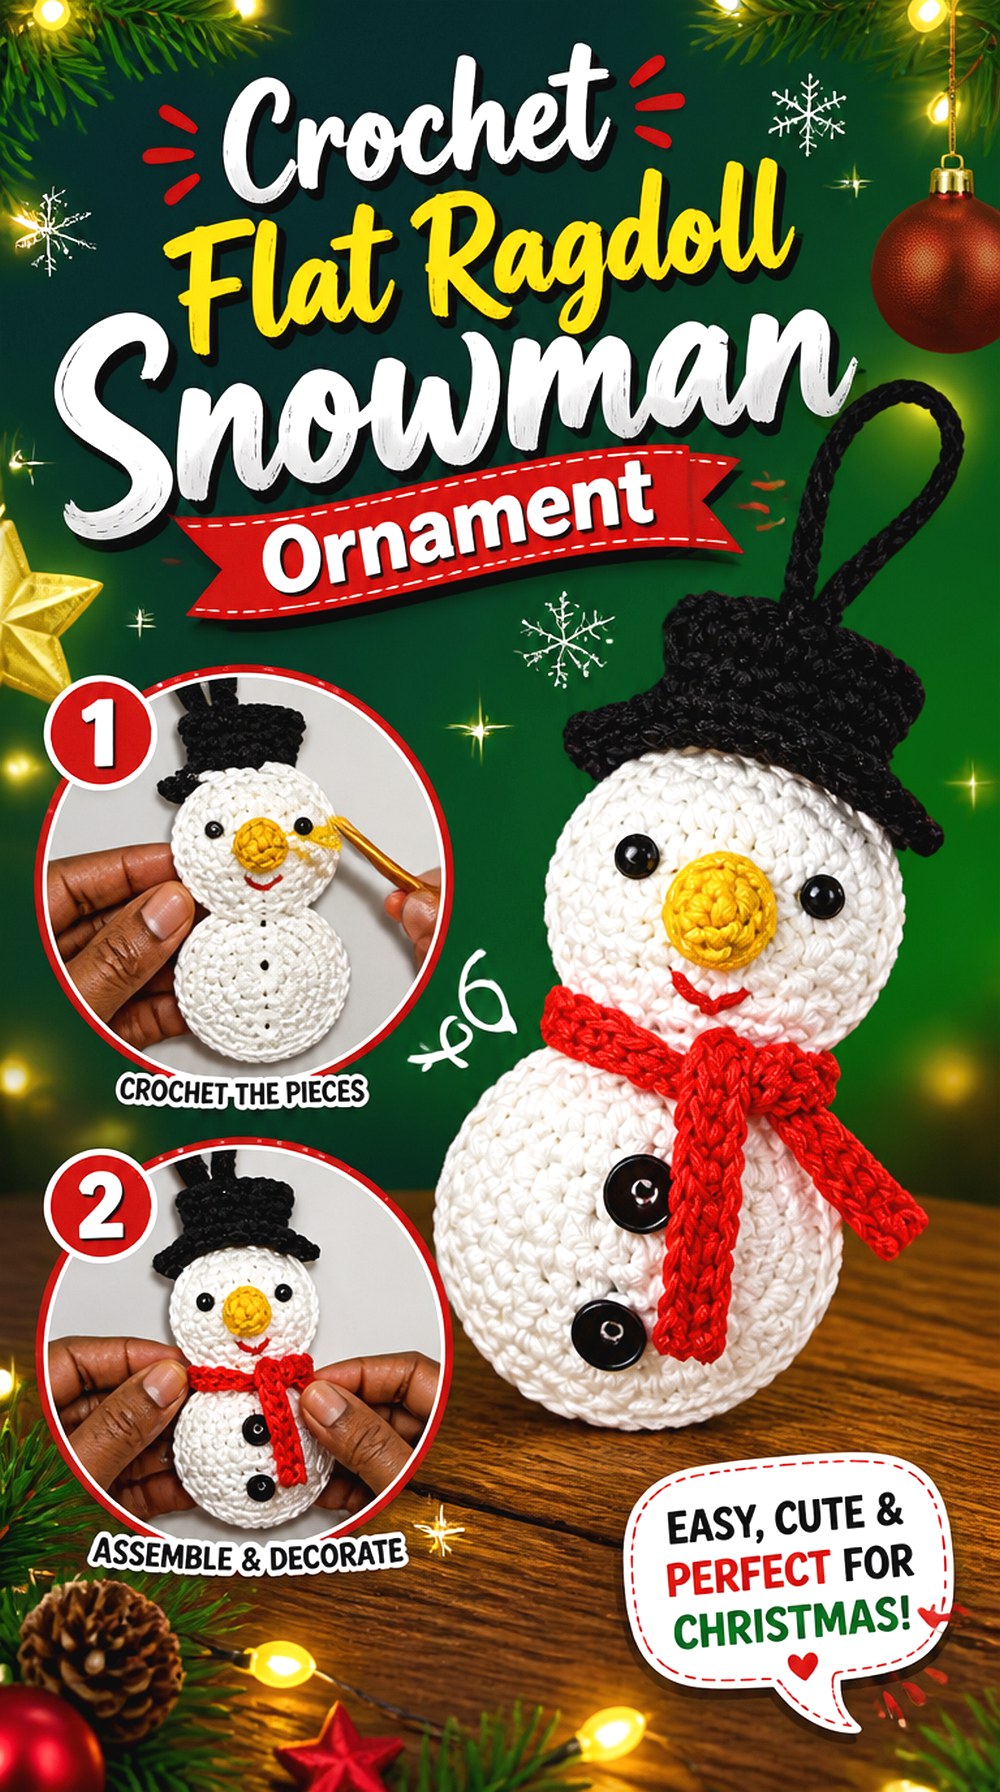
Not every crochet snowman doll needs spherical amigurumi construction. Hopeful Turns uses a ragdoll approach worked in rows, producing a flatter snowman that still creates an amigurumi-like character once assembled and lightly stuffed.
That difference makes the project especially useful for hanging decor. A flatter profile takes less depth on a Christmas tree, wall hook, garland, or package decoration than a large round plush. The design still includes recognizable snowman elements such as a hat, scarf, nose, and facial details, but the underlying construction gives it a completely different feel from the projects worked primarily in rounds.
Flat Construction Changes Where It Displays Well
A ragdoll naturally suits spaces where a deep stuffed body would project too far forward. Think tree branches, garlands, door decorations, or narrow wall displays.
If you want a snowman mainly for cuddling or standing independently, choose one of the fuller amigurumi options instead. Construction should match function rather than simply whichever thumbnail you like most.
Check Both Panels Before Joining
When a stuffed ragdoll uses matching front and back shapes, mismatched edges can create puckering during assembly. Compare the panels before final joining and correct obvious differences while they are still easy to reach.
Light blocking may help some yarns settle, but always consider the fiber and the dimensional nature of the final stuffed piece before applying heat or aggressive shaping.
Stuffing Should Preserve the Flat Profile
The goal is enough filling to give the doll dimension without turning a deliberately flat ragdoll into a rounded pillow. Add stuffing gradually and spread it into corners or narrow areas rather than concentrating everything in the center.
Check the ornament from the side. That view makes it easier to see whether the thickness is remaining reasonably even.
Original Tutorial and Creator Credit
Creator: Hopeful Turns
6. Crochet Classic Hanging Snowman Doll
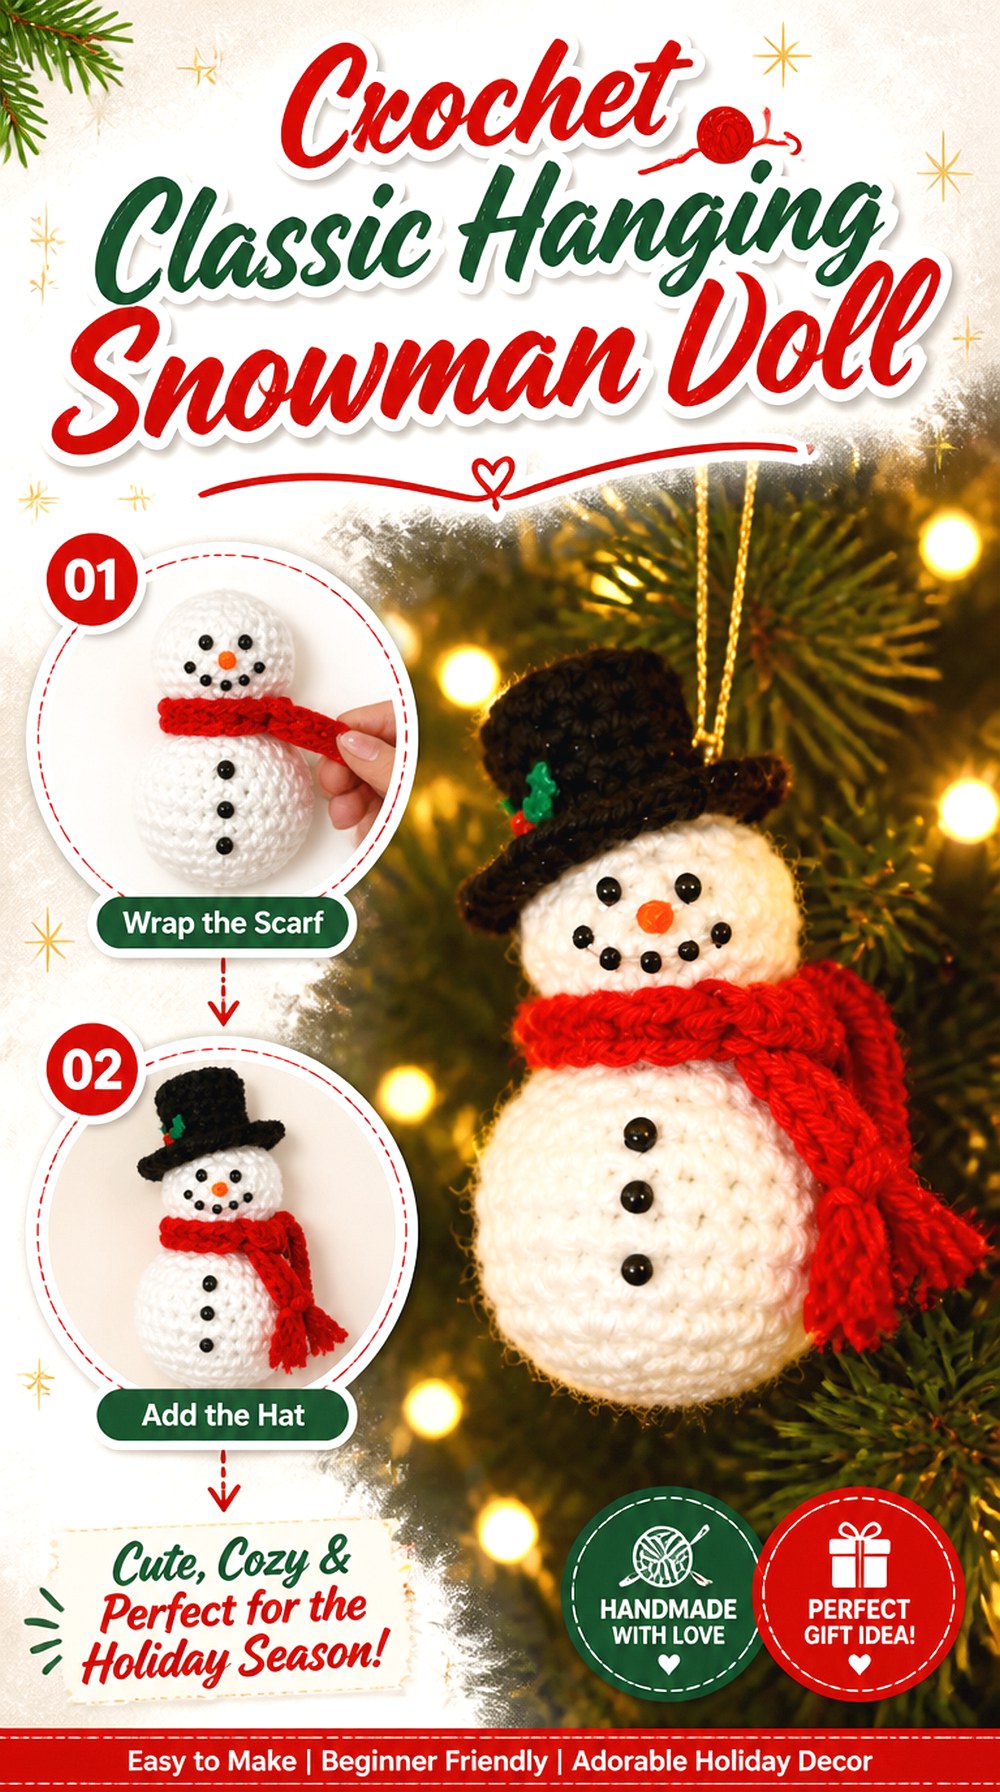
Crouton Crafts offers a traditional stuffed snowman specifically framed as a Christmas ornament. The design combines a round white body with a scarf, top hat, painted facial details, and a hanger, giving it the appearance of a small doll while keeping its main purpose decorative.
This is a good choice when you want a recognizable old-fashioned snowman rather than a heavily stylized plush. Because the hanger is an intentional part of the finished object, you can plan the project around tree display from the beginning instead of trying to convert a heavier shelf doll into an ornament afterward.
Ornament Weight Matters More Than Standing Balance
For a hanging snowman, the question is not whether the base sits perfectly flat. What matters is whether the suspension point keeps the doll facing the right direction without pulling the hat or head out of shape.
Before securing the loop permanently, hold the snowman from the proposed attachment point and check its orientation.
Painted Details Make This Primarily Decorative
The tutorial uses three-dimensional fabric paint for facial and decorative elements. That creates a different finish from embroidered features or crocheted facial pieces.
If you want a frequently handled toy rather than seasonal decor, reconsider which finishing method makes sense for your intended recipient. Do not assume a decorative treatment has the same durability or suitability as a sewn or embroidered alternative.
Original Tutorial and Creator Credit
Creator: Crouton Crafts
7. Crochet Holly Trimmed Snowman Doll

This snowman adds a botanical holiday detail to the usual hat-and-scarf combination. Crochet with Eli’s tutorial separates the project into the head, hat, scarf, nose, decorative leaf and berries, and final assembly, so the hat becomes a strong focal point instead of functioning only as winter clothing.
That makes this design useful if you want a snowman that leans clearly toward Christmas decor rather than general January or February winter styling. The holly-style accent adds color near the face, where it is more noticeable than extra details placed near the base. It is still a compact stuffed snowman, but its finishing treatment gives it a more dressed-up appearance.
Keep the Hat Decoration in Proportion
A leaf-and-berry cluster should read as an accent rather than hiding the hat itself. When substituting yarn, temporarily position the decoration before permanently securing it.
Thicker yarn may make the same number of components look much larger relative to the head. Reducing visual crowding can be as simple as using fewer decorative pieces rather than resizing the entire snowman.
Holiday Details Affect Seasonal Versatility
Holly immediately pushes the design toward Christmas. If you want the snowman to remain on display throughout winter, you can use the tutorial’s construction while choosing a simpler hat treatment.
That is an easier adaptation than changing the underlying body. Decide whether you want specifically Christmas decor or broader winter decor before committing to strongly seasonal embellishments.
Secure Raised Decorations for the Intended Use
Leaves and berries create more exposed edges than flat embroidery. For shelf decor this may be perfectly practical, but a handled gift needs more consideration.
Check each attachment point and avoid assuming decorative parts are suitable for babies, young children, or pets. An embroidered interpretation can provide similar color without adding detachable dimensional pieces.
Original Tutorial and Creator Credit
Creator: Crochet with Eli
8. Crochet Bell Accent Snowman Ornament Doll

AnDesign_Craft’s snowman combines a stuffed doll form with explicitly decorative accessories. The tutorial covers the snowman base, scarf, hat, hands, and assembly, and its listed materials include a small bell. The creator also suggests that a hanging loop can be added for Christmas-tree use.
This gives the design more dimensional ornament detail than a simple sphere with a face. The little arms and accessories help the character read as a complete doll even at a relatively small decorative scale. It works particularly well when your goal is a handcrafted tree figure rather than a neutral snowman plush that stays out all winter.
A Bell Changes How the Ornament Should Be Handled
A metal or decorative bell adds movement and sound but also introduces a separate component that can catch, pull, or detach. Decide whether that feature serves your actual display before adding it.
For an ornament stored carefully between seasons, it can be a distinctive finishing detail. For a frequently handled snowman, a crocheted or embroidered substitute may be simpler.
Arms Make the Figure Feel More Doll-Like
Small hands or arms add gesture to a snowman that might otherwise look like two stacked balls. Their position can change the finished personality considerably.
Pin or place them temporarily before final attachment. Symmetry is one option, but a slight intentional angle can work visually as long as the result does not look accidentally uneven.
Hanging Loops Need Their Own Balance Check
If you convert the finished doll into a tree ornament, do not choose the loop position only because it is easy to hide beneath the hat. Test the snowman while suspended.
The body should hang with the face visible rather than leaning downward under the weight of its accessories. A small change in attachment position can correct the orientation.
Original Tutorial and Creator Credit
Creator: AnDesign_Craft
9. Crochet Chenille Snowman Doll with Winter Details

SpringDay DIY’s snowman stands apart through its material mix and added surface decoration. The creator lists chenille yarn for the main project along with glitter yarn, coral-fleece yarn, bead and snowflake decoration, plus several winter colors.
That combination produces a much more embellished direction than the simple two-color snowmen. It is a useful choice for someone who wants texture and decorative sparkle to be part of the character from the beginning. Because the project includes several materials beyond the basic body yarn and stuffing, it also rewards planning: gather the finishing pieces first so you know how their scale and texture will relate to the crocheted doll.
Mixed Textures Need Visual Separation
Chenille, fleece-like yarn, and glitter yarn reflect light and show stitches differently. When too many textured materials meet in one small area, individual details can lose definition.
Use contrast deliberately. A smooth nose or clearly colored scarf can help break up fuzzy white surfaces and keep the face legible instead of allowing every component to blend together.
Decorative Beads Push the Project Toward Display Use
Beads and similar small embellishments can create attractive highlights on seasonal decor, but they also introduce small rigid parts.
If you are crocheting for a baby or young child, do not assume the creator’s decorative version is appropriate unchanged. Consider embroidered or crocheted alternatives when you want to preserve the color placement without a detachable component.
Watch the Face Against Plush Fibers
Chenille can partially hide safety eyes or small embroidery because its fibers stand away from the crocheted fabric. Check the face after the yarn relaxes rather than judging placement only while the stitches are compressed in your hands.
If the features are getting lost, adjust their visibility before finishing instead of adding more facial pieces afterward.
Original Tutorial and Creator Credit
Creator: SpringDay DIY
10. Crochet Detailed Hat and Scarf Snowman Doll

NHÀ LEN’s snowman is a detailed traditional amigurumi project with the head and body, nose, arms, scarf, buttons, hat, and final sewing all covered as separate tutorial sections. That makes it a strong option for readers who enjoy watching each visual element build toward a fully accessorized character.
Compared with the chunky plush designs, this version places more emphasis on defined individual pieces. The long tutorial format also makes it useful when you prefer a slower, component-by-component learning route rather than a very simplified snowman concept. Its recognizable hat, scarf, buttons, twig-like arms, and carrot nose create a classic finished silhouette.
Assembly Order Affects the Finished Expression
When a doll has several separate elements, their relationship matters as much as the quality of each individual piece. The hat changes the visible forehead, the scarf defines the neck, and the nose sets the center of the face.
Place major components before permanently sewing everything down. This helps you catch a crooked composition before one secure attachment forces all the others to compensate.
Defined Stitch Work Suits Detailed Accessories
A smoother amigurumi surface gives small components a cleaner visual background than very fluffy yarn. If you want the buttons, arms, nose, and hat to stay individually readable, avoid switching to a fiber that obscures those edges without first considering the trade-off.
Fuzzy yarn may create softness, but it can fundamentally change the character of a detail-focused design.
Compare the Front and Side Profiles
A snowman can look balanced straight on while the head, nose, or hat projects awkwardly from the side. After temporary assembly, rotate the doll before committing to final placement.
This is particularly useful for the carrot nose and hat, which have directional shapes. A quick side check can prevent the finished doll from appearing unintentionally tilted.
Original Tutorial and Creator Credit
Creator: NHÀ LEN
11. Crochet Compact Snowman Charm Doll
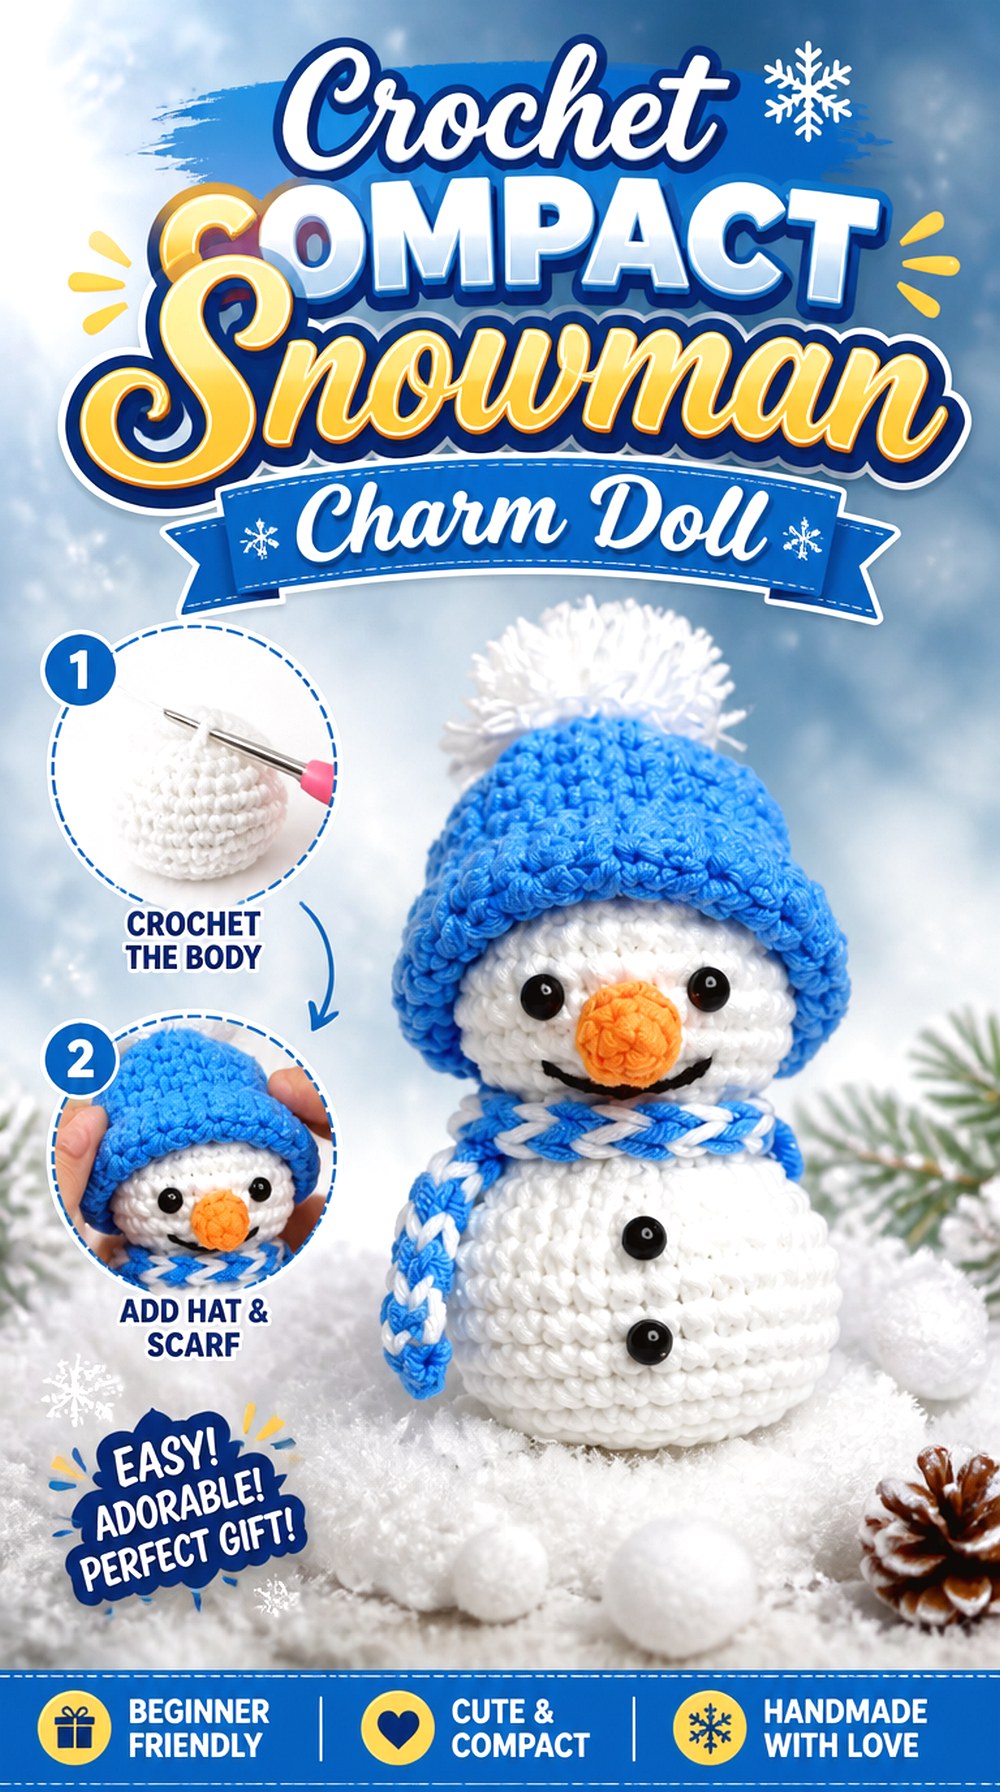
Xuxu Crochet’s tutorial offers another small-scale direction for the snowman theme, with the creator presenting the project as a crochet Christmas ornament and tagging it for keychain-style use as well. That makes this idea suitable when you want a much more compact character than a shelf plush.
At this scale, the goal is not to fit every possible snowman accessory onto the body. A clear white silhouette, visible face, and a few winter details usually have more impact than many tiny embellishments competing for space. Because small charm projects may be handled, attached to bags, or hung from branches, the attachment point deserves as much attention as the doll itself.
Small Scale Magnifies Proportion Problems
A hat that is only slightly oversized or a nose placed a little too low can dominate a compact snowman. Compare all facial pieces against the finished head before securing them.
If you change yarn weight, reassess every accessory rather than assuming the original proportions will scale perfectly. Small projects leave little visual room for correction.
Match the Attachment to the Intended Use
A Christmas-tree loop and a keychain attachment do different jobs. A tree ornament mainly supports the doll’s weight in a stationary display, while a bag charm may face repeated movement and pulling.
Choose the hanging method based on actual use and inspect the attachment area carefully. Decorative loops should not automatically be treated as heavy-use hardware.
Original Tutorial and Creator Credit
Creator: Xuxu Crochet
Which Crochet Snowman Doll Style Should You Choose?
Choose by construction first. The flat ragdoll snowman is the strongest departure from traditional amigurumi and makes sense for low-profile hanging decor. The one-piece snowman is more appealing if you want to reduce major body assembly while keeping a rounded stuffed form.
For softness and visual scale, compare the huggable blanket-yarn snowman with the chunky beanie plush. For smaller decorating, the classic ornament, bell-accent doll, and compact charm snowman use space more efficiently.
If finishing details are the main attraction, the holly-trimmed, chenille embellished, and detailed hat-and-scarf snowmen provide more opportunities to work with separate accessories and decorative contrast.
Conclusion
The right crochet snowman doll depends less on the scarf color and more on how you want the finished piece to function. Choose chunky yarn and broad proportions for a plush statement piece, a compact or flat construction for hanging decor, or a detailed smooth-yarn amigurumi when small accessories and facial placement are part of the appeal.
If minimizing assembly matters, the one-piece option is the clearest starting point. If you enjoy decorative finishing, the holly, bell, chenille, and multi-accessory designs provide more room to personalize. Once you choose a construction that suits your display or gifting plans, use the original tutorials for each creator’s exact crochet and assembly details.
Frequently Asked Questions
What yarn works best for a crochet snowman doll?
There is no single best yarn because the intended result changes the choice. Smooth yarn gives clearer stitch definition and can make small facial or accessory details easier to see. Chenille and blanket yarn produce a softer, fuller plush surface but may hide fine details. Before substituting yarn, consider whether the project depends more on crisp accessories, a firm compact form, or a soft oversized silhouette.
Can I use chunky yarn with a small snowman amigurumi tutorial?
You can adapt many amigurumi concepts to thicker yarn, but the finished scale and proportions will change. A larger body may require you to reconsider the relative size of the eyes, nose, hat, scarf, and hanging loop. Rather than assuming every component scales automatically, crochet enough of the main body to judge the new dimensions before committing to all accessory pieces.
How can I help a crochet snowman stand more evenly?
Check the base shape and stuffing distribution before closing the doll. An unevenly packed lower body can make a snowman lean even when the crochet itself is symmetrical. Set the partially stuffed body on a flat surface and inspect it from several angles. Also consider whether a large hat or head is making the finished figure top-heavy; some designs are naturally better suited to supported shelf display than independent standing.
Are safety eyes suitable for every crochet snowman gift?
No. The recipient and intended use should guide the finishing choice. Small rigid or detachable parts require particular consideration when a snowman will be given to a baby, young child, or used around pets. Embroidered eyes and facial details can be an alternative for some projects. Always assess the complete finished object—including buttons, bells, beads, pom-poms, and scarf ends—not just the eyes.
Should I stuff a crochet snowman firmly?
A snowman generally needs enough filling to keep its rounded sections defined, but extremely tight stuffing can stretch crochet fabric and make gaps more visible. Add filling gradually and shape the body as you go. Pay particular attention to the neck because insufficient support can make the head droop, while excessive stuffing can erase the narrowed transition that visually separates the head from the body.
Can I turn any crochet snowman doll into a Christmas-tree ornament?
Not every design is equally suitable. Small, lightweight dolls and flatter ragdoll constructions are easier to hang than large blanket-yarn plushies. If adapting another design, consider its total weight, the strength and placement of the hanging loop, and whether the doll remains facing forward when suspended. Test the balance before permanently attaching the loop rather than assuming the center top of the hat is automatically the right position.


