
An oversized crochet sweater is more than a regular pullover made one size larger. Shoulder placement, sleeve volume, neckline width, yarn weight, stitch density, and construction all affect whether extra room hangs comfortably or turns into unwanted bulk.
These 17 ideas cover noticeably different directions, including rectangular drop shoulders, seamless raglans, high necks, mesh fabric, strong texture, stripes, granny squares, a hoodie, cuff-to-cuff construction, and statement necklines. Most of the selected tutorials specifically support relaxed or oversized styling. A few distinctive sweater constructions are included as adaptation routes; for those, compare measurements and intended ease rather than assuming that simply sizing up will create a balanced oversized fit.
Quick List
- Crochet Four-Rectangle Drop-Shoulder Sweater
- Crochet Seamless Two-Tone Raglan Sweater
- Crochet Chunky High-Neck Oversized Sweater
- Crochet Airy Mesh Oversized Sweater
- Crochet Trinity-Texture Oversized Sweater
- Crochet Seamless V-Neck Oversized Sweater
- Crochet Knit-Look Ribbed Oversized Sweater
- Crochet Bold-Stripe Made-to-Measure Sweater
- Crochet Relaxed Boat-Neck Button-Collar Sweater
- Crochet Tweedy Everyday Oversized Sweater
- Crochet Two-Granny-Square Oversized Sweater
- Crochet Unisex Relaxed Oversize Sweater
- Crochet Oversized Hoodie Sweater
- Crochet Off-Shoulder Picot-Mesh Pullover
- Crochet Cuff-to-Cuff Oversized Pullover
- Crochet Graphic Star Statement Sweater
- Crochet Scallop-Neck Slouchy Oversized Sweater
Plan the Oversized Fit Before Adding More Width
Positive ease is the difference between your body measurement and the finished garment measurement. There is no single amount that makes every crochet sweater correctly “oversized.” A drop-shoulder rectangle, a top-down raglan, and a wide-neck mesh pullover can all need different proportions.
A practical checkpoint is a sweater you already like wearing. Compare its body width, shoulder position, sleeve circumference, length, and neckline with the tutorial’s sizing information whenever finished measurements are provided. Pay particular attention to where the shoulder line lands. Adding body width can also lower a drop shoulder and effectively lengthen a sleeve, so changing one measurement may alter several parts of the silhouette.
Yarn Weight and Drape Change the Meaning of Oversized
Extra fabric adds weight, so yarn behavior matters more as a sweater becomes roomier. Thick or dense crochet can create a substantial, structured silhouette, while lighter yarn and open mesh allow the same amount of width to fall more softly. Neither result is automatically better; they serve different wardrobes.
Make a useful fabric sample before committing to a large garment. Besides checking gauge where the tutorial requires it, hold or hang the swatch and notice how readily it folds. A stiff fabric can emphasize a very wide boxy shape, while an extremely fluid fabric may lengthen under the weight of a large sweater. Ribbing, dense texture, granny clusters, and mesh also behave differently, so substitution should consider fabric character as well as yarn label.
Check Shoulders, Sleeves, and Necklines as a System
Oversized proportions work best when the major openings still feel intentional. With a drop shoulder, check how far the body extends beyond the natural shoulder before judging sleeve length. With a raglan, the yoke controls both chest room and armhole placement, so changing it casually can affect several fit points at once.
Wide boat necks and off-shoulder styles need enough room for their intended look without becoming an opening you constantly adjust. High collars have the opposite concern: confirm that the opening and collar feel comfortable before finishing. Long, roomy sleeves also add weight. Try on the developing garment whenever the construction allows, and reassess cuff position after the body and shoulders are sitting where you want them.
1. Crochet Four Rectangle Drop Shoulder Sweater
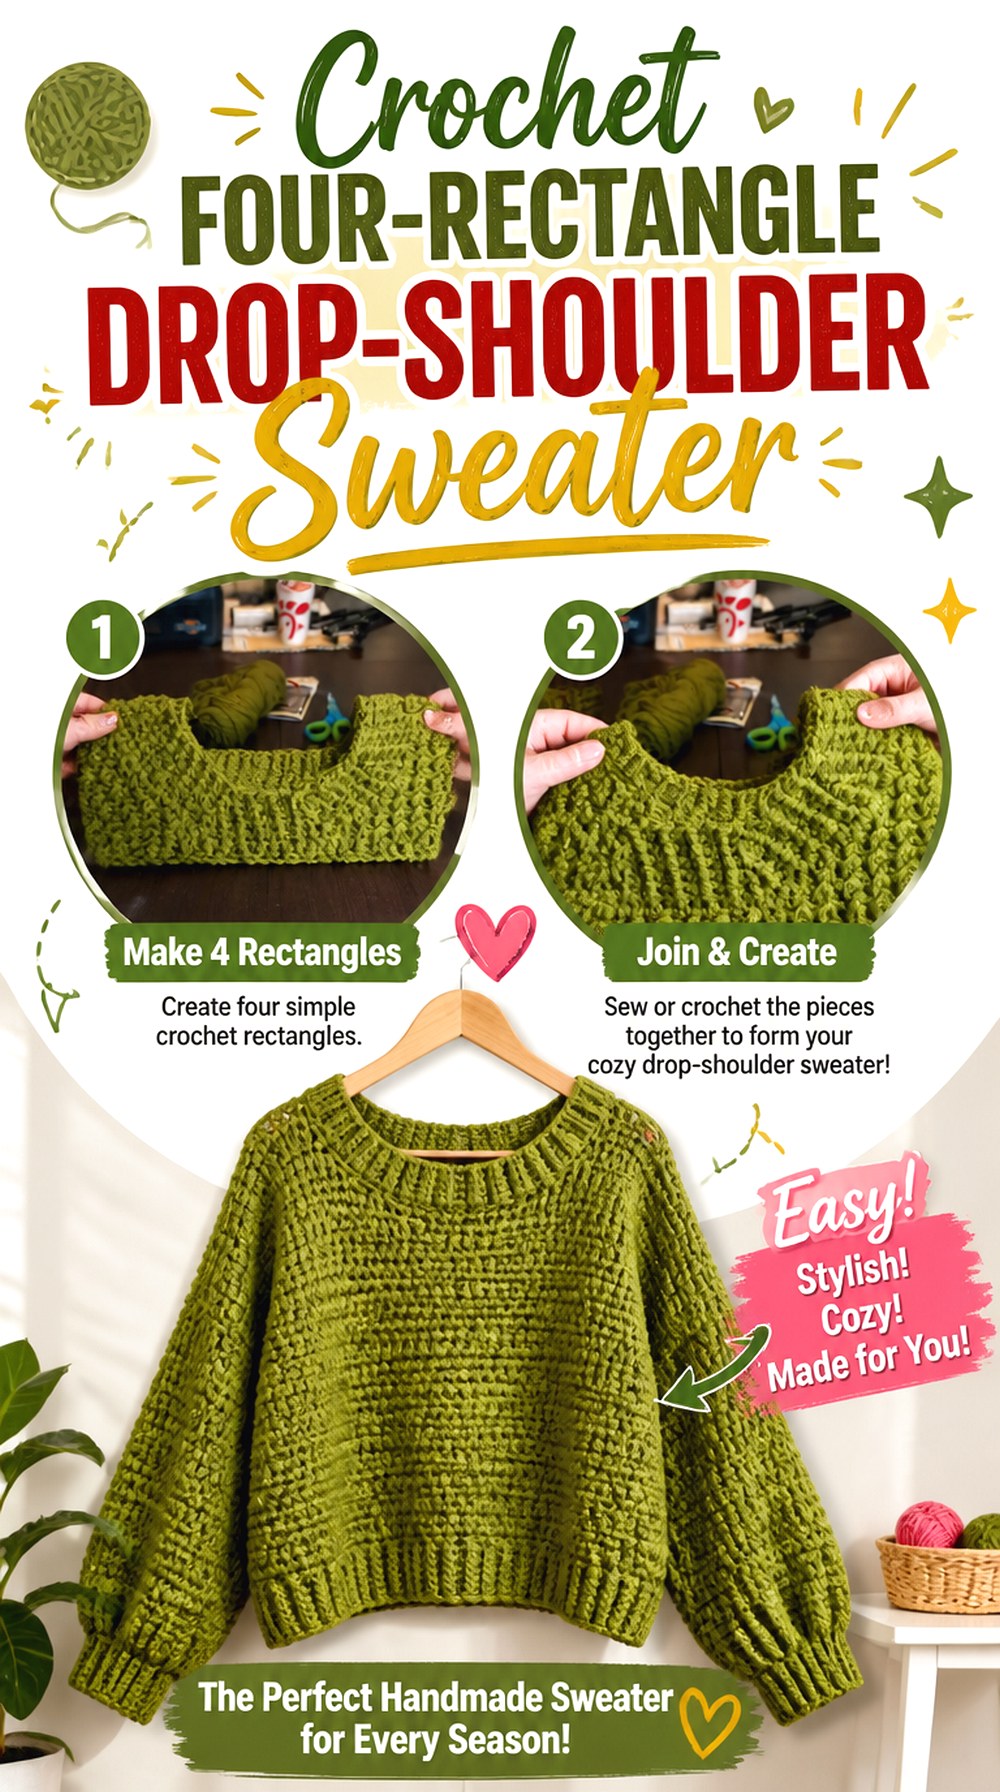
This is a useful starting point for understanding oversized sweater geometry because the design is assembled from four rectangular pieces rather than relying on complicated garment shaping. The tutorial presents a deliberately loose pullover and explains the construction around a roomy fit.
A rectangular body naturally creates a drop shoulder when its width extends beyond the natural shoulder line. That makes this version particularly appealing if you like a casual, straight-sided sweater with obvious slouch rather than a closely shaped upper body. It is also a good style to compare against more fitted raglan options later in this list.
Body Width Also Moves the Sleeve Starting Point
Do not evaluate panel width only at the bust. As a rectangular sweater gets wider, the top edge travels farther down the upper arm before the sleeve begins. That can produce the desirable dropped-shoulder look, but too much width combined with a full sleeve length may leave the finished sleeves much longer than expected. Compare the developing panel with a roomy sweater you own before final assembly.
Rectangles Make Symmetry Easy to Check
Simple shapes reveal inconsistencies quickly. Before joining, place matching pieces together and compare their length and width without stretching either one. If corresponding panels differ noticeably, correct the discrepancy before seaming rather than hoping the seam will absorb it. This matters on an oversized garment because long straight seams can make uneven edges more visible.
2. Crochet Seamless Two Tone Raglan Sweater
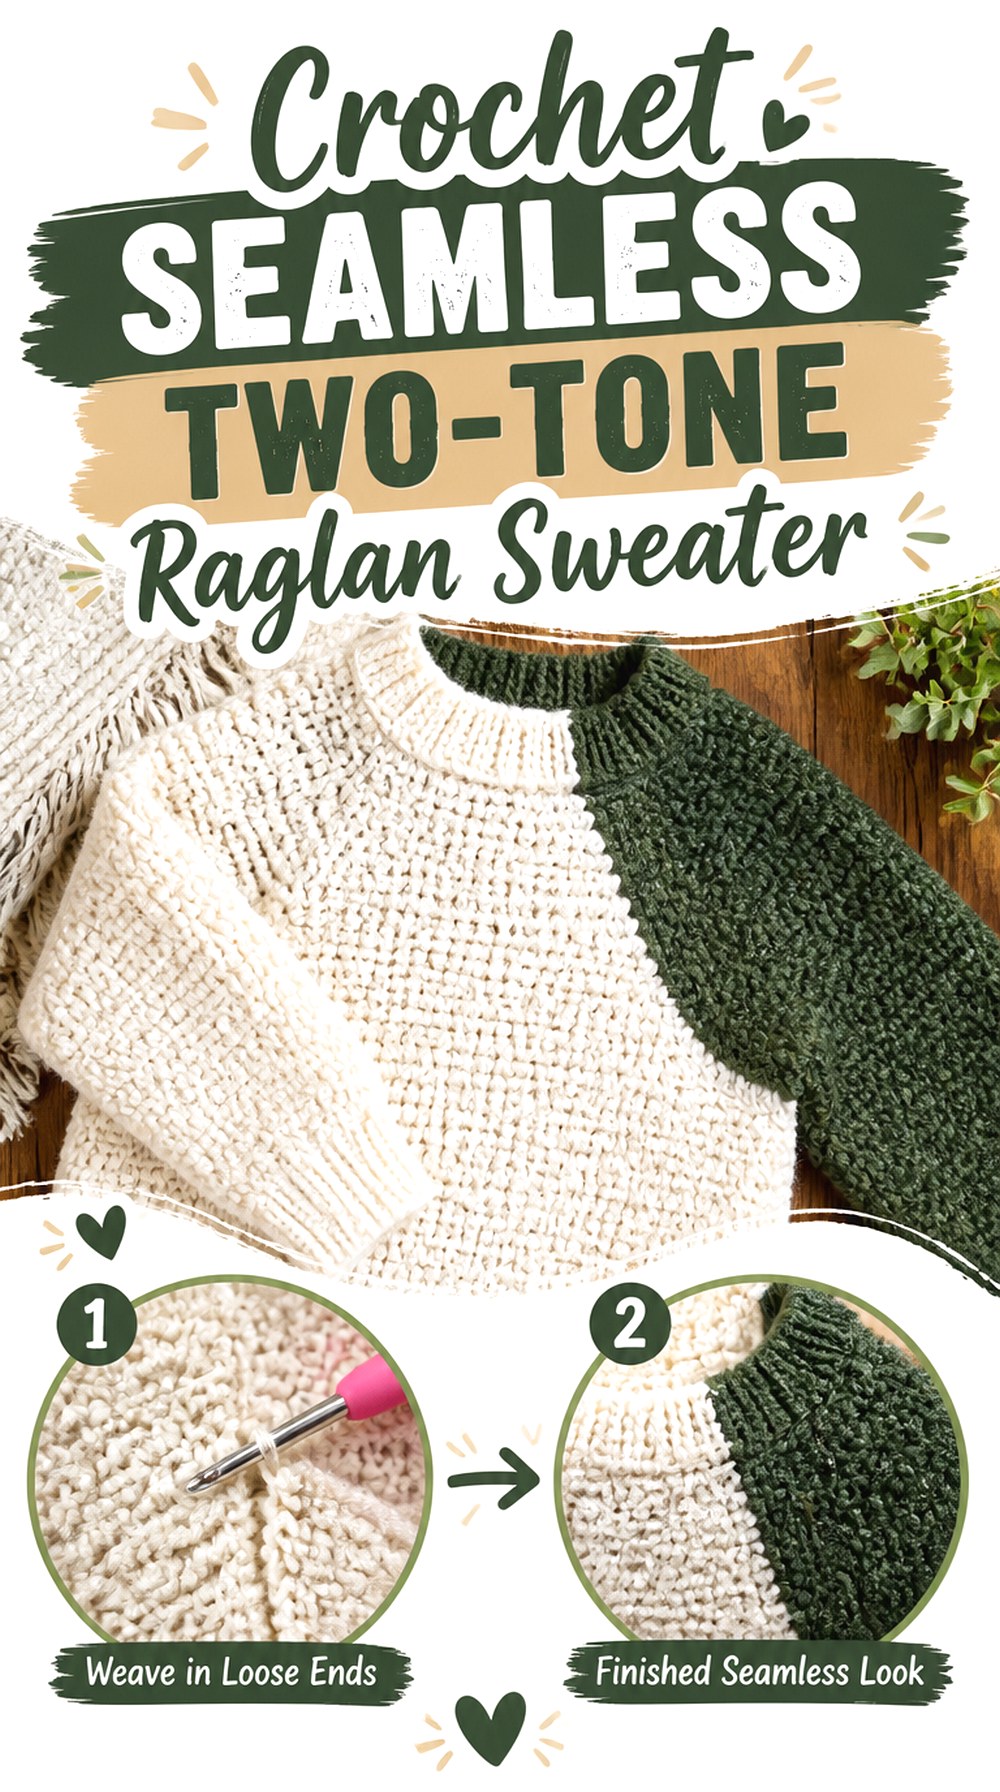
A raglan gives oversized crochet a different silhouette from broad rectangular panels. VivCrochets’ tutorial uses a top-down, no-sew raglan approach and presents the sizing as adjustable, which makes the developing yoke the main place to monitor fit.
The diagonal raglan lines visually organize the extra room around the shoulders, while the two-color treatment can emphasize the construction instead of hiding it. Choose this direction if you want relaxed body space but prefer a shoulder shape that follows the upper body more deliberately than a deep drop shoulder.
The Yoke Controls More Than Chest Room
On a raglan sweater, yoke depth influences when the body separates from the sleeves. Extending it purely to gain extra width can also lower the underarm and change sleeve placement. Follow the creator’s sizing method first, then evaluate the actual upper-body fit before making an oversized modification. A roomy sweater still benefits from armholes that land where you intended.
Top-Down Construction Gives You an Early Fit Check
One advantage of this construction is that the important upper section develops first. If the tutorial permits trying on the work safely, check the neckline, shoulder expansion, and underarm position before investing in the full body and sleeves. This can reveal an unwanted fit direction sooner than a sweater made from several completed pieces.
Keep the Two Colors Working With the Shape
A strong color division attracts attention to wherever it is placed. Decide whether you want the contrast to emphasize the raglan lines, upper body, sleeves, or another feature. On an oversized garment, large blocks of contrast can visually increase or reduce apparent width, so consider the finished proportions before choosing color placement solely from the skeins.
Original Tutorial and Creator Credit
Creator: VivCrochets
3. Crochet Chunky High Neck Oversized Sweater
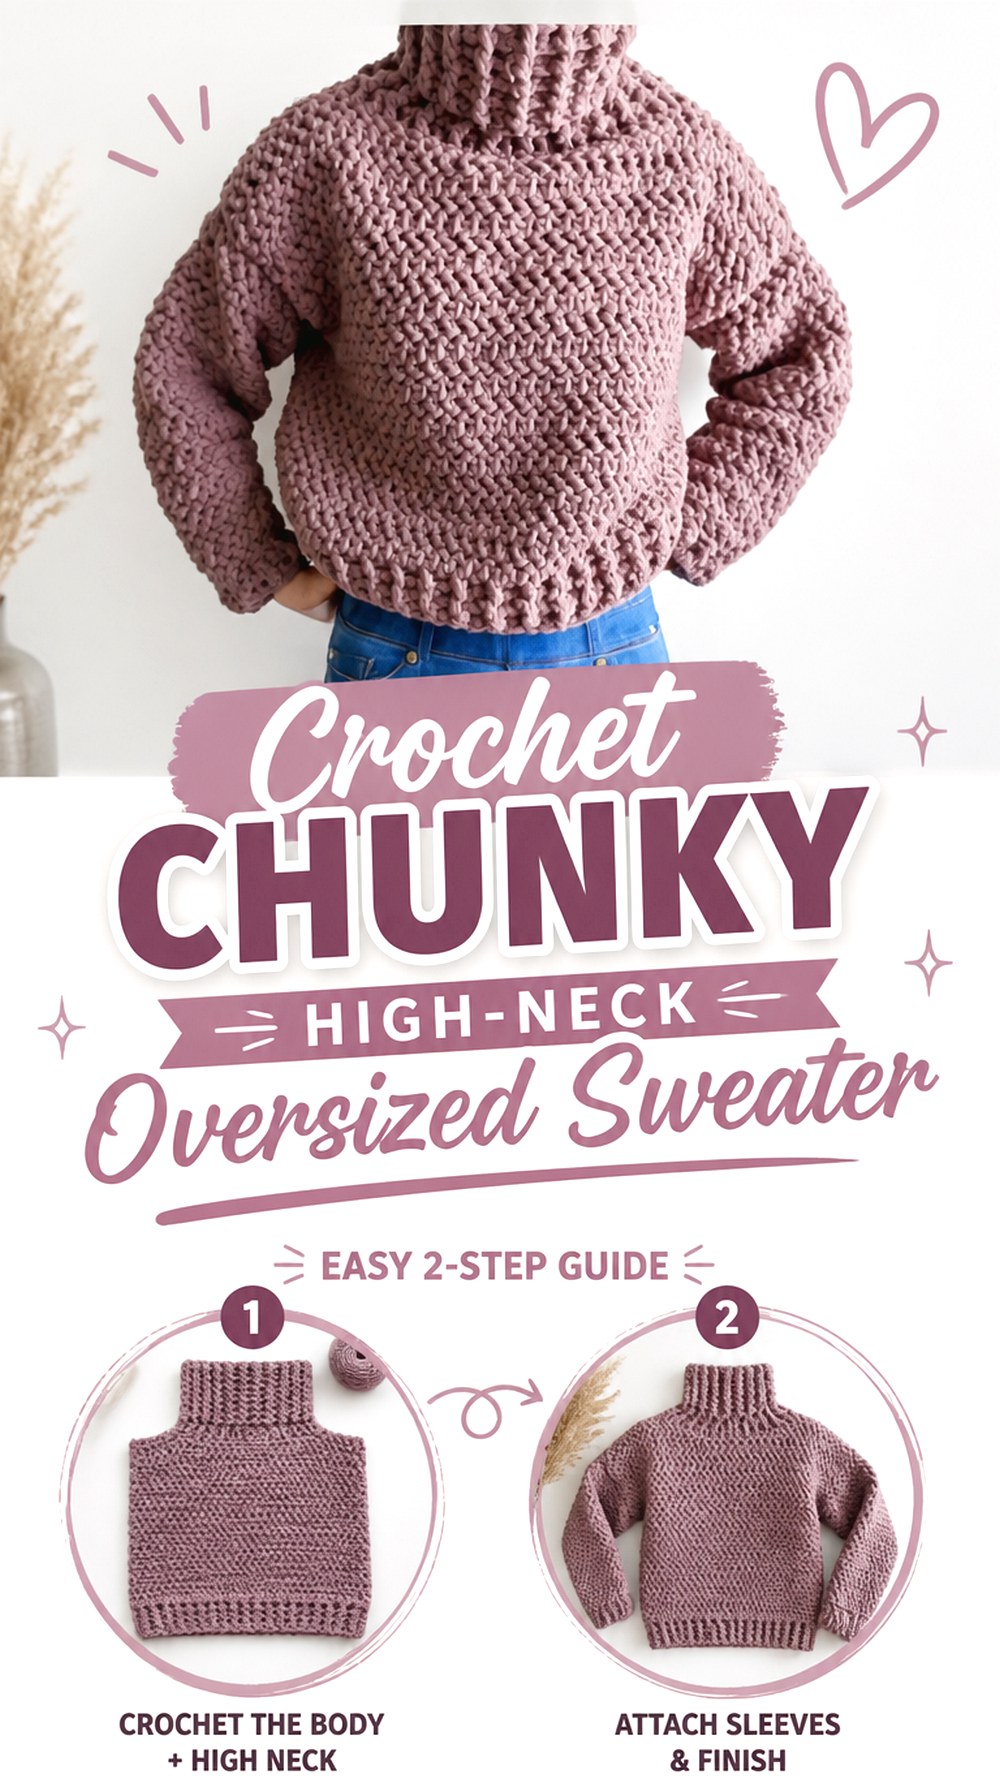
A tall neckline turns an oversized sweater into a much more enclosed silhouette. Hey Carrie’s tutorial is specifically presented as an oversized turtleneck sweater and uses bulky yarn, so the high collar, roomy body, and substantial fabric all contribute to the finished effect.
This direction suits someone looking for a sweater that reads as intentionally cozy rather than merely wide. Compared with the mesh and V-neck options below, the visual weight sits higher around the neck and shoulders. That makes collar comfort and total garment weight especially important planning points.
Check the Neck Opening Before Finishing the Collar
A dramatic collar only works if the underlying opening is comfortable to put on and wear. Before completing a tall neckline, confirm that it passes over the head without excessive stretching and does not feel restrictive once positioned. Yarn substitutions can change stretch considerably, so do not assume a collar will behave identically just because the gauge appears close.
Bulky Fabric Multiplies the Effect of Extra Room
Thicker yarn builds physical volume quickly. On a fitted sweater that can feel substantial; on a long, oversized garment the effect is amplified. If you are choosing between two intended fits, consider not only circumference but also sleeve volume and body length. More fabric in all three places can change how the sweater hangs and how comfortable it feels for layering.
Cuffs Can Balance a Wide Sleeve
A roomy sleeve paired with a more controlled cuff creates a useful contrast: volume through the arm without the entire sleeve ending at the same width. Before changing cuff dimensions, consider how they relate to the rest of the silhouette. An extremely loose cuff will make the sweater read differently from one that gathers the sleeve closer to the wrist.
Original Tutorial and Creator Credit
Creator: Hey Carrie
4. Crochet Airy Mesh Oversized Sweater
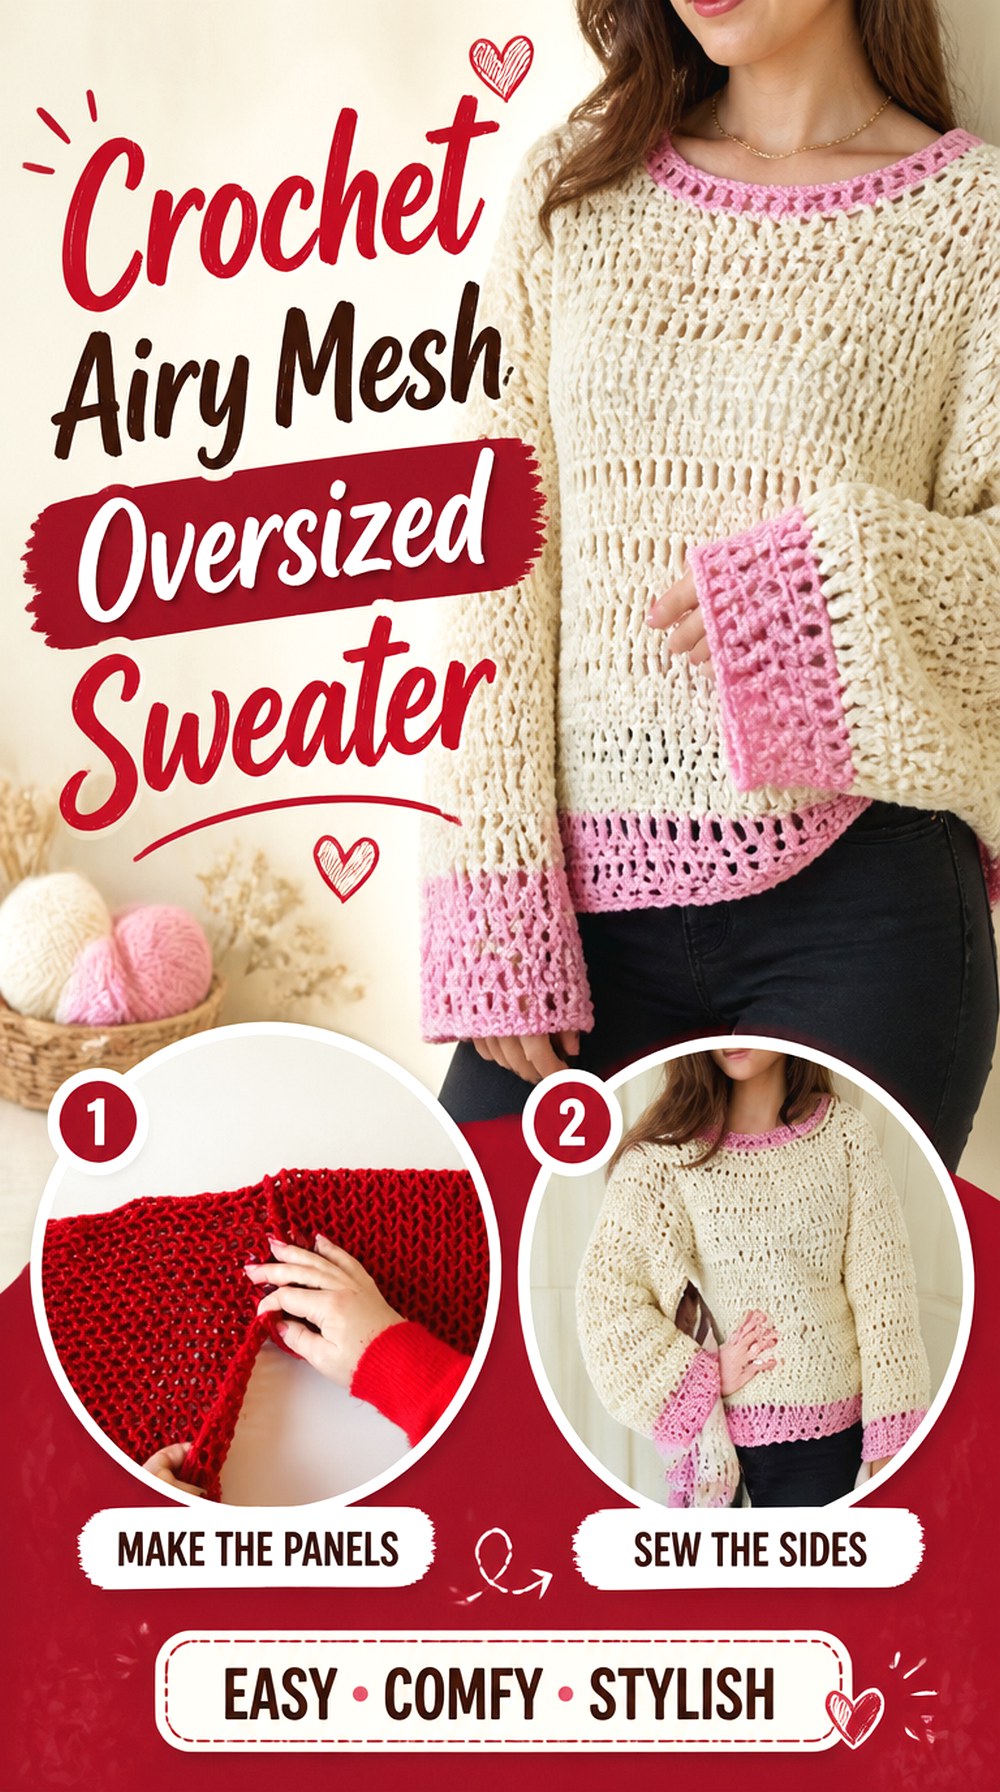
Oversized does not have to mean heavy. Crochet with Linni’s mesh sweater tutorial presents a lightweight, customizable design that can be adjusted toward either a roomy or closer fit.
The open fabric gives this version a very different purpose from the chunky turtleneck. Rather than trapping visual weight around the body, the mesh creates negative space and makes the sweater suitable as a deliberate layering piece. It is a strong option when you want width and sleeve movement without the dense surface of a winter pullover.
Plan What Will Be Worn Under the Mesh
The layer underneath becomes part of the finished look, so opacity should be considered before you decide on body width or neckline shape. A very open oversized sweater may reveal more of the underlayer around the armholes and sides than a fitted mesh top would. Try your swatch over the type of garment you expect to wear beneath it.
Open Fabric Can Stretch Differently From Dense Panels
Mesh contains more open space, and its dimensions can respond noticeably to handling and blocking. Measure a representative sample after treating it in the way you expect to treat the finished garment. This helps prevent a sweater that looked perfectly proportioned during construction from becoming substantially longer or wider after finishing.
Let the Airy Fabric Supply the Volume
Because the mesh already creates visual movement, you may not need extremely exaggerated body dimensions to achieve a relaxed effect. Compare moderate and dramatic ease against your preferred layering piece. A little restraint in width can preserve the light appearance while still giving the sweater an unmistakably loose silhouette.
Original Tutorial and Creator Credit
Creator: Crochet with Linni
5. Crochet Trinity Texture Oversized Sweater
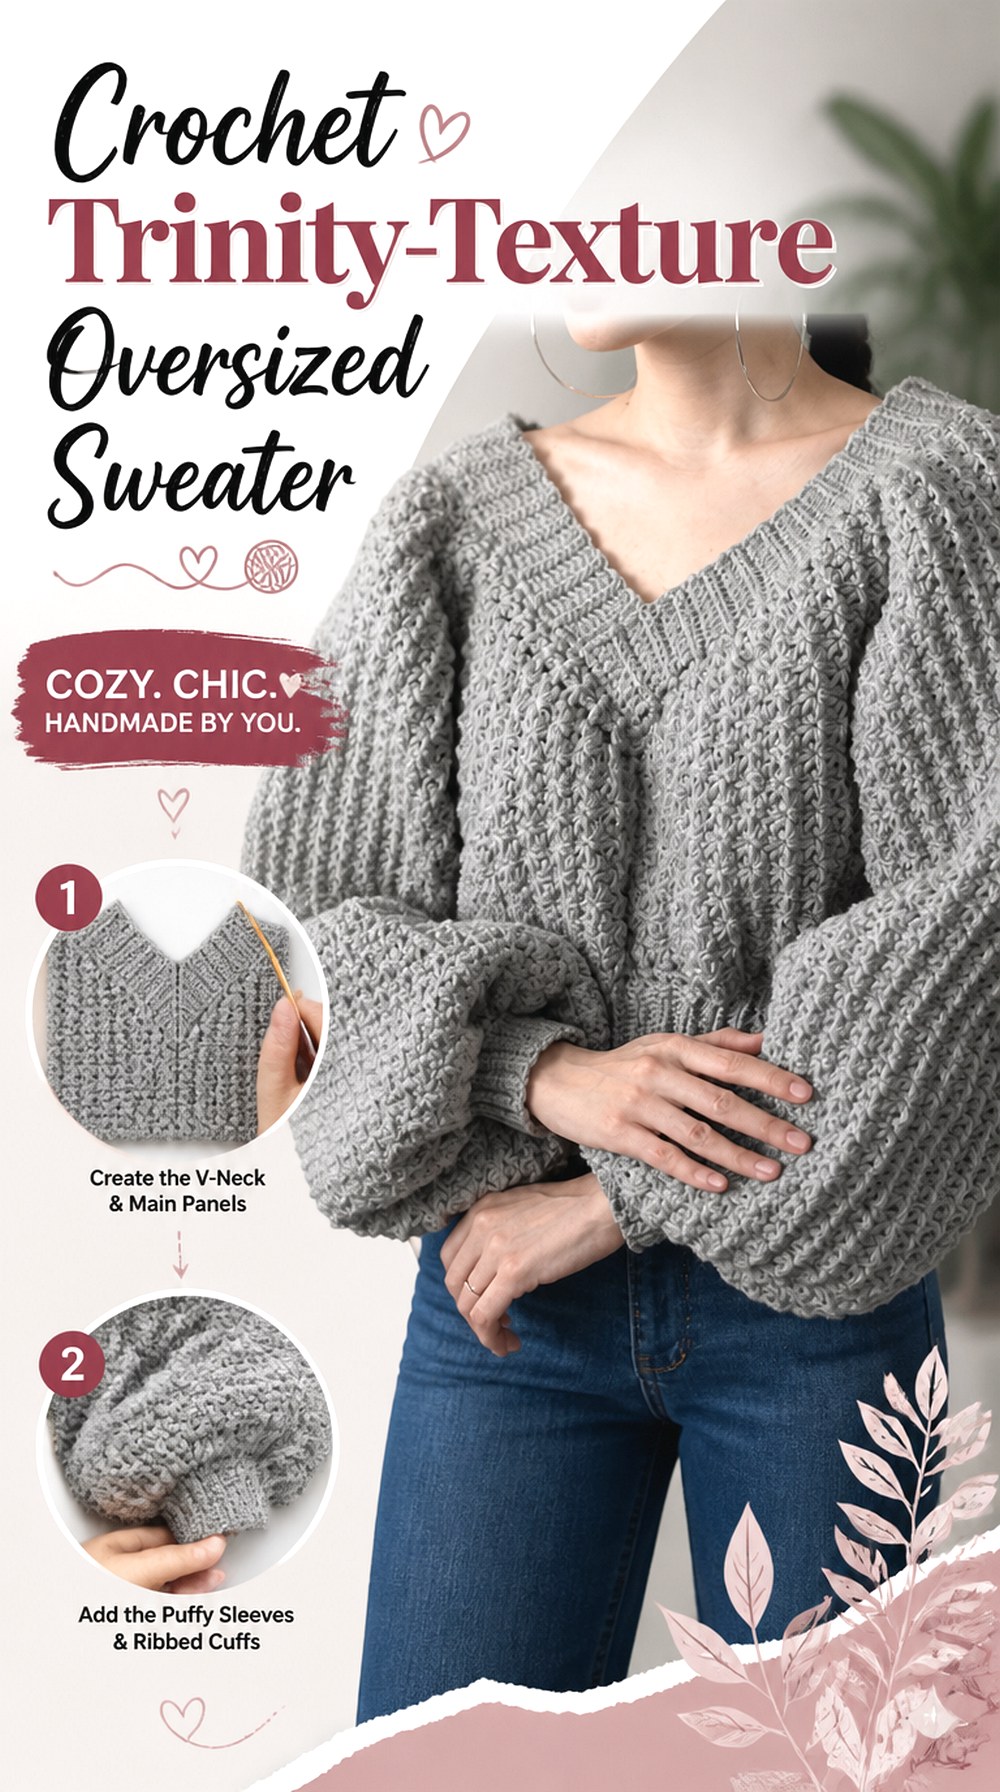
TCDDIY’s oversized sweater uses prominent texture rather than openwork or color blocking as its main visual feature. The tutorial includes a Trinity-stitch fabric, shaped sweater sections, bands, and cuff finishing.
That makes this idea a good alternative to plain oversized panels. The surface has enough detail to remain interesting in one color, while the broad silhouette allows the texture to cover a large uninterrupted area. Because textured crochet can be denser than mesh or simple tall stitches, pay extra attention to drape before committing to maximum width and length.
Texture Needs Room to Stay Visible
A heavily variegated yarn or numerous additional details can compete with an already dimensional stitch surface. If the texture is the feature you want people to notice, consider a yarn that lets the relief remain legible. Swatching also shows whether your chosen fiber produces crisp definition or softens the stitch pattern into a subtler surface.
Dense Fabric Changes the Weight Calculation
Two sweaters with identical measurements can feel very different if one contains substantially more yarn in each square inch of fabric. Handle a large enough swatch to understand its density and imagine that fabric multiplied across an oversized body and sleeves. If it already feels heavy in a small sample, consider whether you truly want extra-long proportions as well.
Bands Give the Loose Shape a Visual Boundary
Defined cuffs and lower edging can prevent a highly textured oversized sweater from reading as one uninterrupted block. When adjusting length, remember that finishing bands contribute to the final proportion. Decide where you want the completed hem to land rather than treating the band as an afterthought added after the body has already reached your target length.
Original Tutorial and Creator Credit
Creator: TCDDIY
6. Crochet Seamless V Neck Oversized Sweater
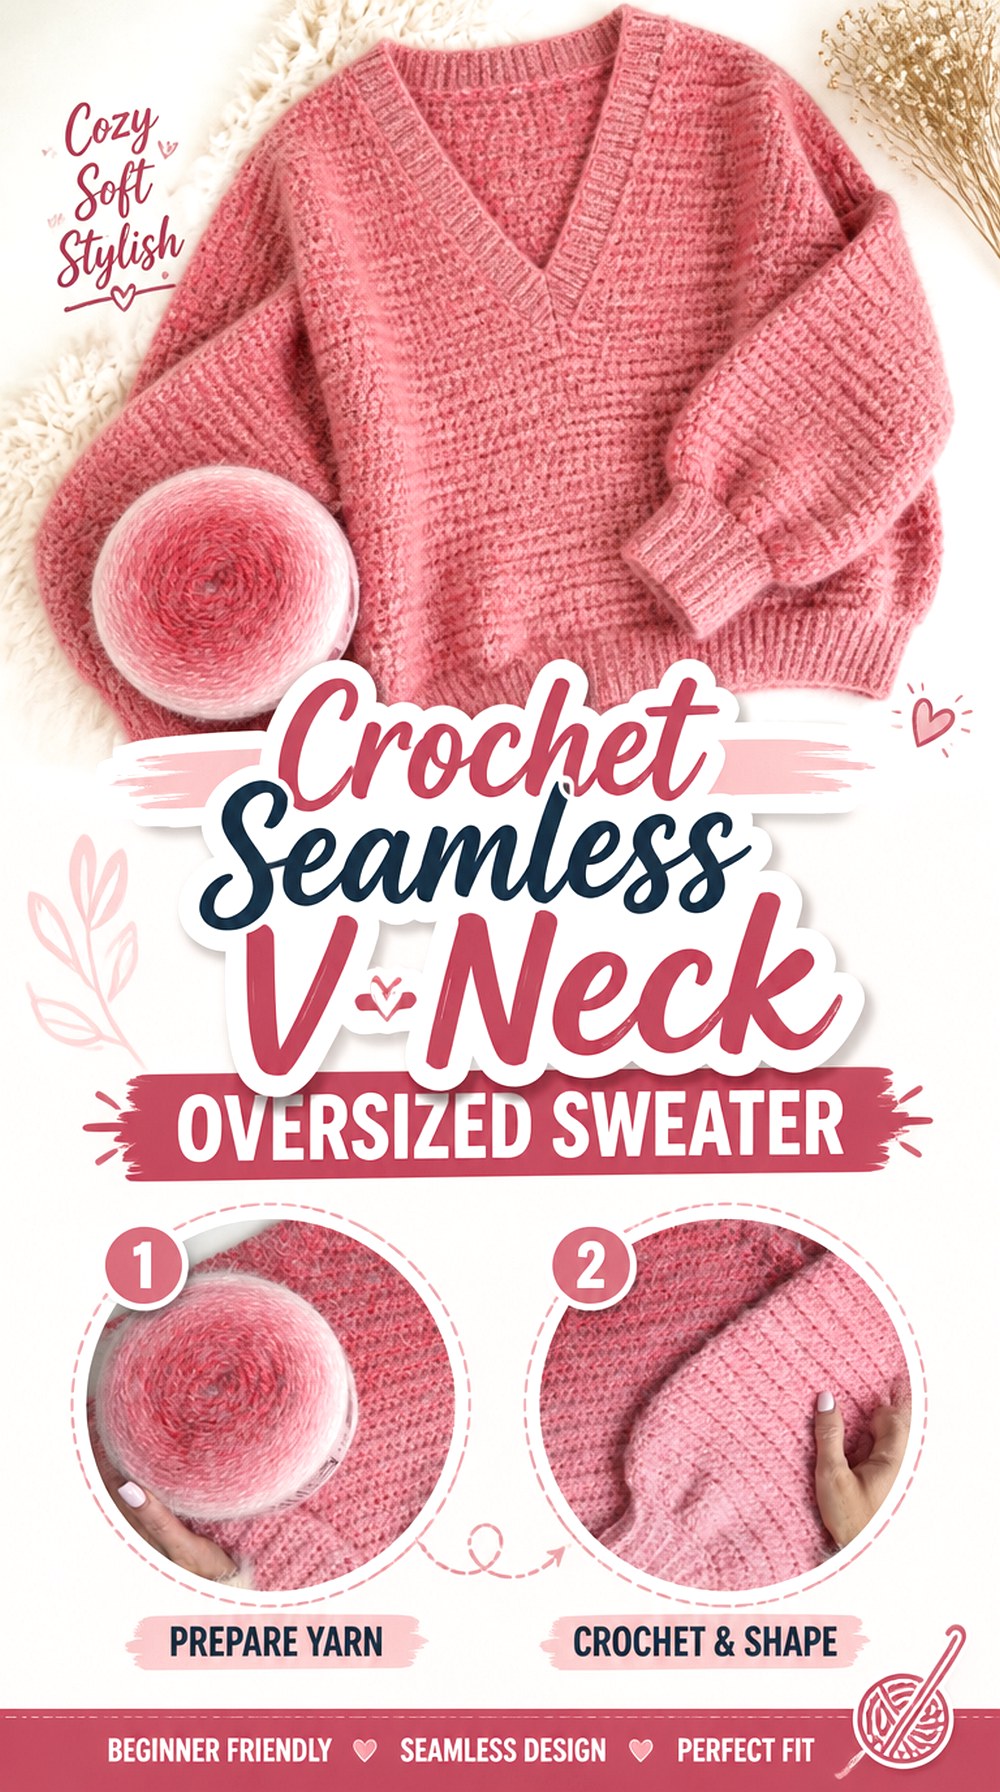
The Halo Hugs design from MJ’s Off The Hook Designs gives the oversized sweater a more open neckline. It is a relaxed V-neck pullover worked top down with seamless construction and a softly textured fabric.
A V-neck breaks up the visual width of a broad upper body and leaves room for shirts, camisoles, or other visible layers. Compared with the turtleneck idea, this sweater feels much less enclosed around the neck even when the body remains roomy. It is a useful direction if you want an oversized silhouette with less bulk concentrated above the chest.
V-Neck Depth Changes Layering Options
Before altering neckline depth, think about what you intend to wear beneath the sweater. A deeper opening highlights an underlayer and creates a longer vertical line, while a shallower V provides more coverage. Because the neckline is part of the top-down structure, use the designer’s construction as the baseline rather than improvising a major change without considering how it affects the yoke.
Seamless Construction Reduces Assembly Decisions
A top-down seamless sweater removes much of the final panel matching required by a multi-piece design. The trade-off is that fit decisions happen while the garment is developing rather than during assembly. Check the upper body early, since the relationship between neckline, yoke, underarm, and body circumference is established before the lower sweater is complete.
Soft Texture Works Differently From Hard Ribbing
This design’s surface is quieter than the pronounced ribbed and Trinity-stitch ideas elsewhere in the list. If you substitute yarn, aim to preserve the type of drape you want rather than chasing appearance alone. A much stiffer yarn may make the extra ease project outward instead of falling around the body.
Original Tutorial and Creator Credit
Creator: MJ’s Off The Hook Designs
7. Crochet Knit Look Ribbed Oversized Sweater
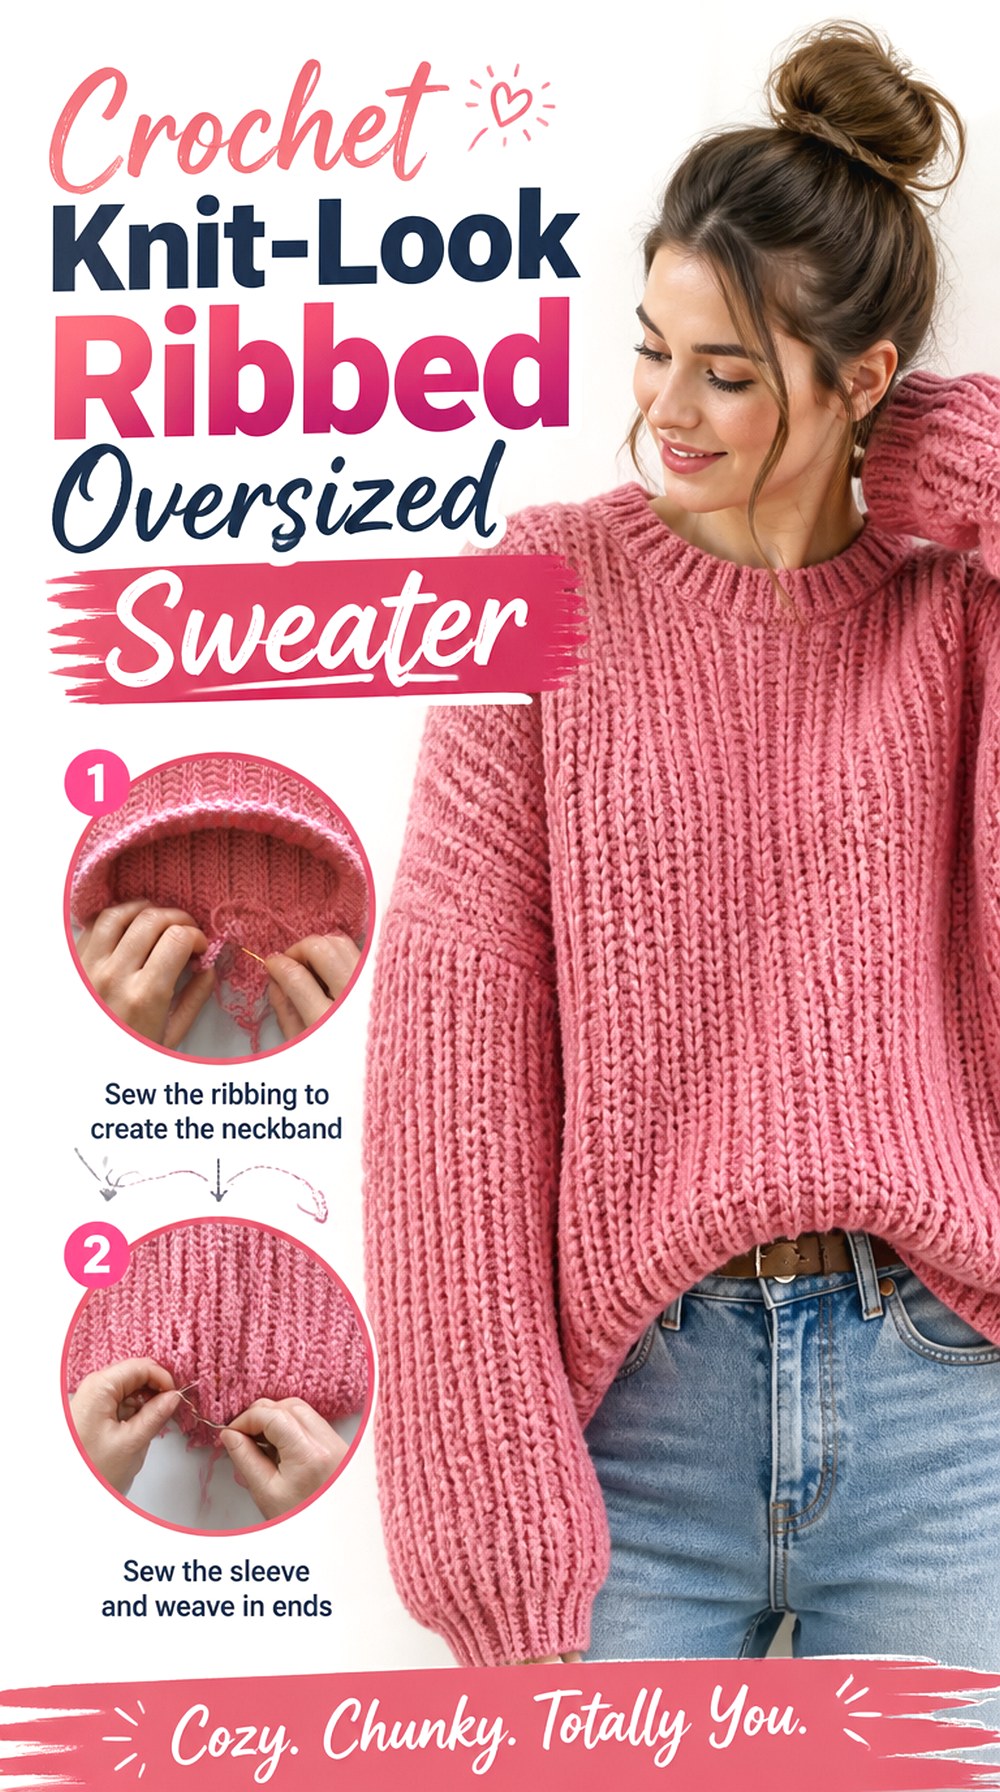
If you prefer crochet that visually approaches knitted ribbing, the Amalfi-style sweater tutorial from forthefrills is a strong contrast to obvious granny clusters or mesh. The design combines a roomy body, ribbed neckline, and relaxed sleeves with a pronounced knit-look surface.
Ribbing gives an oversized sweater directional lines that can make a broad garment appear more organized. It is also a texture where tension deserves close attention: small inconsistencies can accumulate across the long rows needed for a full sweater.
Ribbing Can Pull In or Relax After Handling
Do not judge width from a freshly crocheted ribbed strip that has been stretched aggressively while measuring. Let the fabric relax first and follow the tutorial’s gauge guidance. If you substitute yarn, compare both resting and gently stretched dimensions so you understand how much the fabric rebounds before choosing an oversized size.
Long Vertical Lines Change the Visual Proportion
Strong ribbed texture can make extra width feel different from a flat stitch. Decide whether you want the ribs to emphasize body length, sleeve length, or broad horizontal construction lines. Direction becomes part of the design, so changing construction or rotating a stitch pattern is not merely a decorative decision.
Keep the Neckline More Controlled Than the Body
A broad oversized body paired with a defined neckline creates a useful anchor around the shoulders. If you enlarge the neck at the same time as the body, the finished sweater may shift toward an off-shoulder silhouette. That can be attractive, but it should be intentional rather than an accidental consequence of enlarging every component equally.
Original Tutorial and Creator Credit
Creator: forthefrills
8. Crochet Bold Stripe Made to Measure Sweater
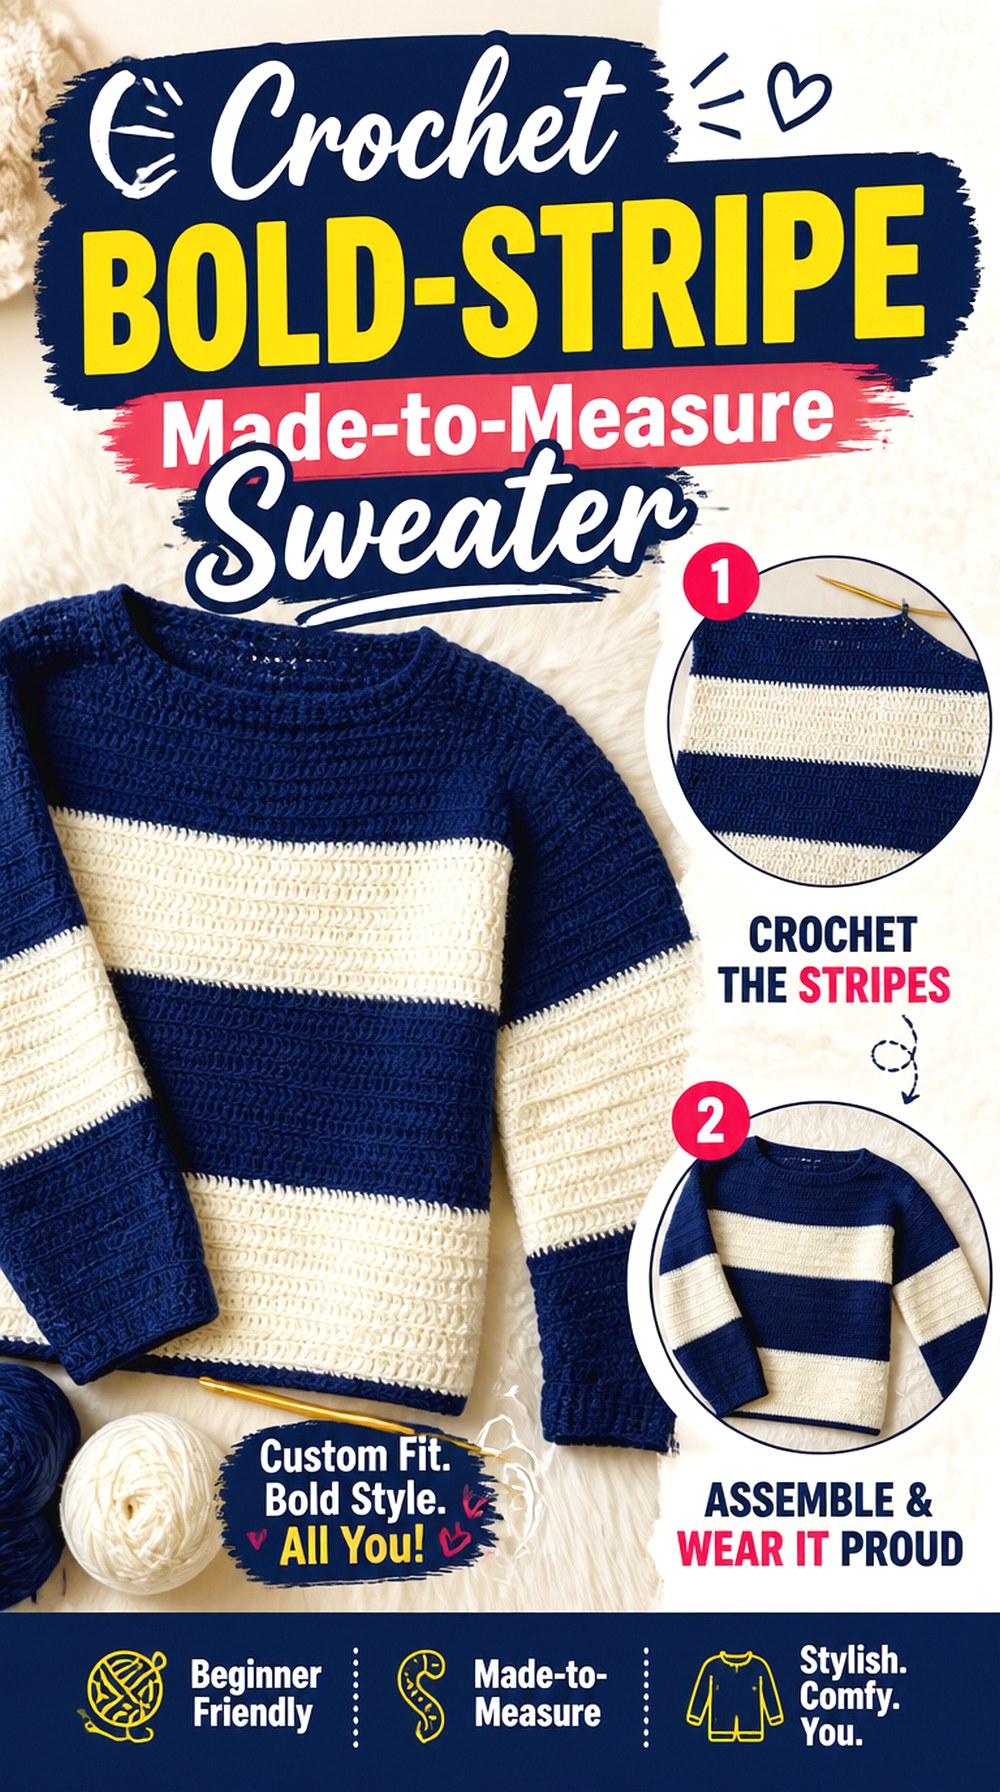
Mahum’s striped sweater is explicitly customizable from a fitted or cropped shape to a loose oversized one, which makes it one of the clearest made-to-measure choices in this collection.
Rather than allowing the oversized silhouette to do all the visual work, broad stripes introduce a second design decision: color rhythm. This version is ideal when you want an everyday boxy sweater with enough graphic contrast to feel intentional even when worn with simple bottoms.
Establish Fit Before Planning Stripe Width
Choose the sweater’s actual width and length first. Stripe proportions that look balanced on a short sample may feel very different across an enlarged body panel. Once the overall dimensions are planned, you can judge whether narrow repeated bands or larger blocks better suit the scale of the garment.
Match Color Changes Across Major Panels
Uneven stripe placement becomes obvious when front, back, or sleeve sections meet. Before joining anything, lay the components next to one another and check where the color transitions fall. A deliberate mismatch can be a design choice, but an accidental shift of only part of a stripe may look like a construction error.
Original Tutorial and Creator Credit
Creator: mahum 🎀
9. Crochet Relaxed Boat Neck Button Collar Sweater
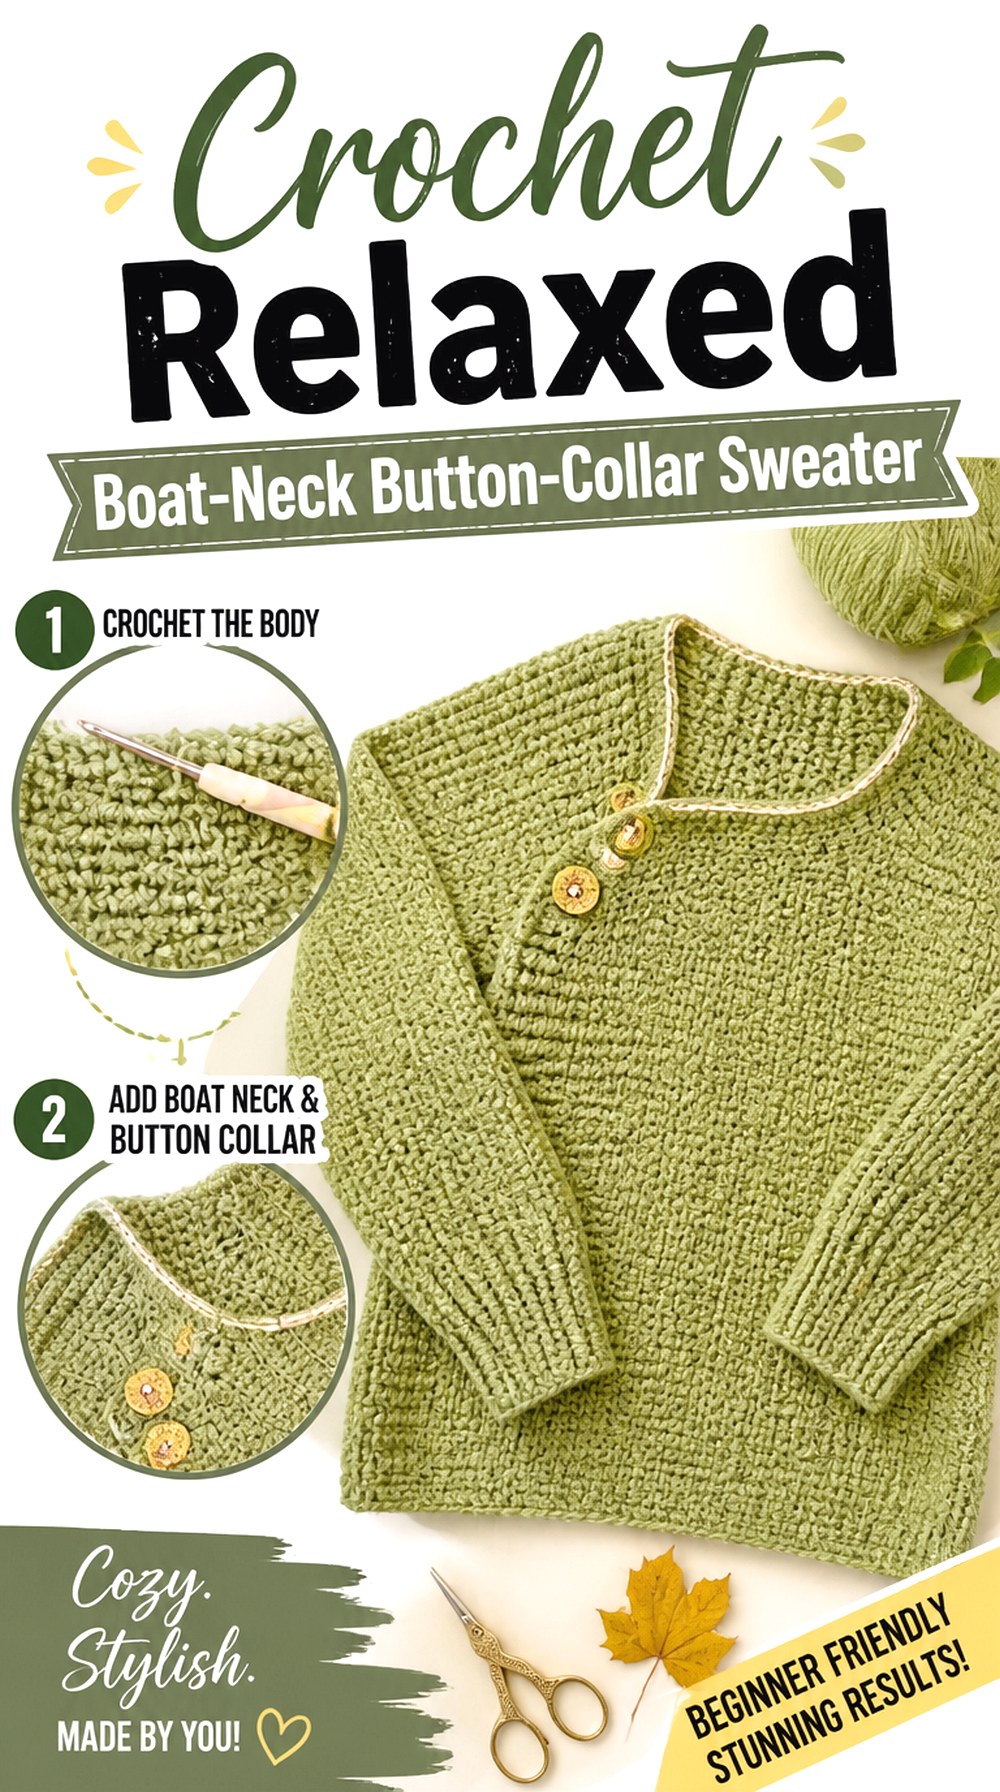
This boat-neck design from The Knotty Lace changes the neckline instead of relying on a conventional crew neck. It is worked side to side and incorporates functional buttons at the collar, creating a detail that immediately distinguishes it from basic oversized pullovers.
The source itself uses a relatively modest amount of positive ease rather than presenting an extremely oversized sweater, so treat this as an adaptation route. If you want a roomier version, compare finished dimensions carefully instead of automatically jumping several sizes and unintentionally changing the shoulder, sleeve, and neckline relationship.
The Boat Neck Sets the Upper-Body Proportion
A horizontal neckline visually broadens the shoulder area, so combining it with very large body width can create a strong boxy silhouette. Decide whether that is the effect you want before adding significant extra ease. A favorite loose boat-neck garment can provide a useful real-world comparison for shoulder-to-shoulder width.
Functional Buttons Need a Stable Edge
A decorative neckline and a working button closure place more attention on edge quality than a plain pullover neck. Check that the collar edges remain even and that the fabric around the button area is not overly loose. If you change yarn, consider whether the new fabric has enough structure to support repeated opening and closing.
Side-to-Side Construction Changes Length Adjustments
When a sweater is not built in the usual bottom-to-top direction, the relationship between foundation length and finished dimensions changes. Identify which part of the construction determines garment length before customizing. That prevents an adjustment intended to add body width from altering a completely different dimension.
Original Tutorial and Creator Credit
Creator: The Knotty Lace
10. Crochet Tweedy Everyday Oversized Sweater
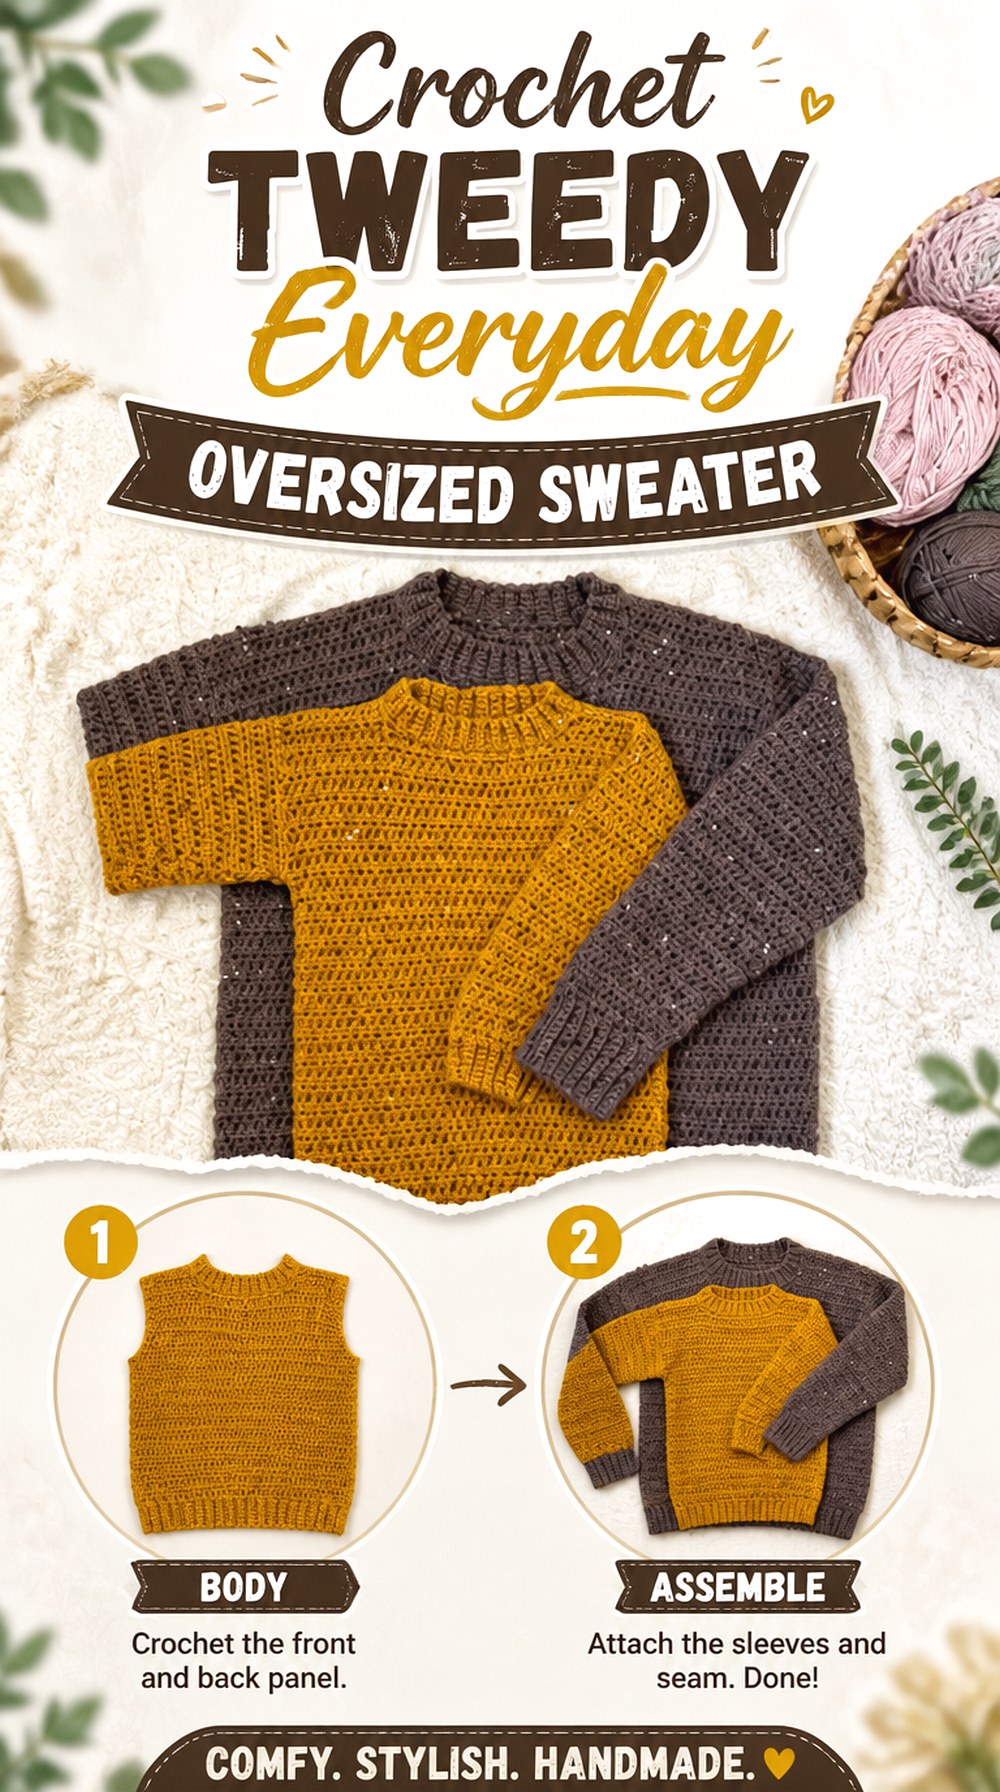
HanJan Crochet’s tweedy sweater offers a straightforward everyday silhouette and is presented in adult sizes with adjustable length. The accompanying pattern listing describes it as an oversized pullover, while the video focuses on the simple sweater construction and basic stitch combination.
This is a quieter option than stripes, mesh, or granny squares. Its appeal comes from wearable proportions and subtle yarn texture rather than a dramatic motif. Choose it when you want the oversized shape to remain the main feature and prefer a sweater that can work with many outfits.
Tweed Already Adds Small-Scale Visual Texture
Flecked yarn creates detail across the surface without requiring complicated color changes. Before adding contrasting cuffs, multiple stripe colors, or other embellishment, look at a large swatch from several feet away. The quieter treatment may suit an oversized silhouette better if your goal is an everyday rather than statement sweater.
Adjustable Length Should Match the Width
A very wide sweater cropped high on the torso creates a dramatically boxy shape, while the same width with a longer hem feels more enveloping. Neither proportion is inherently correct. Compare width and length together before extending the body, and remember that the final edging can add to the completed length.
Simple Stitches Put More Attention on Tension
When a garment does not have complex motifs to distract the eye, uneven rows and panel edges become more noticeable. Check the width at several points as the pieces grow. If the panel gradually narrows or widens, correct the tension or stitch-count issue early rather than waiting until the seam exposes it.
Original Tutorial and Creator Credit
Creator: HanJan Crochet
11. Crochet Two Granny Square Oversized Sweater
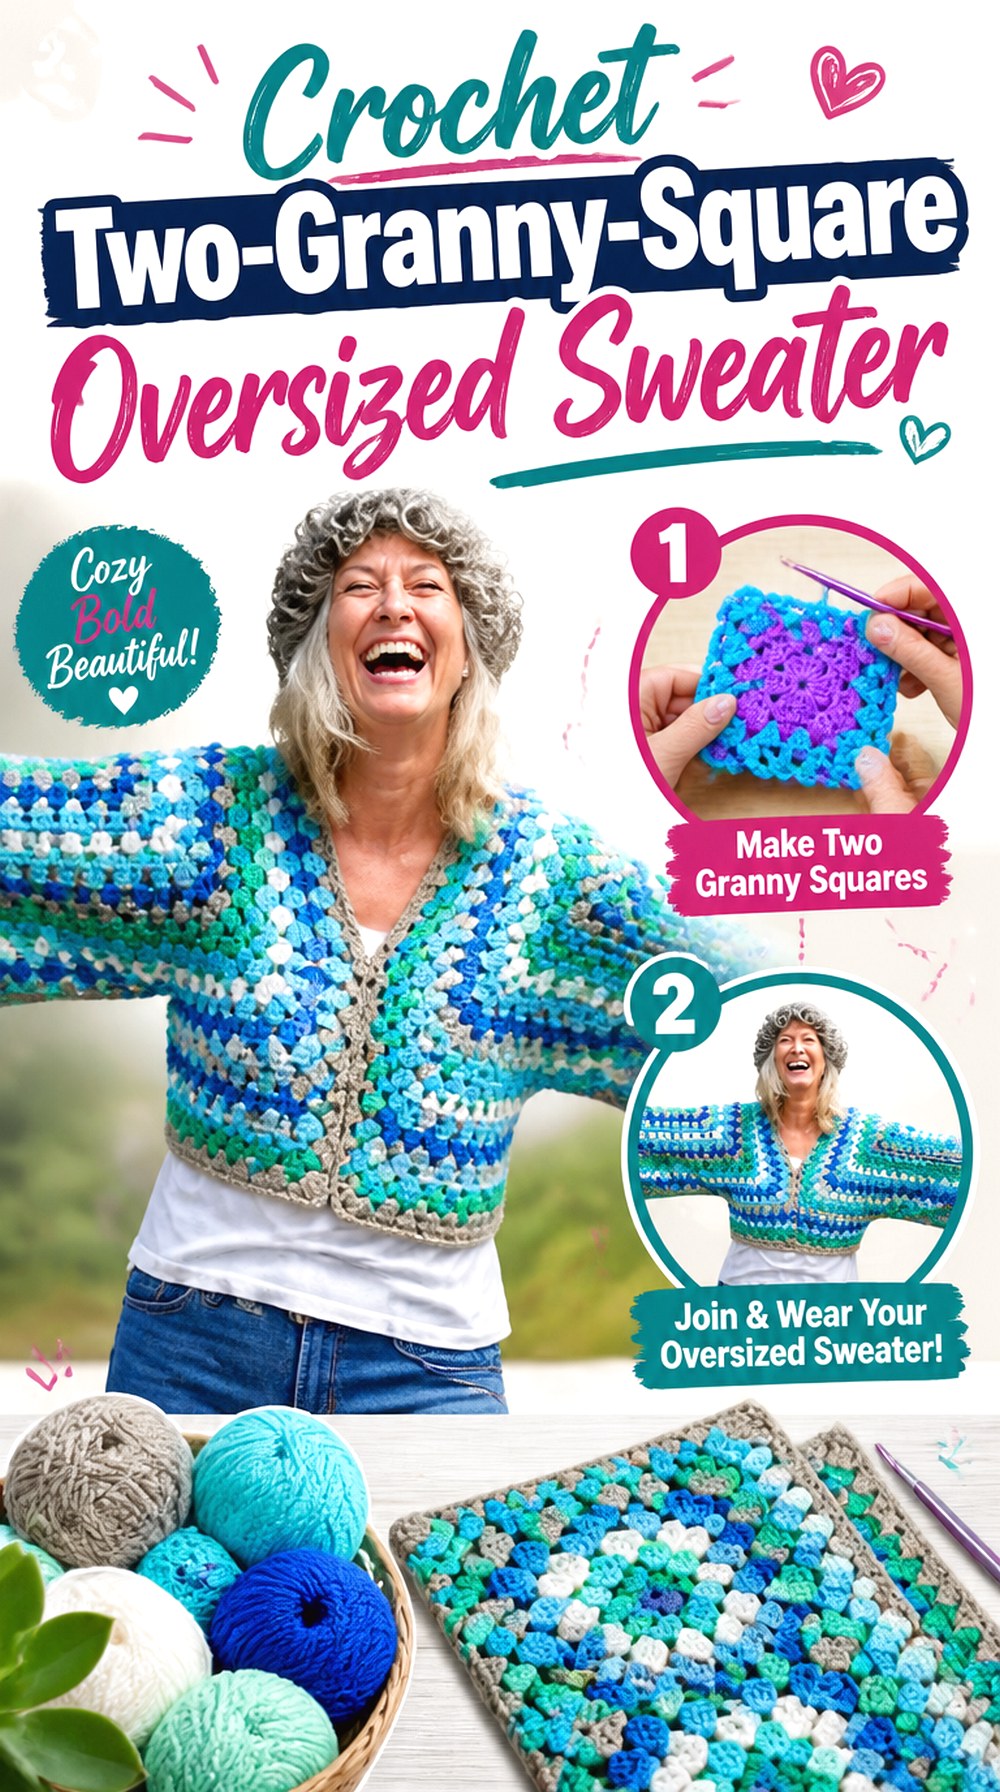
The Secret Yarnery takes a modular route by turning two large granny squares into the core of a relaxed pullover. The associated pattern describes a modern, roomy fit with the square dimensions driving much of the sweater’s scale.
This is fundamentally different from a conventional front-and-back rectangle because the granny-square growth pattern creates the visual layout as the pieces enlarge. Color changes, cluster placement, and joining therefore become part of the finished garment rather than hidden construction details.
Square Size Becomes a Garment Measurement
Do not continue enlarging a granny square simply because another round looks attractive. Periodically compare the blocked or relaxed square with the body area it must cover. Each additional round changes both dimensions simultaneously, so adding width also adds length. This makes proportion planning especially important when aiming for a strongly oversized result.
Color Distribution Can Change the Apparent Shape
Concentric color changes draw the eye toward or away from the center of a square. Wide contrasting rounds can make the body look more graphic, while lower-contrast colors allow the overall silhouette to dominate. Plan both squares together so the front and back feel related even if you intentionally vary the color sequence.
Joining Is Part of the Finished Design
Large motifs create long joining areas, and mismatched edges can cause puckering or distortion. Compare the two squares before final assembly and make sure they have relaxed to compatible dimensions. If one is noticeably smaller, correct the underlying size difference rather than forcing the larger piece to fit during seaming.
Original Tutorial and Creator Credit
Creator: Secret Yarnery
12. Crochet Unisex Relaxed Oversize Sweater
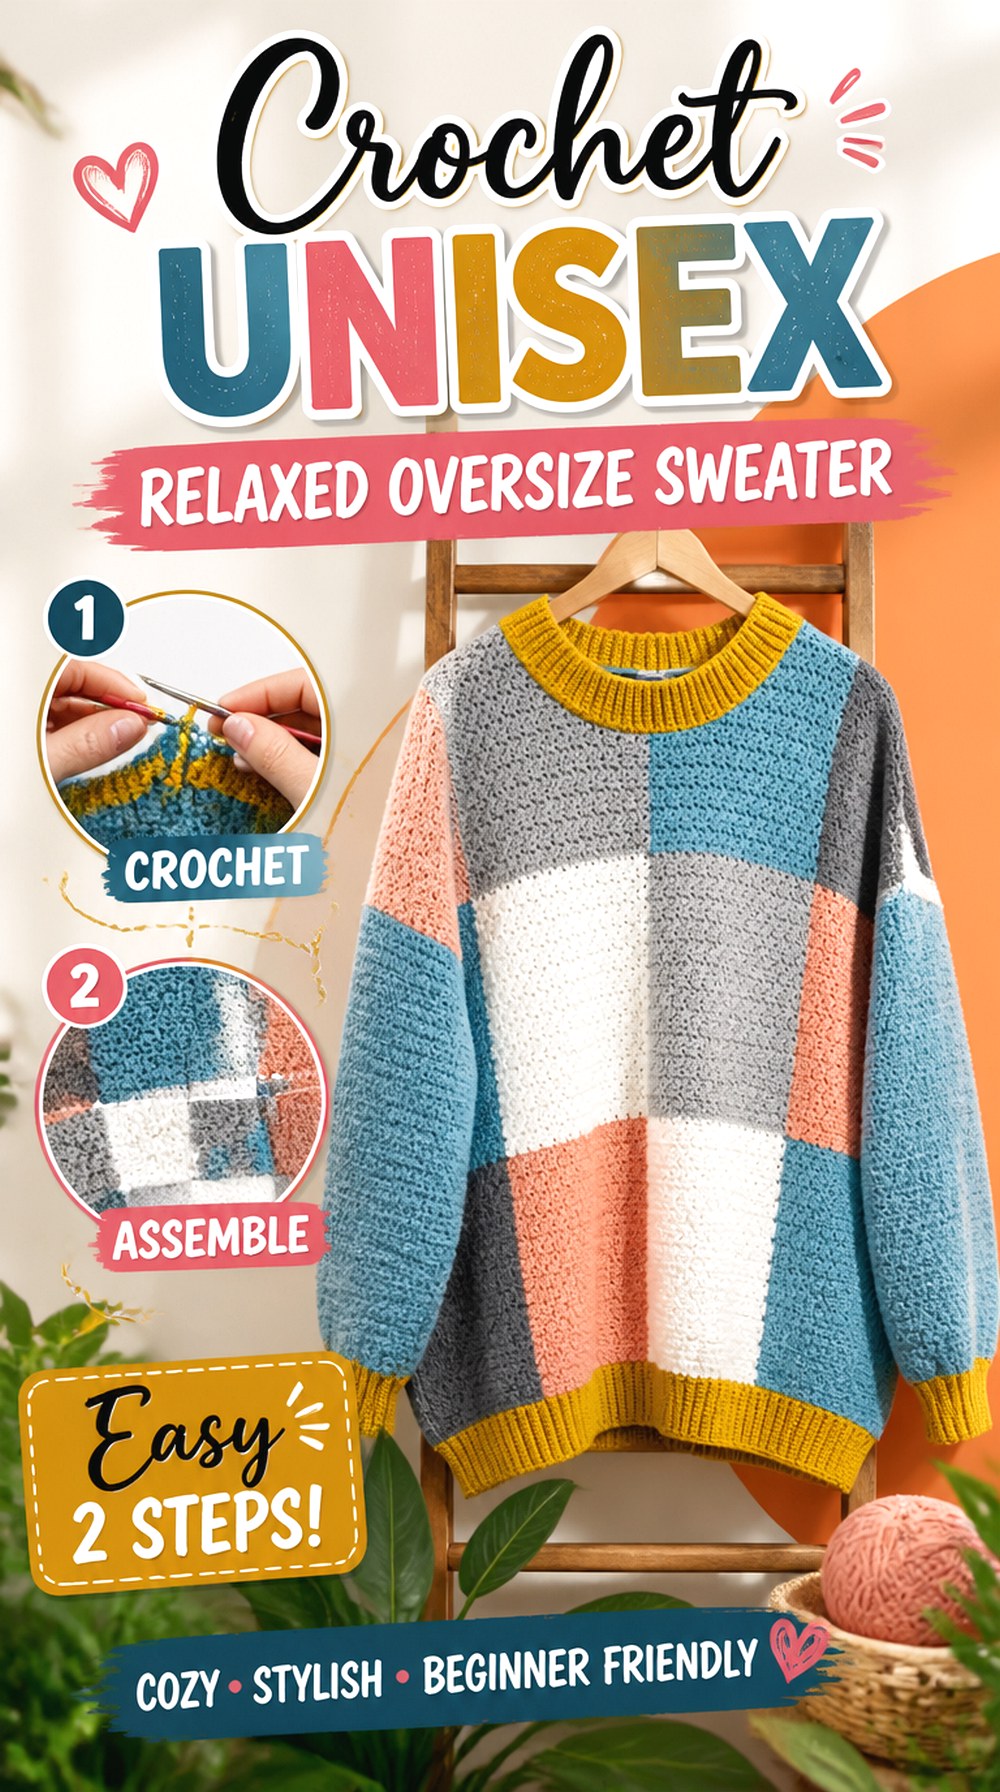
Sirin’s Crochet presents this project specifically as a unisex oversize sweater, making it a useful option when you want a relaxed silhouette without relying on traditionally feminine neckline or shaping details.
The simpler visual direction places more emphasis on shoulder drop, body width, sleeve proportions, and overall length. It can work well as a reference when your goal is a neutral, roomy pullover that can be styled across different wardrobes rather than a sweater built around a specific decorative motif.
Use the Intended Wearer’s Measurements
“Unisex” does not eliminate the need for individual fit decisions. Compare chest, preferred garment width, shoulder position, arm length, and desired hem placement for the actual wearer. Two people with the same chest measurement can still prefer very different sleeve and body proportions, particularly in an oversized garment.
Neutral Styling Makes Proportion More Noticeable
Without bold stripes or large motifs, the eye notices silhouette first. Decide deliberately whether the hem should sit near the hip, lower on the body, or higher for a boxier look. Also compare sleeve volume with body width; extremely narrow sleeves can feel disconnected from a very broad torso, while equally oversized sleeves create a stronger slouch.
Keep Front and Back Length Consistent
A plain pullover benefits from clean alignment at the lower edge. Before joining or finishing, place corresponding body sections together without stretching and check that the edges agree. Small differences that disappear inside a highly textured motif can be more visible on a simple, uninterrupted sweater surface.
Original Tutorial and Creator Credit
Creator: Sirin’s Crochet
13. Crochet Oversized Hoodie Sweater
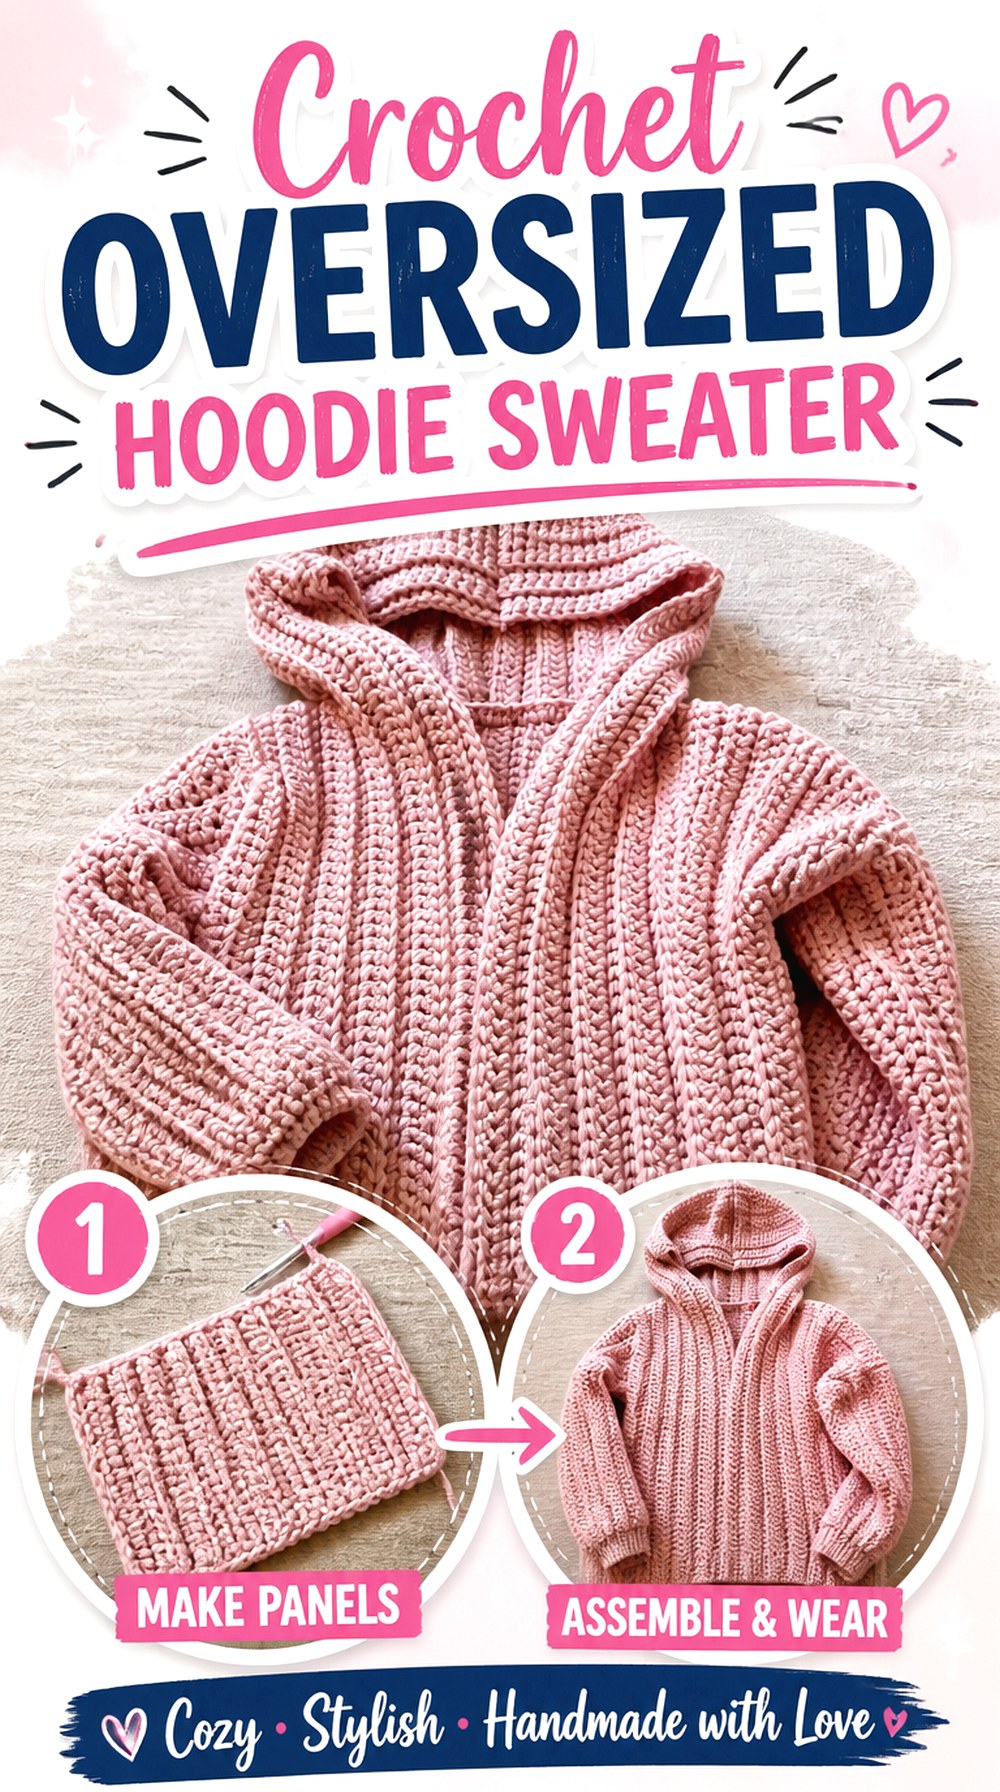
Dana B’s tutorial takes the oversized sweater idea into hoodie territory, adding a hood to an already roomy silhouette. The project is explicitly presented as an oversized crochet hoodie sweater, so the head covering becomes a structural and visual feature rather than an accessory added to a standard pullover.
This style has the strongest casual, sweatshirt-like character in the roundup. It is useful for someone who wants substantial layering coverage and a hooded neckline rather than the open neck of a mesh or V-neck sweater.
The Hood Adds Weight at the Back Neck
A hood contains a meaningful amount of additional fabric. On a loose sweater, that weight can pull backward at the neckline, particularly with a heavy yarn. When considering substitutions, assess the density of your swatch and how much fabric the complete hood will add rather than thinking only about the body and sleeves.
Check the Hood Before Final Neck Finishing
The hood needs enough room to function without creating excessive bulk when it rests on the upper back. Once the major hood shape is established according to the tutorial, check how it sits both up and down before making unrelated neckline adjustments. A comfortable hooded sweater has to work in both positions.
Super-Roomy Sleeves Need Practical Cuffs
A hoodie often gets used as a casual outer layer, so consider what you will actually be doing while wearing it. If the sleeves are intentionally long and loose, a more controlled wrist finish can keep them manageable. Before modifying the cuff, make sure your hand still passes comfortably through the opening.
Original Tutorial and Creator Credit
Creator: Dana B
14. Crochet Off Shoulder Picot Mesh Pullover
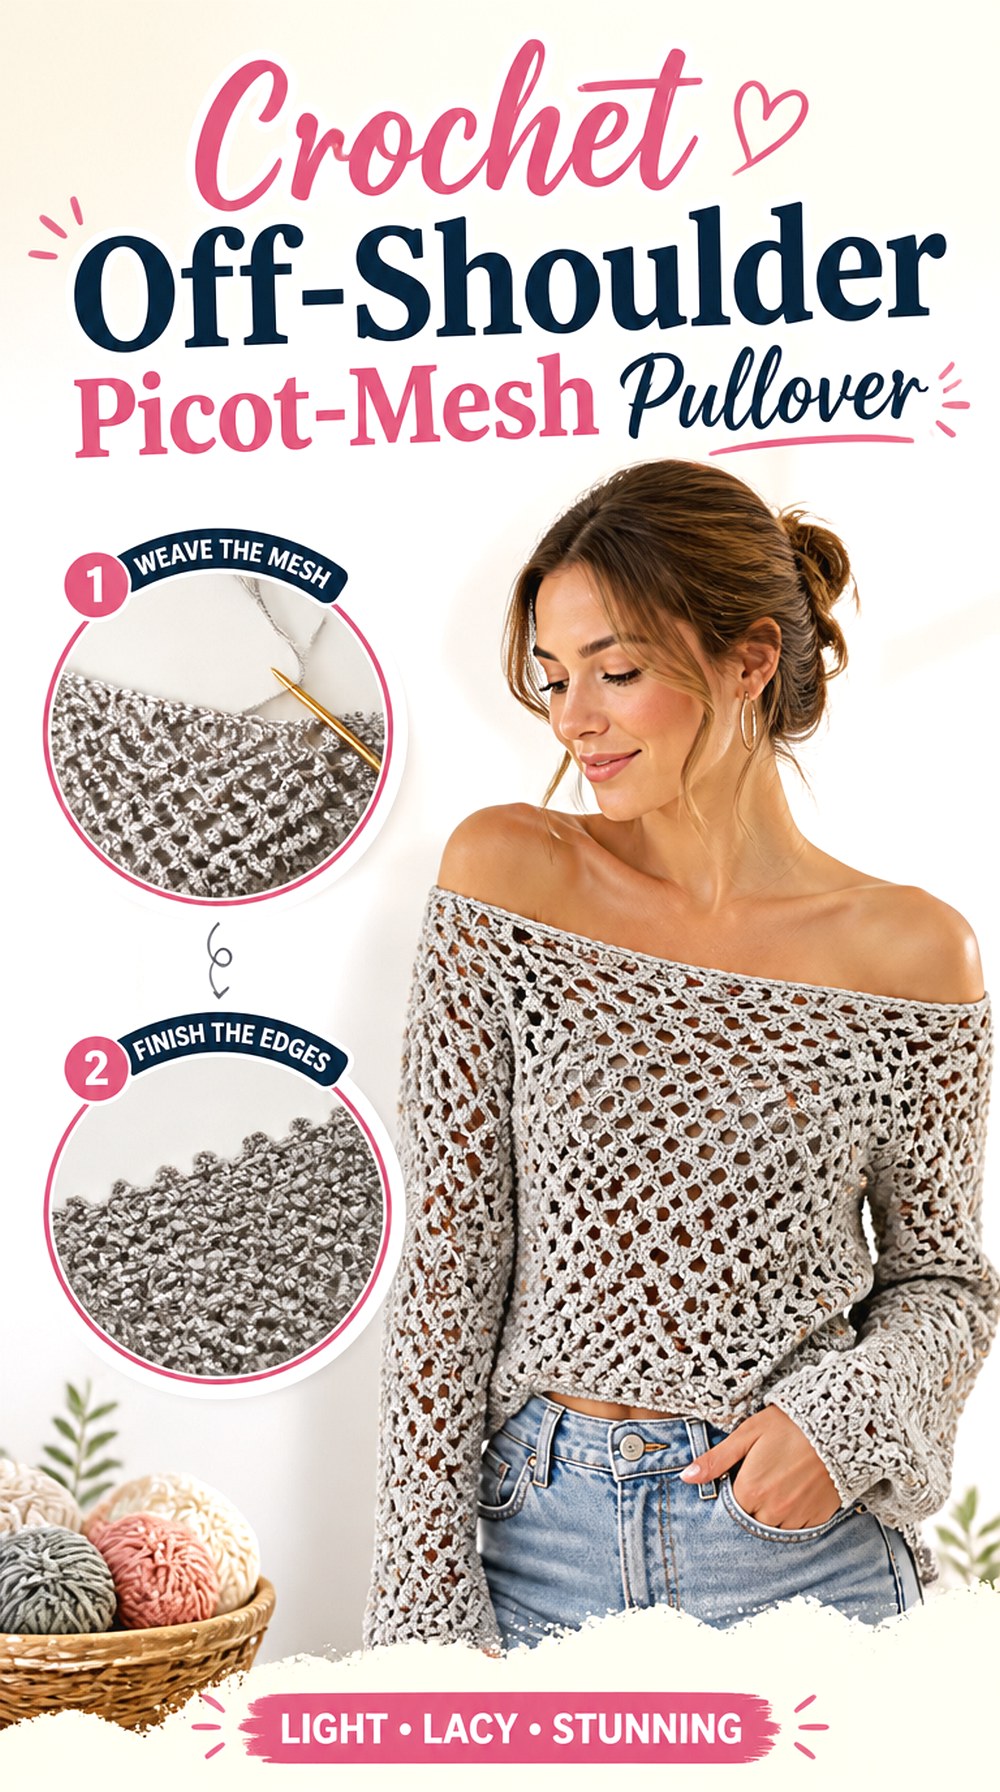
The Palmar Pullover from Evelyn And Peter Crochet combines an oversized, baggy body with mesh, extra-long sleeves, and a wide neckline that can be styled off the shoulder.
That combination makes it more dramatic than the simpler mesh sweater earlier in the list. Instead of treating open fabric mainly as lightweight layering, this version uses the neckline and sleeve proportions to create an intentionally slouchy shape. It suits readers who want the oversized effect concentrated around the shoulders and arms as much as the torso.
A Wide Neckline Needs Intentional Placement
Before making the opening even larger, decide whether you want a consistent off-shoulder look or a neckline that can also sit more conventionally. The garment’s weight and yarn stretch will influence where it naturally settles. Check the developing neckline with the actual sweater weight attached whenever possible rather than judging it from an isolated edge.
Extra-Long Sleeves Amplify the Slouch
Long sleeves can look balanced with the wide neckline, but body width already lowers the visual shoulder line. Check sleeve length only after accounting for where the shoulder and armhole truly sit on your body. Measuring a sleeve in isolation can lead to far more length than intended once the oversized sweater is assembled.
Picot Mesh Already Supplies Decorative Detail
The open texture has a more decorative character than plain mesh, so additional trim may not be necessary. If you plan color changes or contrasting borders, examine whether they enhance the picot surface or compete with it. Keeping the palette restrained can let the stitch architecture and slouchy proportions remain the focal points.
Original Tutorial and Creator Credit
Creator: Evelyn And Peter Crochet
15. Crochet Cuff to Cuff Oversized Pullover
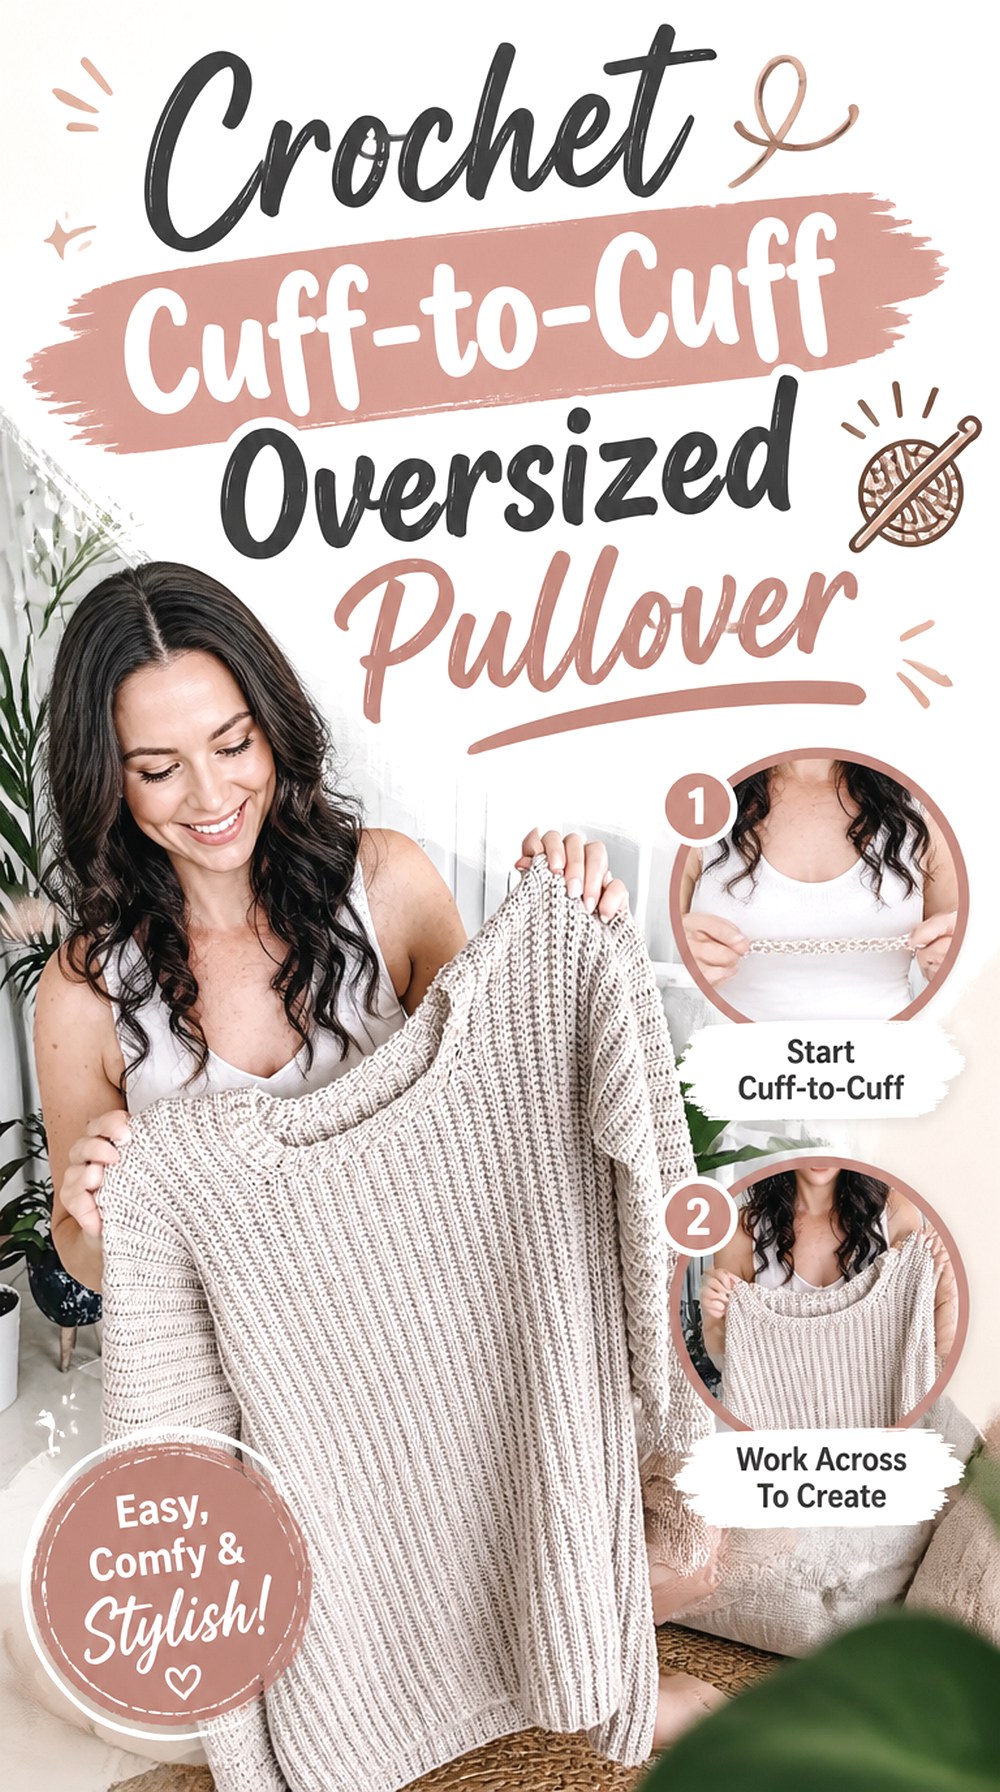
The Dove Pullover from Briana K uses an unusual sideways construction that begins at one sleeve and travels across the body toward the other. The design is made in one main piece with only two seams, and the designer specifically notes that a larger size can be chosen when an oversized look is preferred.
This creates long horizontal lines across the garment and gives you a completely different making experience from separate front-and-back panels. It is worth considering when construction variety matters as much as the final silhouette.
Cuff-to-Cuff Width Is Not Planned Like a Standard Panel
Because the work travels across sleeves and torso, identify which dimensions are established at each stage before changing anything. Adding rows may affect body width or sleeve span differently from adding stitches. Follow the creator’s construction logic first, then use the provided customization guidance rather than transferring assumptions from a bottom-up sweater.
Sizing Up Changes More Than the Torso
The source suggests going up a size for additional oversized ease, but evaluate the complete schematic or measurements before doing so. A larger size can also alter sleeve circumference, shoulder area, and other proportions. Compare those changes against your body and a favorite roomy sweater to make sure the extra ease appears where you actually want it.
Sideways Texture Emphasizes Horizontal Flow
The stitch direction runs differently from many conventional sweaters, so the fabric visually travels across the body. This can make a broad pullover feel especially intentional. If using a highly variegated or self-striping yarn, swatch first to see how color progression interacts with that direction rather than assuming it will resemble a vertically worked garment.
Original Tutorial and Creator Credit
Creator: Briana K
16. Crochet Graphic Star Statement Sweater
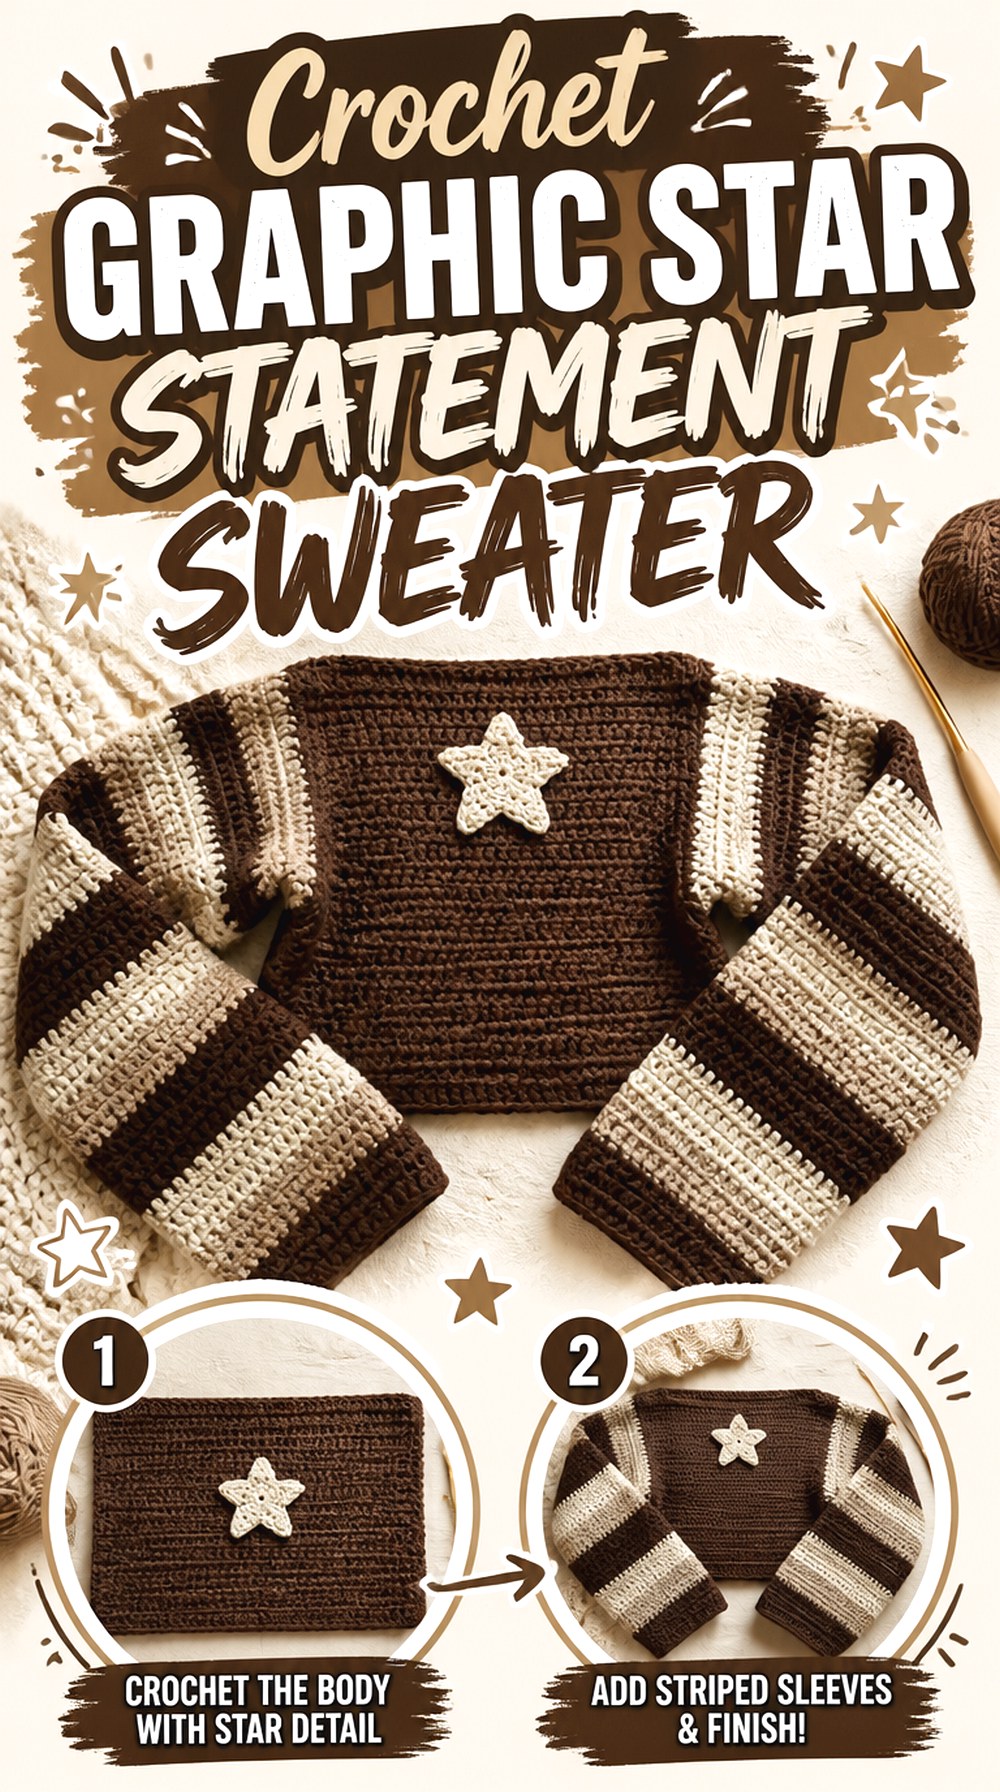
Hannah Drapinski’s tutorial makes the motif itself the reason to choose the sweater. A large star becomes a dominant graphic feature, producing a very different finished object from quiet ribbing, tweed, or plain panels.
The source is a star sweater tutorial rather than a dedicated oversized sizing guide, so use this project as a statement-sweater construction to adapt thoughtfully. If you want a noticeably roomier result, establish your desired finished measurements first instead of assuming the creator’s displayed proportions or an arbitrary size increase will suit you.
Give the Star Enough Space to Read Clearly
A large graphic motif needs breathing room around its points. Before committing to a very cropped body or adding numerous additional decorations, consider how much uninterrupted background remains around the star. If the motif is the centerpiece, preserving its outline usually creates a stronger finished composition than surrounding it with competing details.
Oversized Adaptation Starts With Real Measurements
Because this source is not specifically an oversized-fit tutorial, avoid treating “make everything bigger” as the adaptation plan. Compare a favorite roomy sweater with the tutorial’s construction and identify which measurements actually need more space. Body width, armholes, sleeves, and neckline should remain a coordinated set rather than being enlarged independently.
Color Contrast Determines Motif Impact
A star made from colors with similar value will blend more gently into the sweater, while high contrast creates a strong focal point. Lay the yarns next to each other before starting and decide which effect suits your wardrobe. With an already oversized silhouette, a bold central contrast creates a particularly graphic statement.
Original Tutorial and Creator Credit
Creator: Hannah Drapinski
17. Crochet Scallop Neck Slouchy Oversized Sweater
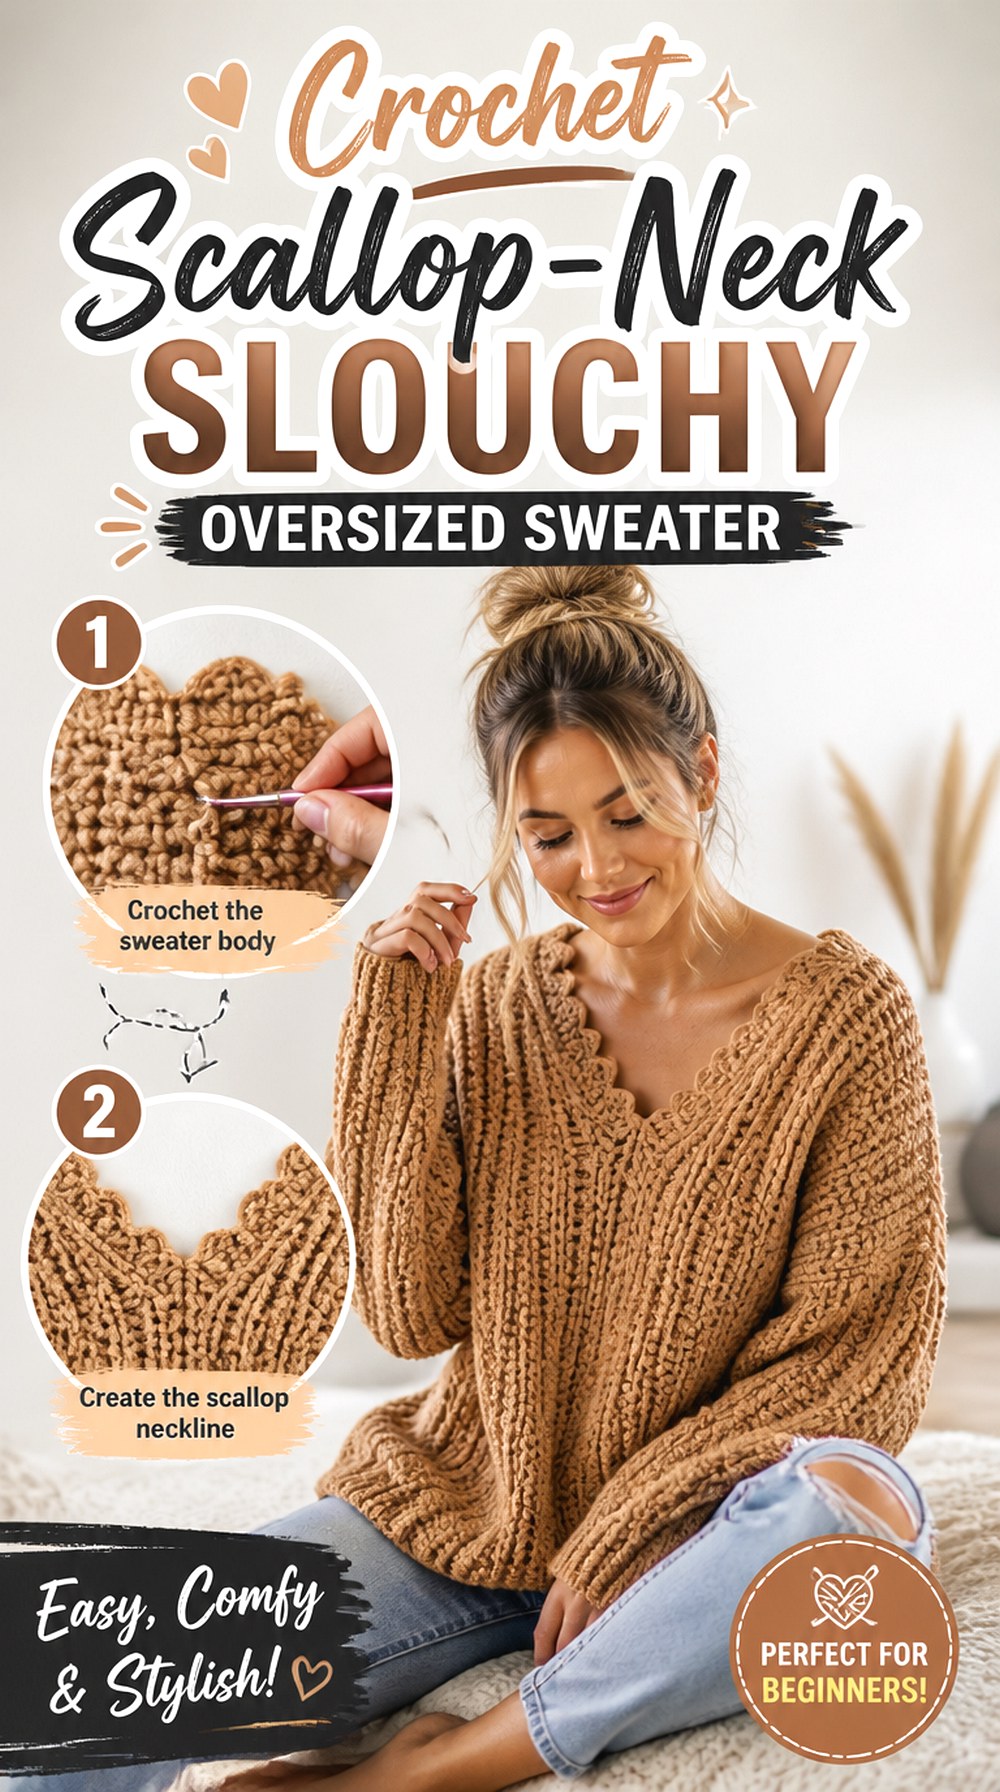
eggoCrochet’s tutorial pairs an explicitly oversized, slouchy sweater shape with a scalloped neckline, giving the final idea a decorative upper edge that none of the simpler crew-neck options share.
The scallops soften the neckline while the loose body keeps the garment casual. This combination works well if plain oversized pullovers feel too minimal but you do not want full-body motifs or extensive colorwork. The decorative emphasis stays near the face, allowing the rest of the sweater to remain comparatively simple.
Scallops Need an Even Foundation
A decorative edge makes irregular spacing more visible. Before adding or completing the scalloped treatment, make sure the underlying neckline is even and lies as intended. If the base edge waves or pulls before the decoration is added, resolve that problem first instead of expecting the scallops to disguise it.
Slouch Should Still Have a Clear Shoulder Plan
A relaxed shoulder line is different from a sweater that simply keeps stretching. Check how the upper body sits before deciding the sleeve length and final neckline behavior. If the shoulder drops farther than expected, sleeves may already reach lower on the arm even before additional length is added.
Keep the Decorative Focus Near the Neck
Because the neckline already provides a distinctive finish, consider whether other scalloped borders are necessary. Repeating the same detail at cuffs and hem can create a coordinated look, but it can also reduce the neckline’s impact. Compare a restrained finish with a repeated one before committing to multiple embellished edges.
How to Choose Among These Oversized Sweater Styles
For the clearest first garment geometry, start with the four-rectangle or straightforward unisex designs. Choose the raglan or seamless V-neck if you prefer the upper body to be shaped during construction rather than assembled from broad panels. The turtleneck and hoodie provide the most coverage, while the two mesh options give a lighter, more open look.
For surface interest, the Trinity-texture, ribbed, tweedy, striped, granny-square, and star designs each create a different visual effect. The boat-neck, V-neck, off-shoulder, and scalloped options put more emphasis near the face. If construction itself is what interests you, the cuff-to-cuff pullover and two-granny-square sweater differ most noticeably from a conventional front-and-back approach.
Conclusion
The right oversized crochet sweater depends on what kind of volume you actually want. Choose a drop shoulder for obvious slouch, a raglan for more controlled shoulder shaping, mesh for airy layering, or a chunky high neck or hoodie when coverage is the priority. Ribbing and texture create quieter interest, while stripes, granny squares, and a star motif turn the sweater into a stronger statement piece.
Whatever style you select, plan body width together with shoulder placement, sleeve length, neckline, and fabric weight rather than enlarging each measurement automatically. Once you have chosen the silhouette that fits your goal, use the original credited tutorial for the creator’s exact construction details and finishing instructions.
Frequently Asked Questions
How much positive ease should an oversized crochet sweater have?
There is no universal amount that works for every sweater or body. Positive ease simply describes how much larger the finished garment is than the relevant body measurement. Check the tutorial’s intended fit and finished measurements when available, then compare them with a sweater you already enjoy wearing. A raglan, drop-shoulder pullover, and mesh sweater can all look oversized with different amounts and distributions of ease.
Should I simply crochet one size larger to make a sweater oversized?
Not automatically. Moving up a size can change more than chest circumference; it may also alter shoulders, armholes, sleeves, neckline, or garment length. Some designers specifically recommend sizing up for a roomier look, while others build the intended ease into each size. Check the actual finished measurements or customization guidance rather than using the size label alone.
How can I stop an oversized crochet sweater from becoming too heavy?
Start by considering yarn weight, stitch density, body length, and sleeve volume together. A dense textured stitch in thick yarn can accumulate much more weight than an open mesh fabric at similar dimensions. Make a representative swatch and handle it rather than judging only its appearance. If the fabric already feels substantial, you may prefer moderate ease, less body length, or less sleeve volume.
Which construction is easiest to adjust while I am crocheting?
Top-down raglans and other top-down sweaters can provide useful fit checkpoints because the upper body develops early, while made-to-measure panel designs let you work toward selected dimensions. Neither method removes the need for planning. Sideways and cuff-to-cuff sweaters can also be adjustable, but you must understand which direction controls each finished measurement before changing the construction.
Why do oversized crochet sleeves sometimes end up much too long?
Body width and shoulder position can add apparent sleeve length before the sleeve itself begins. On a drop-shoulder sweater, a wider body pushes the sleeve starting point farther down the arm. If you then use a sleeve length planned for a natural shoulder, the finished sleeve may extend too far. Check the assembled or developing shoulder position before finalizing sleeve length whenever possible.
Do mesh oversized sweaters need the same fit checks as dense sweaters?
Yes, but fabric behavior becomes especially important. Mesh may relax, stretch, or change after blocking differently from dense crochet, and the underlayer is visible through the openings. Check the neckline, armholes, body width, and length after treating a representative swatch. Also plan what you will wear underneath, because a wider mesh garment can expose more of that layer around the sides and shoulders.