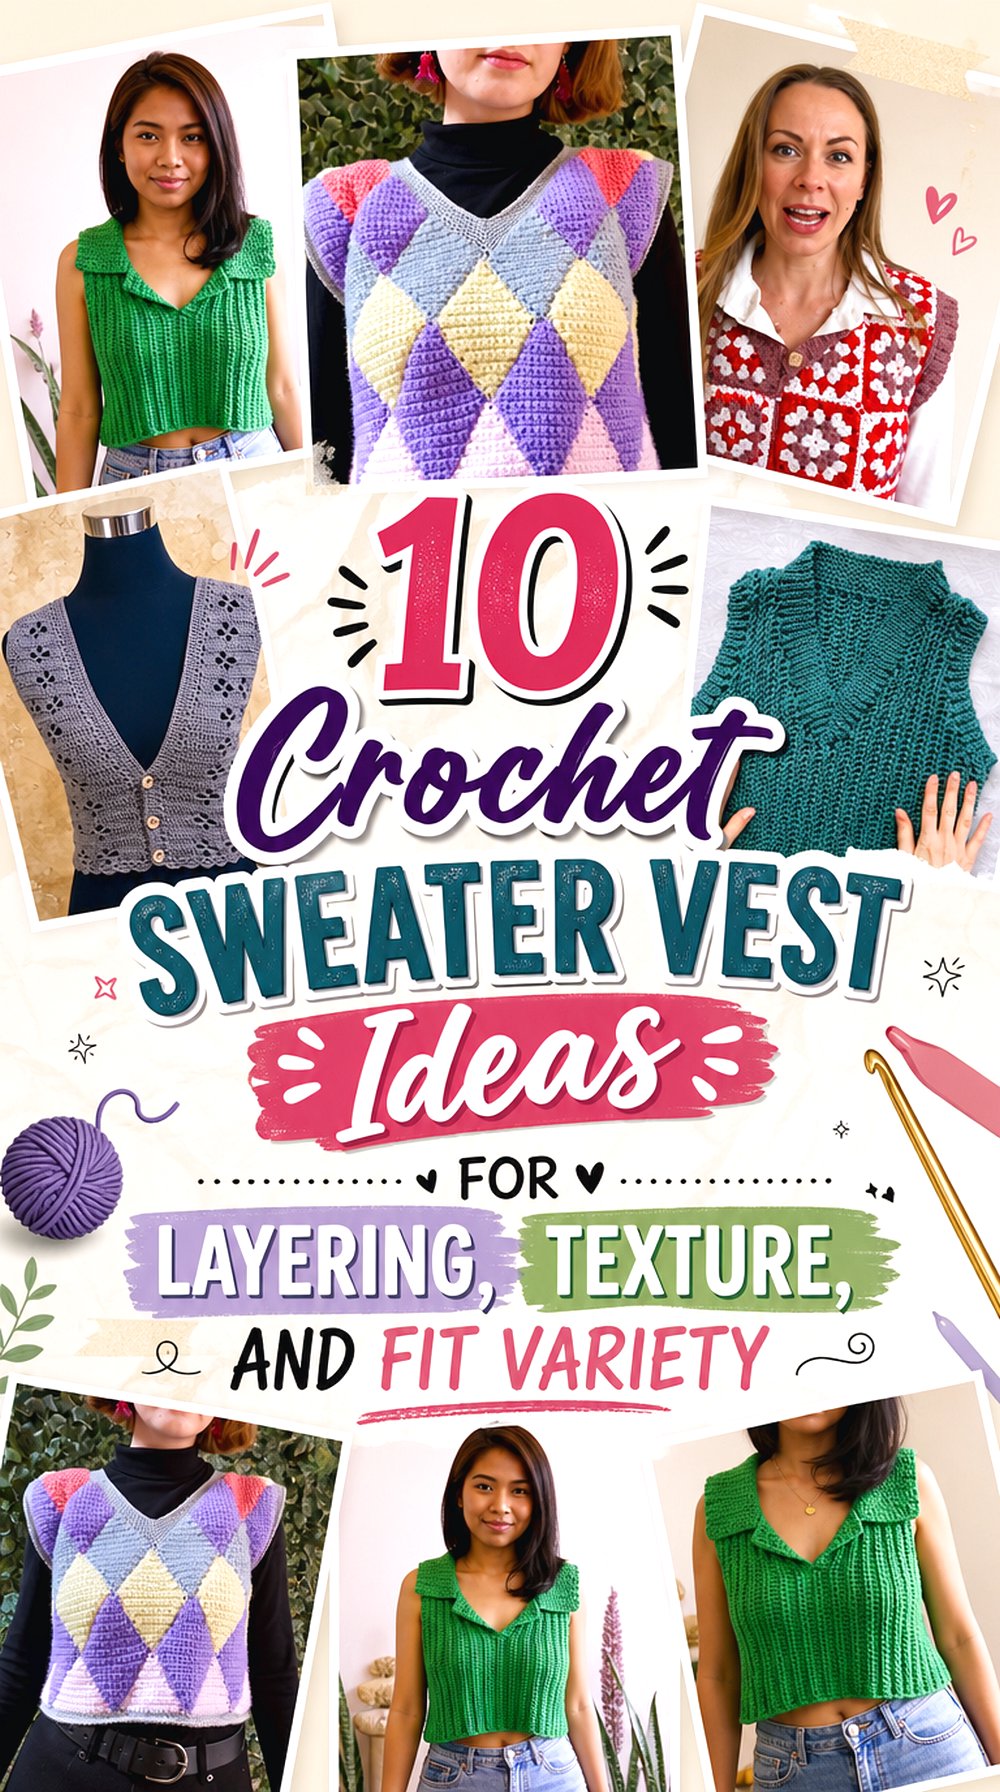

Crochet sweater vests can change a layered outfit in very different ways. Some sit close to the body with neat ribbing, while others use squares, checks, stripes, collars, buttons, or a hood to create a more defined look. This collection keeps the focus on finished vest styles that feel different from one another, so readers can compare shape and purpose before choosing a tutorial.
The projects below include pullover, cropped, button-front, collared, hooded, graphic, and motif-based sweater vest ideas. Each one links to a real YouTube tutorial from a different channel, so the final construction details stay with the original creator.
Quick List
- Crochet Ribbed Crewneck Sweater Vest
- Crochet Classic V-Neck Sweater Vest
- Crochet Granny Square Slipover Vest
- Crochet Checkerboard Sweater Vest
- Crochet Argyle Sweater Vest
- Crochet Cropped Straight Sweater Vest
- Crochet Hooded Button Vest with Pockets
- Crochet Collared Sweater Vest
- Crochet Preppy Striped Sweater Vest Tank
- Crochet Scallop Button-Up Sweater Vest
Why These Crochet Sweater Vests Are Worth Making
Sweater vests are useful crochet garments because small design changes can affect how they layer, fit, and feel in an outfit. A crewneck vest gives more coverage at the neckline, while a V-neck leaves room for a shirt collar or simple top underneath. A cropped shape can sit higher at the waist, and a longer hooded vest can feel closer to outerwear.
Texture also matters. Ribbing, granny squares, checkerboard color blocks, argyle lines, stripes, and scallop edging all create different focal points. Before starting, readers should compare garment length, armhole shape, front closure, neckline depth, and whether the tutorial provides size notes or written support.
1. Crochet Ribbed Crewneck Sweater Vest
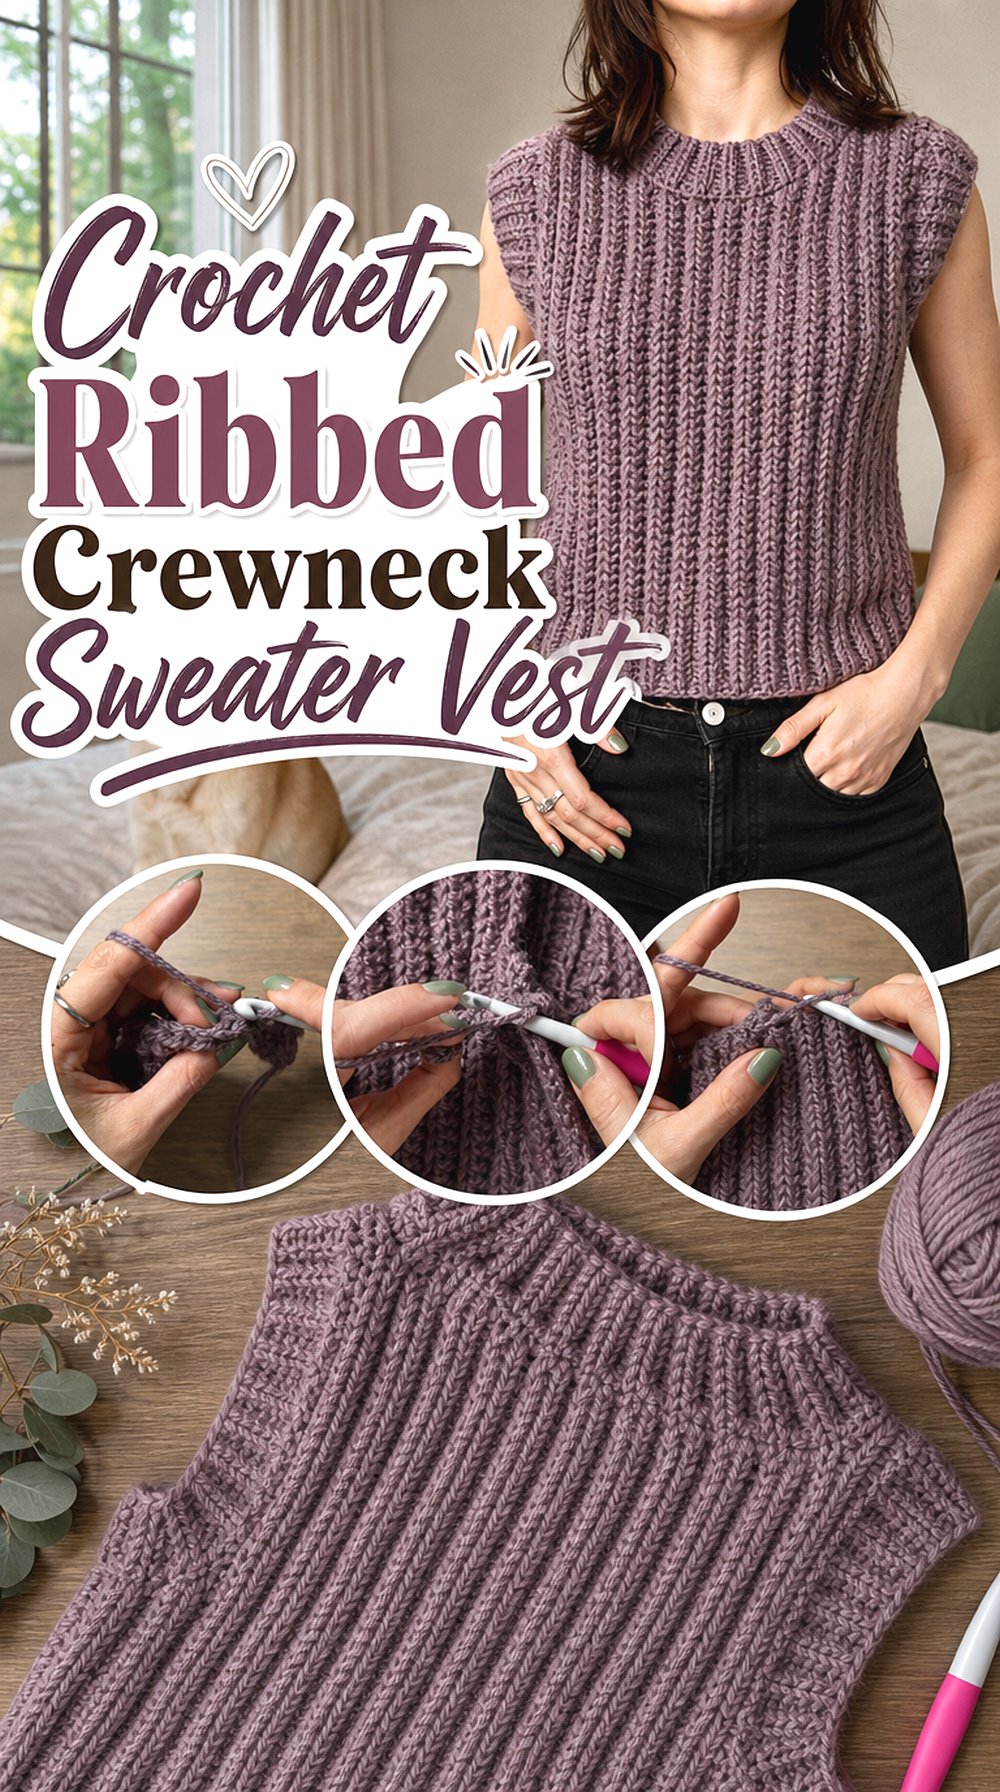
sweater-like finish. The neckline sits higher than a V-neck, and the ribbed surface makes the garment look structured without relying on color changes. This idea may suit readers who want a simple layering piece where texture does most of the visual work. It also differs from the graphic vests later in the list because the main detail is the all-over ribbed fabric and finished trim.
Look at the Neckline Shape
The crewneck shape is worth checking because it affects what can be worn underneath. A higher neckline may work better over fitted tees or thin long sleeves than over bulky collars. Readers should compare the finished neck opening with their preferred layering pieces before choosing this style. The neck edge also needs to look smooth, since it becomes one of the most visible parts of the finished vest.
Review the Size Range
The source information describes the project as adaptable for any size, which makes measurement checking especially important. Readers should not rely only on a usual clothing size when making a sweater vest. Chest width, vest length, shoulder width, and armhole depth all affect the finished fit. It is useful to review the creator’s size notes before buying supplies or starting the panels.
Watch the Armhole Fit
Armholes can decide whether a vest feels neat or awkward over layers. For this ribbed crewneck style, the armhole shaping should leave enough room for movement without pulling at the shoulder. Readers may want to pause around the shaping sections and compare both sides as they work. A simple progress note can help keep the front and back balanced.
Creator: VivCrochets
2. Crochet Classic V Neck Sweater Vest
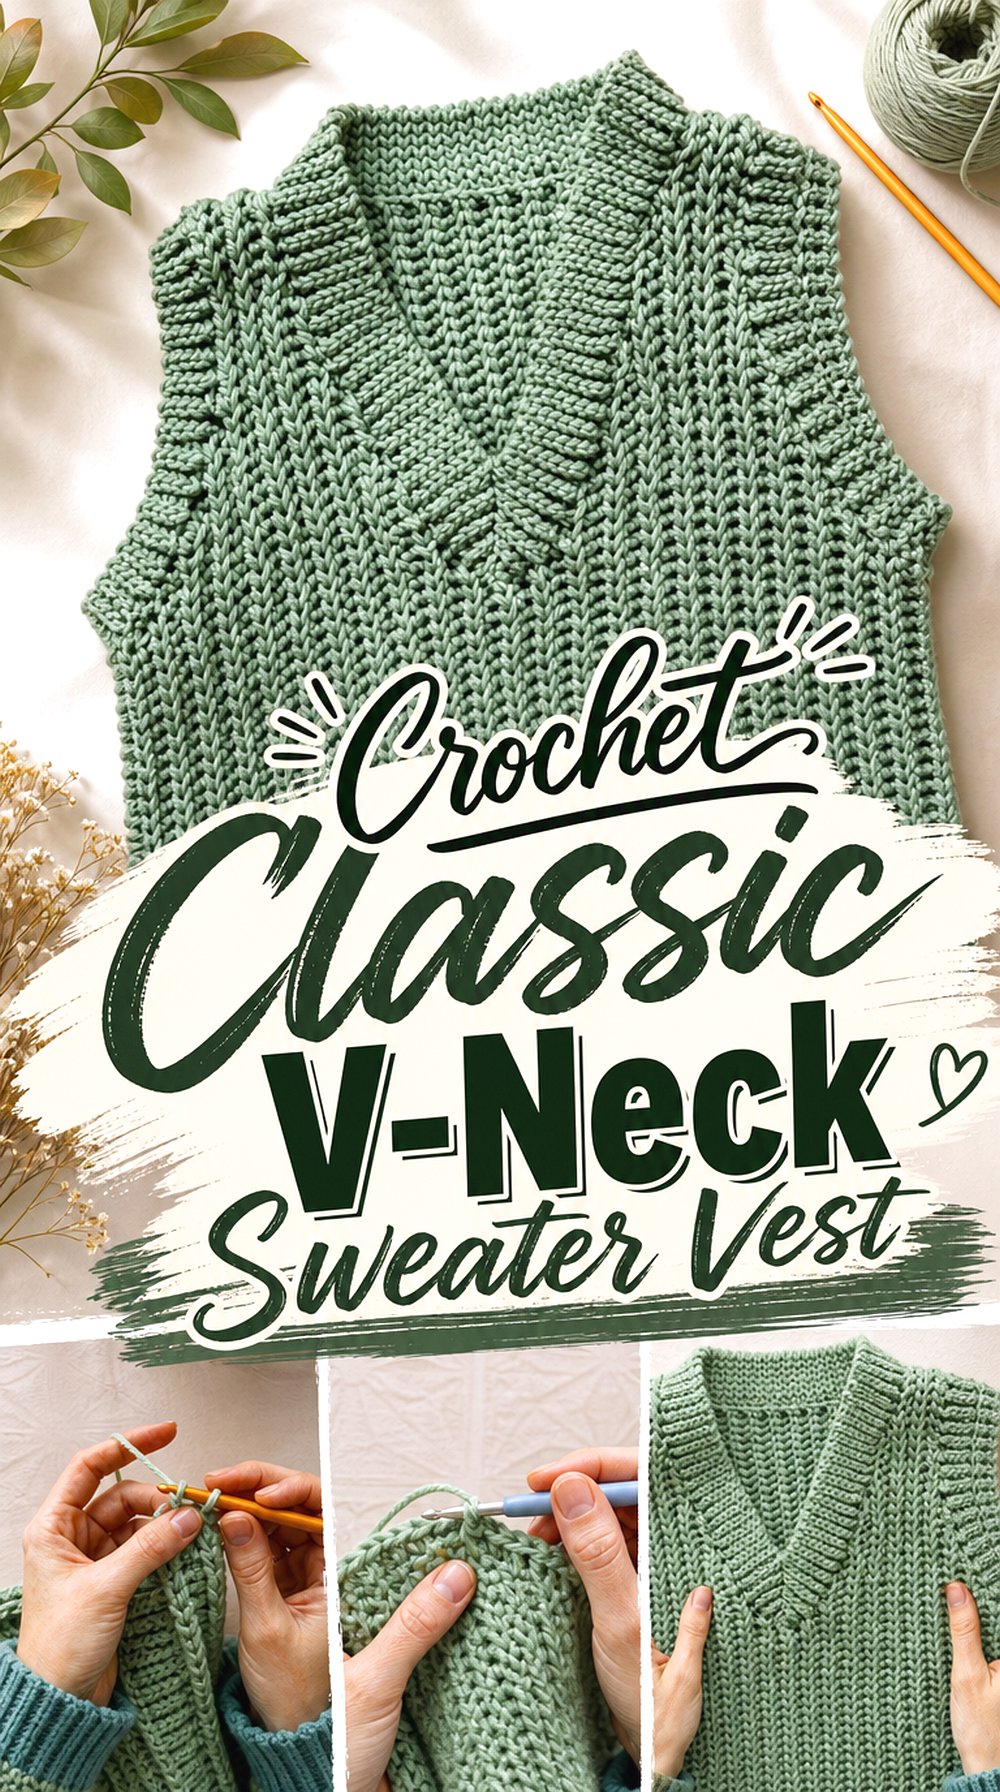
The V-neck sweater vest brings a more traditional layered look to the list. Its front opening creates a clear line down the chest, which can frame a blouse, button-down shirt, or plain top underneath. Compared with the crewneck vest, this option gives the neckline more visual space and may feel less closed at the front. The overall shape is useful for readers who want a recognizable sweater vest style without extra motifs, pockets, or hood details.
Consider Layering Needs
A V-neck vest is often chosen because it leaves part of the underlayer visible. Before starting, readers should think about what they plan to wear beneath it and how deep they want the neckline to appear. A deeper V can show more of the shirt underneath, while a shallower one gives more coverage. The tutorial should be followed for the exact shaping.
Confirm the Garment Length
Length changes how a V-neck vest sits with pants, skirts, or dresses. A shorter vest may emphasize the waist, while a longer one can look more relaxed. The finished length should be checked against the wearer’s body measurements rather than guessed from the thumbnail alone. Readers planning to layer over thicker clothing should also consider how length and width work together.
Look for Written Instructions
The video listing mentions a written pattern, which can be helpful for a garment project. Written support lets readers double-check size information, materials, and any shaping notes without replaying the same part repeatedly. It should still be used alongside the original tutorial, especially for visual details such as the neckline slope, armhole finish, and final edging.
Creator: By StellaM
3. Crochet Granny Square Slipover Vest
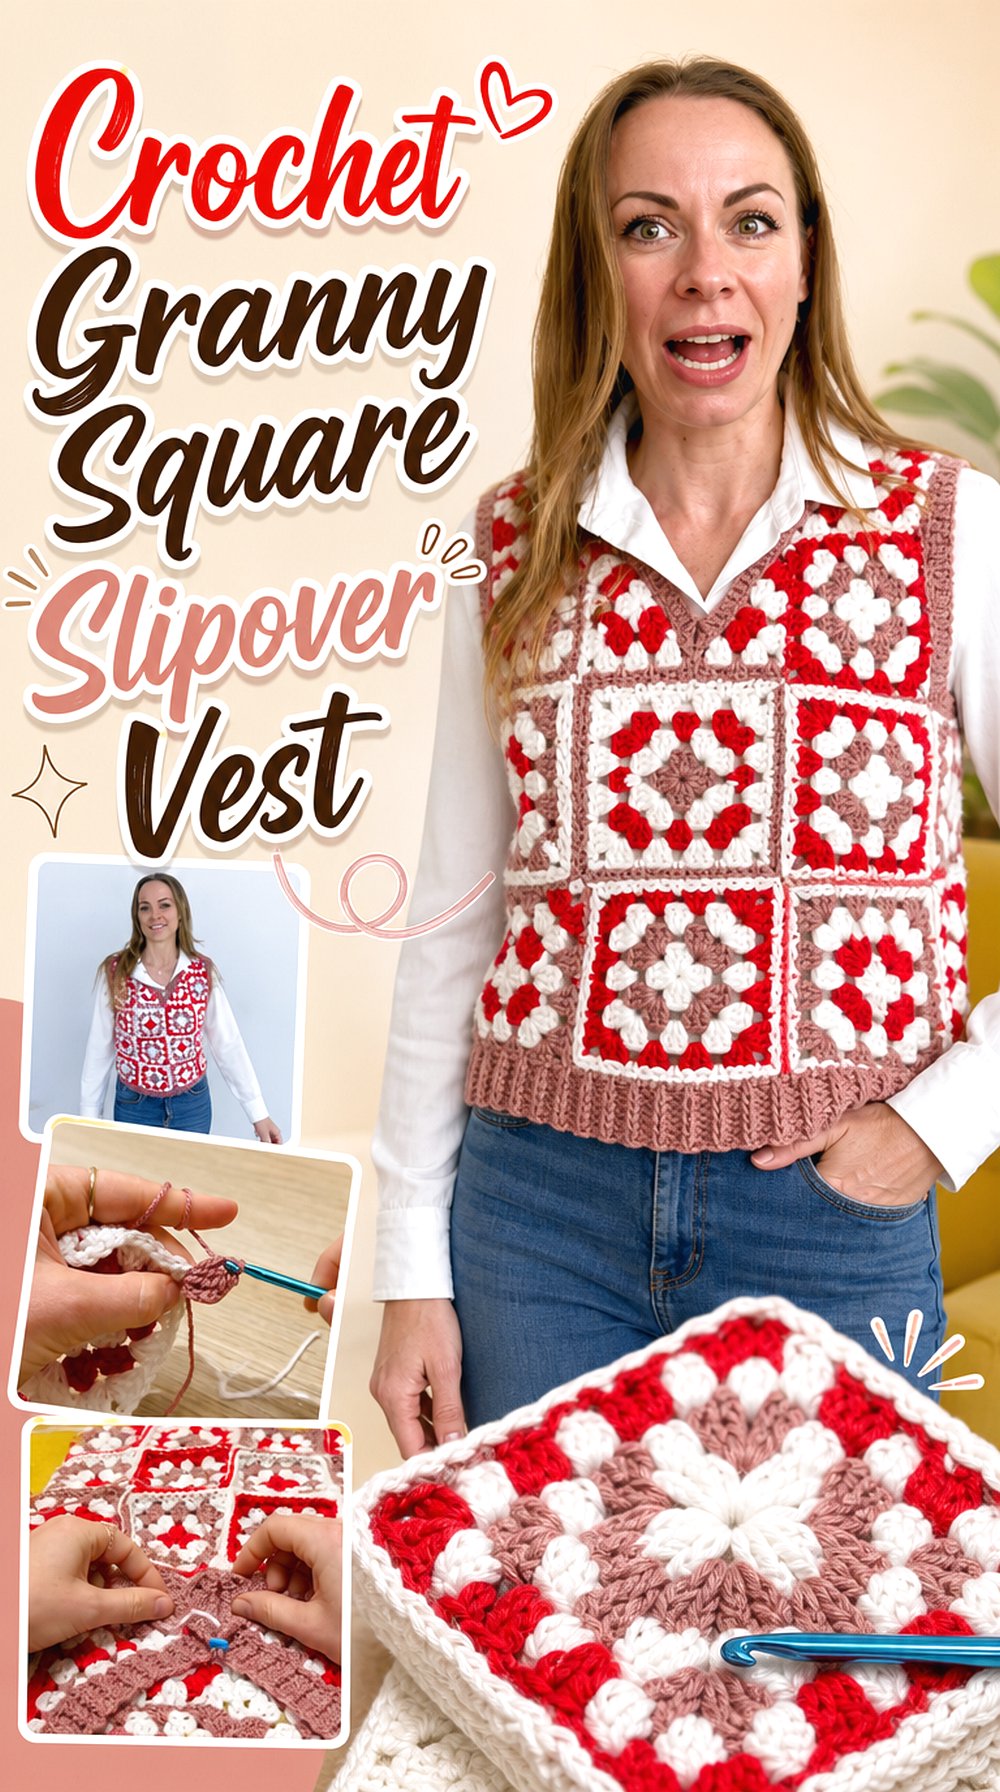
A granny square slipover stands apart from the smoother sweater vest styles because the main feature is the joined motif layout. The finished vest has a patchwork look, and each square helps build the garment’s surface design. This option may appeal to readers who like visible blocks of color and a more handmade, graphic finish. It is also a useful contrast to the ribbed and striped ideas because the shape comes from arranged motifs rather than one continuous-looking fabric.
Plan the Color Layout
Granny square vests can look very different depending on how the colors are placed. A balanced layout may feel calm, while a mixed scrap-style arrangement can look brighter and busier. Readers should decide whether they want matching squares, alternating colors, or a more varied layout before joining anything. Laying the pieces out first can help avoid a front panel that feels uneven.
Watch the Joining Section Closely
The joining stage matters because it affects the vest shape as much as the individual squares do. Corners, edges, armholes, and neckline placement need to line up cleanly. Readers should use the original tutorial for exact joining guidance and avoid rushing this part. It is also useful to check the garment flat before moving to any final edging or finishing.
Check the Final Fit
4. Crochet Checkerboard Sweater Vest
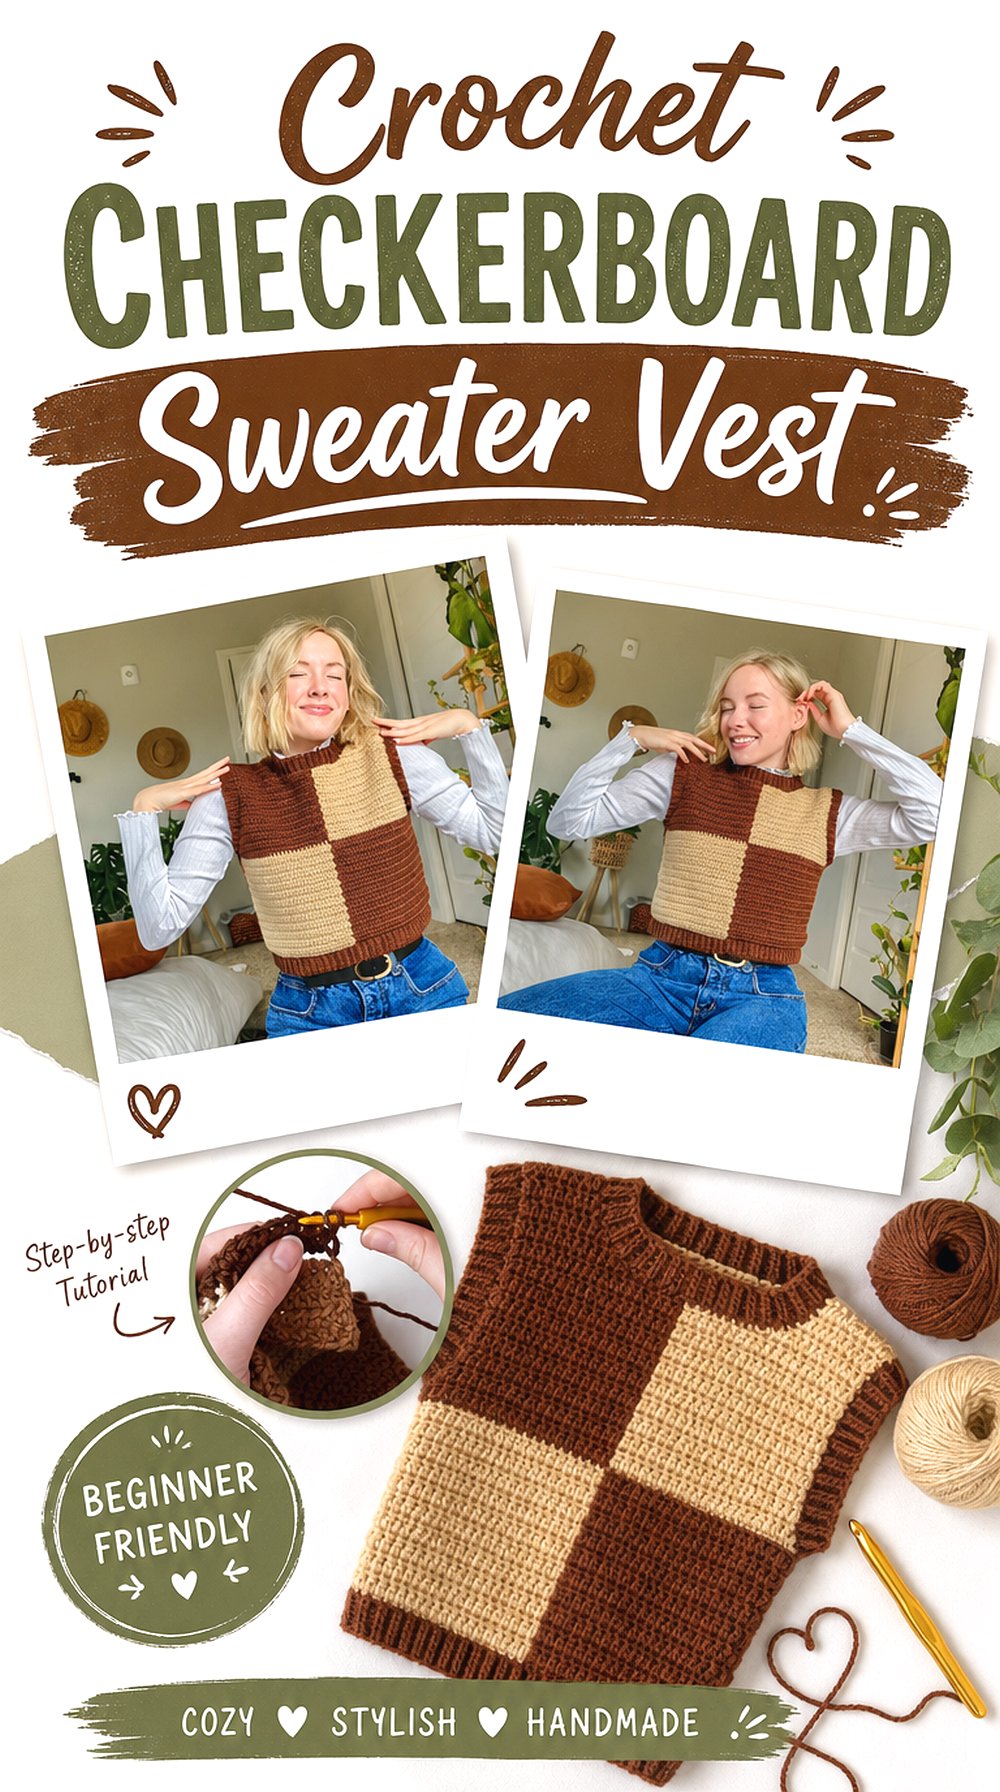
The checkerboard sweater vest gives this list a bold color-blocked option. Instead of relying on neckline detail or ribbing alone, the main interest comes from repeated squares across the garment. The finished style can feel playful, graphic, and easy to notice in a layered outfit. It differs from the granny square vest because the checker pattern reads as a flatter, planned surface design rather than separate motif blocks.
Keep the Pattern Balanced
A checkerboard design depends on even color placement. Readers should pay attention to how the front, back, and edges align so the finished vest looks intentional. The contrast between the two colors can make small shifts more visible, especially near the neckline and armholes. Planning the color order before starting helps the design stay clear from the first panel to the final trim.
Review the Size Notes
The video information mentions a written pattern with multiple sizes, which is useful for a wearable project. Readers should compare the listed size range with their own measurements and preferred ease. A sweater vest worn over shirts may need different room than one worn over a thin tank. The original size notes are the safest place to confirm how the creator handles fit.
Think About Color Contrast
Checkerboard vests usually work best when the squares are easy to distinguish. Strong contrast creates a sharper graphic result, while softer contrast gives a quieter look. Readers should consider where they plan to wear the vest and how bold they want the pattern to appear. Any yarn or color changes should be checked against the creator’s guidance rather than assumed.
Creator: HayHay Crochet
5. Crochet Argyle Sweater Vest
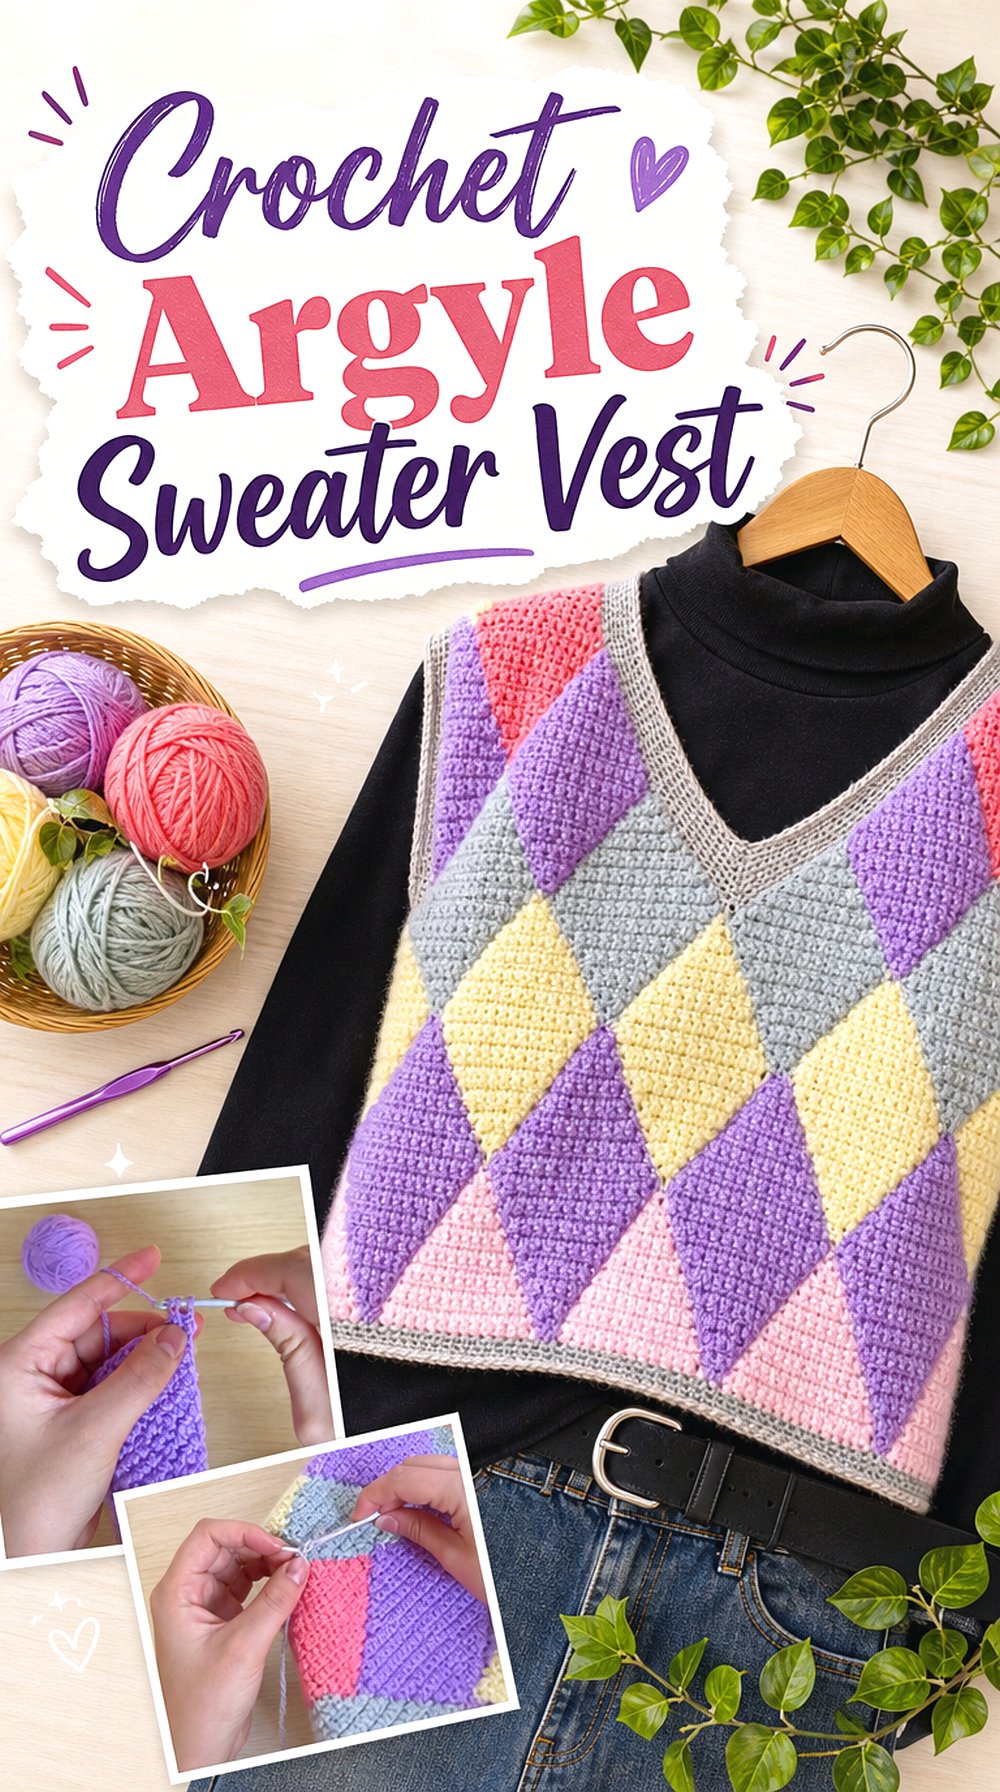
An argyle sweater vest brings a classic diamond-style look into crochet form. The front design gives the vest a more preppy, patterned feel than a plain pullover, while the sleeveless shape keeps it useful for layering. This idea is different from the checkerboard vest because the pattern has diagonal movement rather than simple square repetition. Readers drawn to vintage-inspired or school-uniform-style layering may find this one especially worth comparing.
Check the Front Design Placement
Argyle depends heavily on placement. The diamonds and crossing lines need to sit where they are intended on the front of the vest, so readers should study the finished look before beginning. A design that shifts too far to one side can change the whole effect. The creator’s original layout should be followed for the exact colorwork and positioning.
Prepare for Color Changes
This style appears more involved than a plain ribbed or striped vest because the pattern uses a planned graphic design. Readers should be ready to manage color placement carefully and keep track of where each section belongs. It may help to review the full guide first so the pattern logic is clear before supplies are chosen or yarn ends begin to build up.
Compare the Shape as You Work
With a patterned sweater vest, the garment shape and the front design both need attention. Readers should check that the armholes, neckline, and side edges are developing evenly while also watching the argyle placement. Pausing at major shape changes can prevent a finished vest where the body fits well but the design sits awkwardly across the front.
Creator: flotjetops
6. Crochet Cropped Straight Sweater Vest
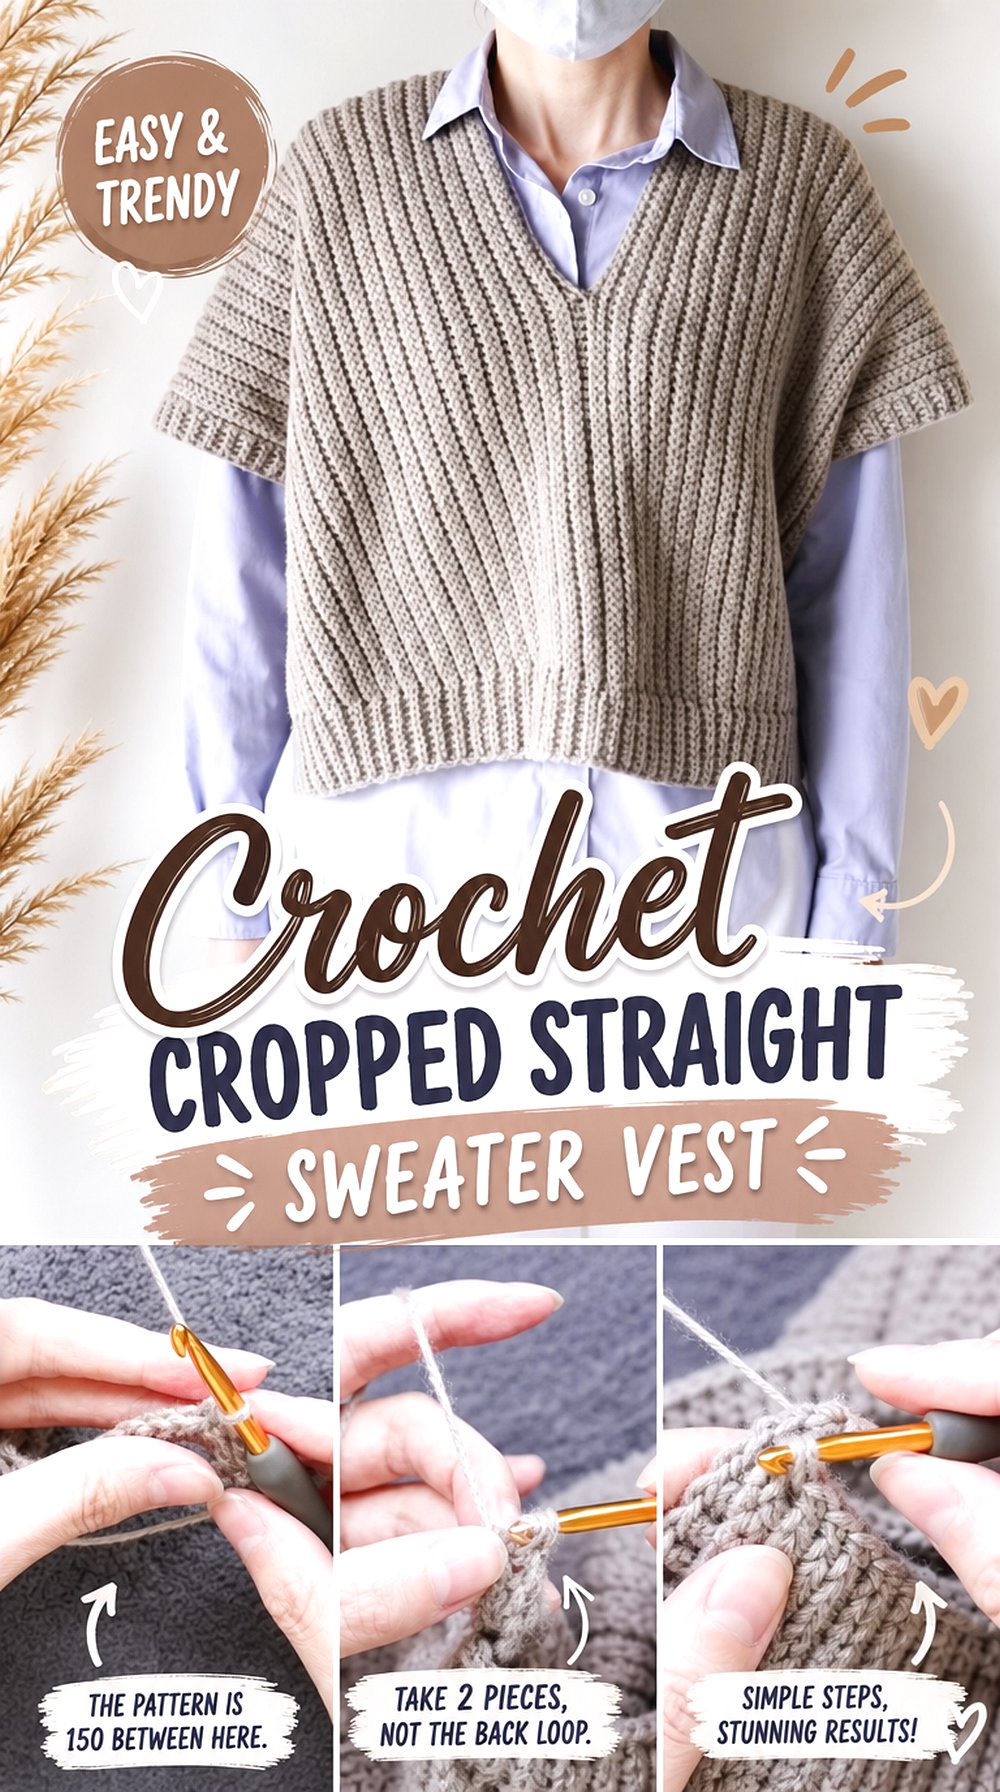
A cropped straight vest gives the collection a lighter, shorter option. The shape appears simple and clean, with a straighter body line rather than a long tunic shape, hood, or button-front opening. Because it sits higher, this type of vest may work well over dresses, high-waisted bottoms, or fitted base layers. It stands apart from the classic V-neck and crewneck ideas because the shorter length becomes the main styling feature.
Confirm the Cropped Length
The cropped shape should be checked carefully because a small change in length can affect how the vest feels on the body. Readers should compare the intended finished length with where they want the hem to sit. A vest that looks cropped on one person may sit differently on another. The original tutorial should be used for exact length guidance.
Think About Armhole Comfort
Shorter vests still need armholes that allow the underlayer to sit smoothly. If the armhole is too tight, it may pull over a shirt; if it is too open, it may feel less secure. Readers should watch how the creator shapes and finishes this area. Trying the piece against the body during progress can help confirm the look before final finishing.
Plan What to Wear Underneath
A cropped vest often puts more focus on the underlayer because the hem sits higher. Readers may want to choose a base piece that balances the length, neckline, and color of the vest. A fitted top can keep the shape clean, while a looser shirt may create more volume. The tutorial provides the construction path, but styling choices should match the wearer’s wardrobe.
Creator: Orinam crochet
7. Crochet Hooded Button Vest with Pockets
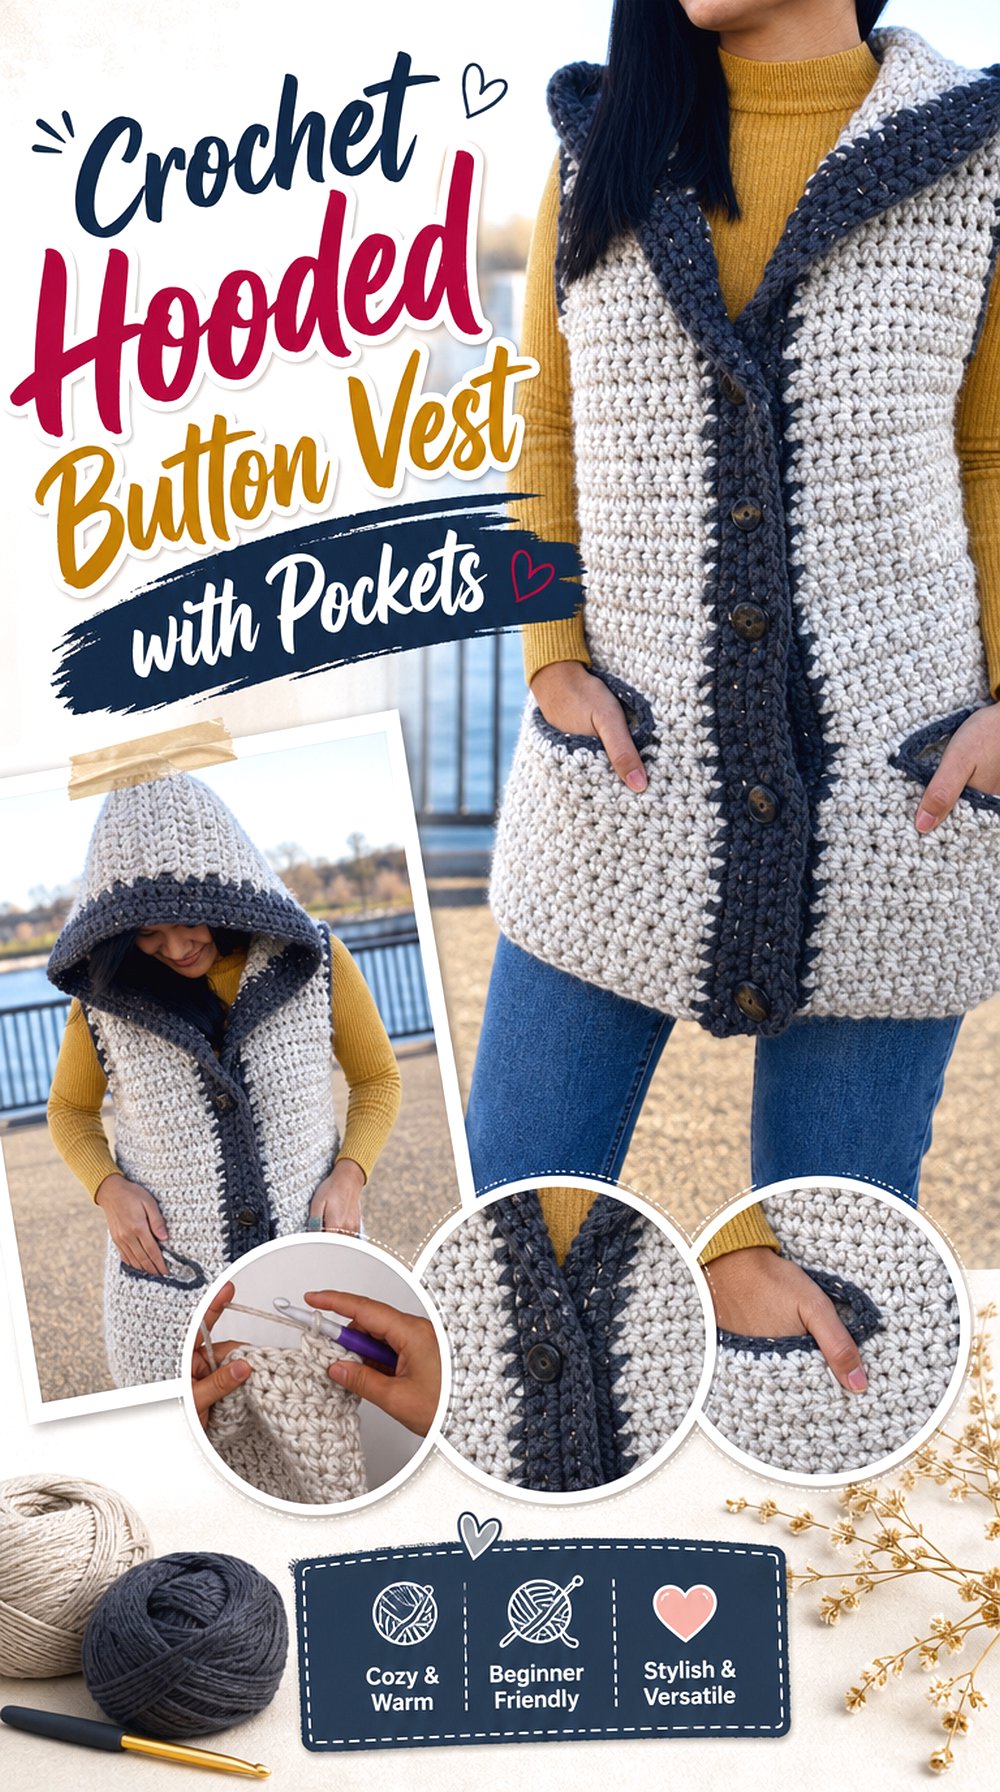
The hooded button vest is the most outerwear-inspired idea in this group. It includes a front opening, buttons, a hood, and pockets, giving it more structure and utility than a simple pullover sweater vest. This project may interest readers who want a sleeveless layer that feels closer to a casual vest or long layering piece. It also adds a different silhouette because the hood changes the back view and the pockets affect the front.
Confirm How the Front Closes
Buttons change how a vest fits and hangs. Readers should check whether the front is intended to close fully, sit partly open, or work with optional buttons. Button placement can affect the chest, waist, and lower edge, so it is worth reviewing before committing to the project. The original tutorial should be followed for any buttonhole and closure details.
Look at the Hood and Pocket Placement
The hood and pockets make this vest more detailed than most sweater vest projects. Readers should study where the pockets sit and how the hood connects to the neckline. These features can add useful shape, but they also create more finishing points. A clear view of placement helps readers decide whether they want the extra garment details or prefer a simpler pullover.
Check the Size Information
The video information mentions multiple sizes for this hooded vest, which is helpful because a button-front layer needs enough room across the body. Readers should compare the size notes with their preferred fit and layering plans. A vest worn over thicker tops may need more space than one worn over a thin shirt. Measurements matter more than the label alone.
Creator: KnitcroAddict
8. Crochet Collared Sweater Vest
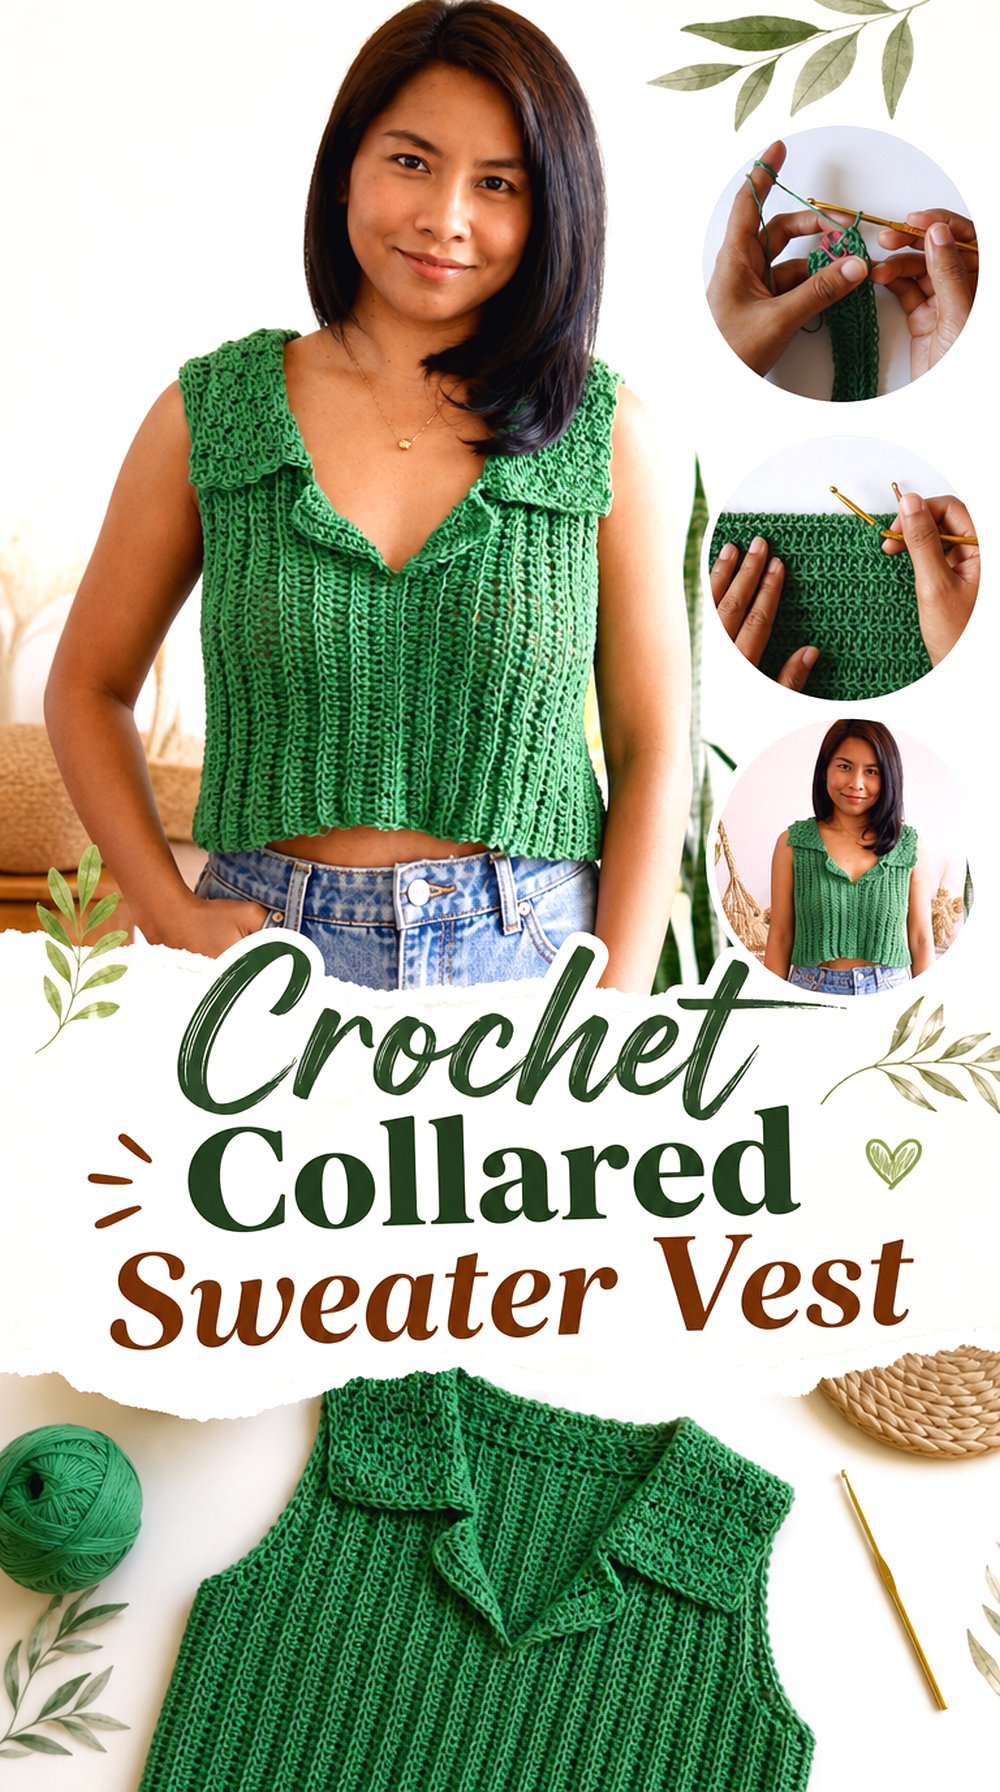
A collared sweater vest gives the neckline more shape and a slightly shirt-like finish. The collar makes this option different from the V-neck, crewneck, and hooded projects because the top edge becomes the main detail. It may suit readers who want a crochet vest that looks finished around the neck without adding a full sleeve or cardigan front. The design also gives a useful middle ground between casual layering and a neater outfit piece.
Look at the Collar Shape
The collar is the feature that defines this vest, so readers should decide whether they like how it sits before choosing the project. A collar can frame the face and change the feel of the whole garment. It should lie neatly without crowding the neckline. The creator’s finishing guidance is important here because the collar needs to match the vest body cleanly.
Review the Size Range
The video information lists a small-to-extra-large size range, which gives readers a starting point for fit checking. Even with a listed range, measurements should still be compared with the intended wearer. Shoulder width, bust width, and vest length can affect whether the collar sits in the right place. Readers should not skip the sizing details just because the garment is sleeveless.
Prepare for Separate Finishing
The description notes that the collar is made separately and attached, so this vest has a finishing stage worth taking seriously. Readers should watch that part carefully and make sure the collar orientation is correct before securing it. Separate finishing can create a polished result, but it also means the last steps matter as much as the main body pieces.
Creator: Jennyandteddy crochet.
9. Crochet Preppy Striped Sweater Vest Tank
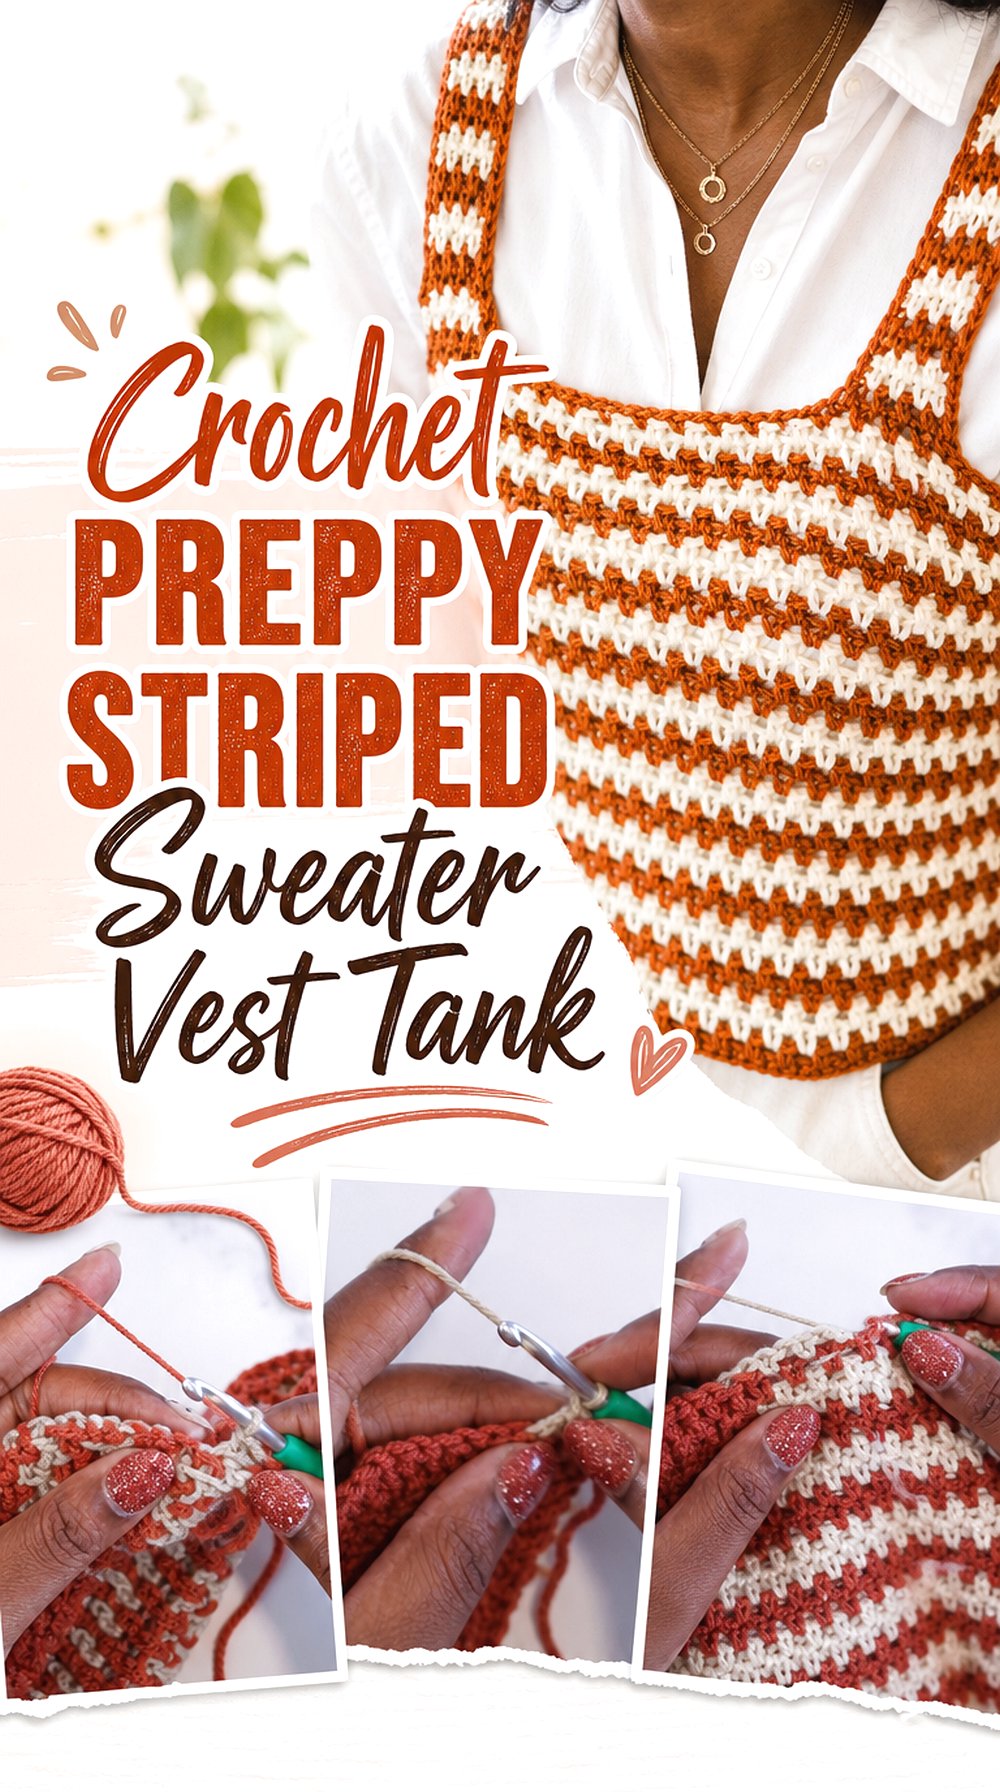
A striped sweater vest tank adds a sporty, preppy option to the collection. The stripe placement gives the garment a clean visual rhythm without using an all-over checkerboard or argyle motif. Because it is described as a layering tank, it can work as a sleeveless top-style vest rather than a bulky outer layer. This idea is useful for readers who want color detail but prefer straight lines over squares or diamond patterns.
Keep the Stripes Consistent
Stripes need steady placement to look clean across a wearable piece. Readers should pay attention to how the color bands line up and how the trim frames the body. Uneven stripe spacing can be more noticeable on a simple vest than on a highly textured project. Reviewing the full tutorial first can help readers understand where the stripe changes happen.
Check the Strap and Armhole Areas
Because this project reads partly like a tank-style sweater vest, the upper body fit matters. Straps, armholes, and neckline finishing all affect coverage and comfort over a base layer. Readers should compare the finished look with how much shoulder coverage they prefer. This is especially important for anyone planning to wear the vest alone versus over another top.
Use the Written Pattern Support
The video information points readers to a free pattern for the striped tank. For a garment with stripes, written support can help with size selection and tracking the overall structure. Readers should still rely on the original tutorial for visual finishing details, especially where the trim, straps, and body sections come together.
Creator: TL Yarn Crafts
10. Crochet Scallop Button Up Sweater Vest
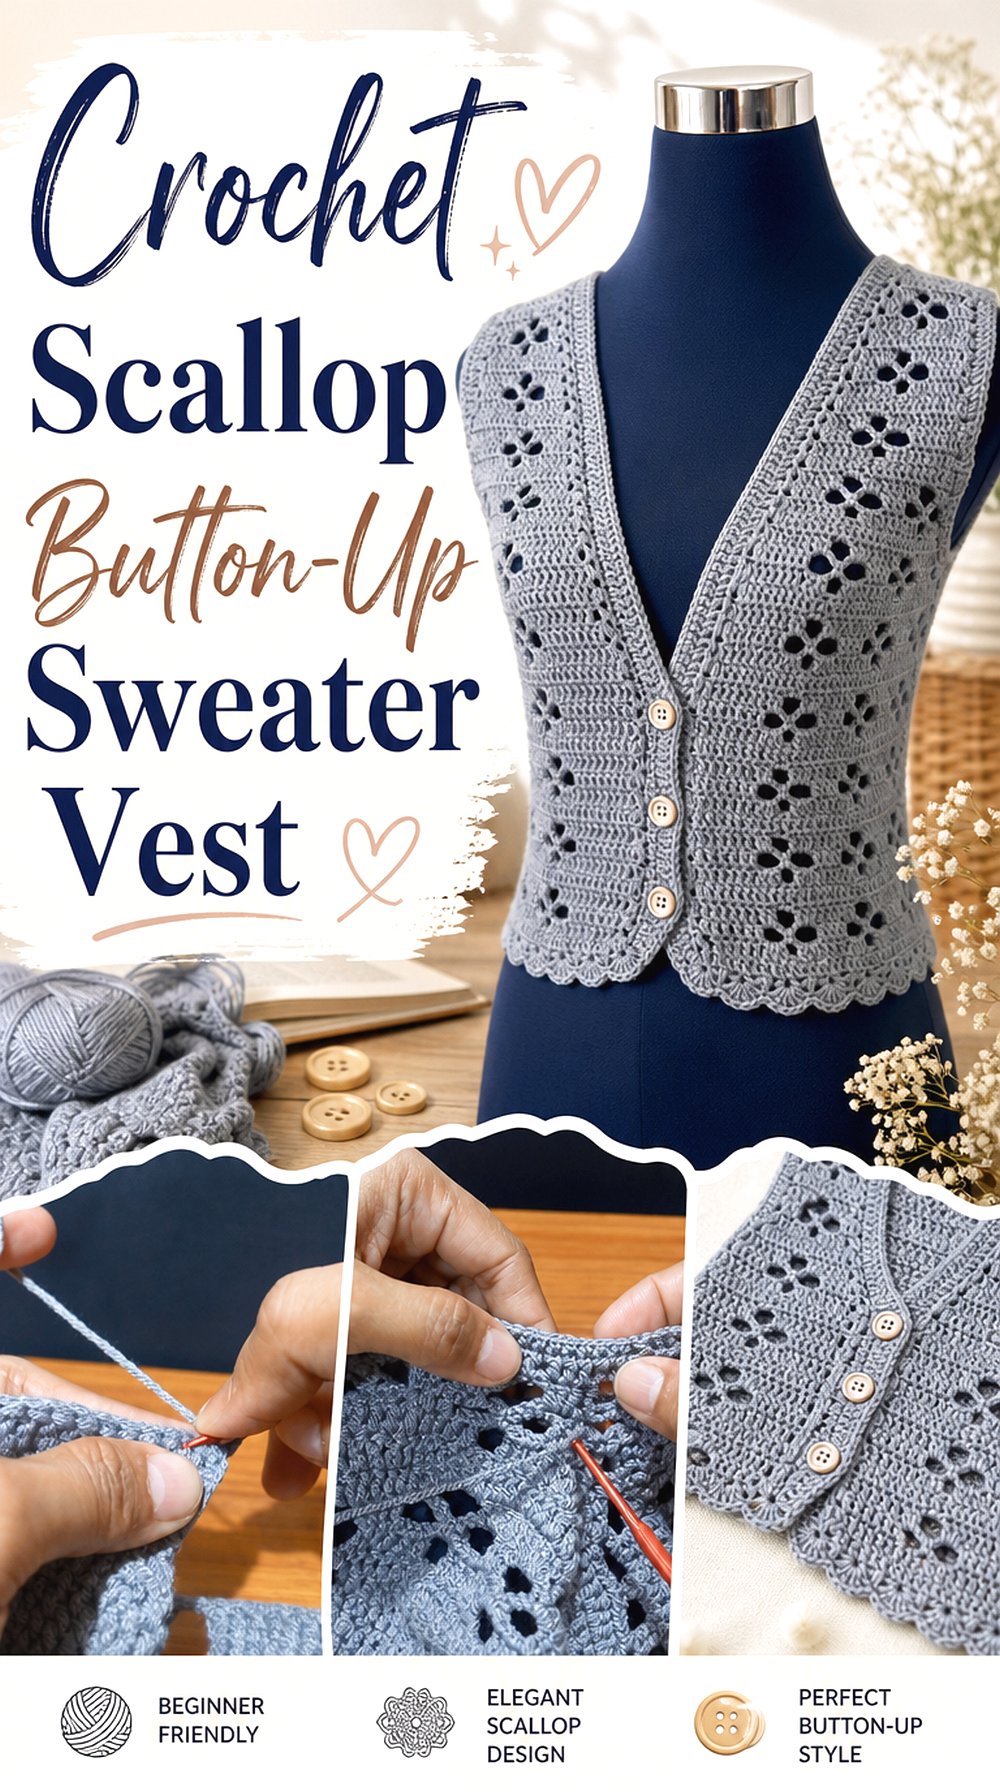
The scallop button-up vest closes the list with a more decorative front-opening style. It has a V-neckline, front buttons, and scallop edging, which gives it a different feel from the hooded button vest. This project may appeal to readers who like a lighter, more detailed vest shape that can sit over a blouse, dress, or simple top. The scalloped border makes the edge treatment part of the finished design instead of just a practical trim.
Look Closely at the Closure
A button-up vest needs a front edge that lines up well. Readers should check how the buttons sit, how the buttonholes are handled, and whether the front is meant to close smoothly or remain slightly relaxed. The closure changes both the fit and the appearance. The original tutorial should be followed for exact button placement and finishing guidance.
Notice the Scallop Edging
The scallop edging gives this vest its decorative finish. Readers should decide whether that softer border matches the look they want, especially if they usually prefer plain ribbing or straight hems. A scalloped edge can make the vest feel dressier, but it also draws attention to the outline. Consistent edging is important around visible areas.
Check What Is Included
The video information describes shaping the neckline and armholes, adding buttonholes, and finishing with a scallop border. Readers should review the supply list and full guide before starting so they understand all the components involved. This project has more detail than a plain pullover, so it helps to know where the decorative and functional steps appear.
Creator: Ler Crochet
Conclusion
These crochet sweater vest ideas cover several useful directions: smooth ribbing, classic V-neck shaping, granny square construction, graphic checkerboard and argyle patterns, cropped length, hooded structure, collar detail, preppy stripes, and scallop-edged buttons. Readers who want a simple pullover may prefer the ribbed or V-neck vest, while those looking for stronger visual detail may lean toward the granny square, checkerboard, argyle, or striped options. For more garment features, the hooded, collared, and button-up tutorials offer extra finishing details. Use the original tutorials for exact construction, sizing, and finishing steps.
FAQs
How do I choose the right crochet sweater vest style?
Start by deciding how the vest will be worn. For a neat shirt layer, a V-neck, collared, or button-up vest may work well. For a bolder outfit piece, compare the checkerboard, argyle, striped, or granny square options. For more coverage, look at the crewneck or hooded vest.
What should I check before starting a crochet sweater vest tutorial?
Check the size range, finished measurements, yarn information, hook size, gauge notes, and whether a written pattern is linked. For sweater vests, also look at garment length, neckline shape, armhole depth, and shoulder width. These details affect fit more than the project title alone.
Are crochet sweater vests good for layering?
They can be useful for layering because they add coverage without sleeves. The best choice depends on the neckline, length, and body width. A V-neck can show a shirt underneath, a crewneck gives more front coverage, and a cropped vest may work better over high-waisted pieces or dresses.
Can I change colors in these sweater vest ideas?
Color changes depend on the project. Plain ribbed and V-neck vests may be easier to imagine in one color, while checkerboard, argyle, granny square, and striped vests rely more on planned color placement. Readers should check the creator’s notes before changing yarn colors, especially on patterned designs.
Can I sell a crochet sweater vest made from a YouTube tutorial?
Do not assume selling is allowed. Check the creator’s written terms, video description, linked pattern page, and any license wording before selling finished items. Some creators allow finished-item sales with credit, while others may have limits. Local labeling, business, and tax rules may also apply.