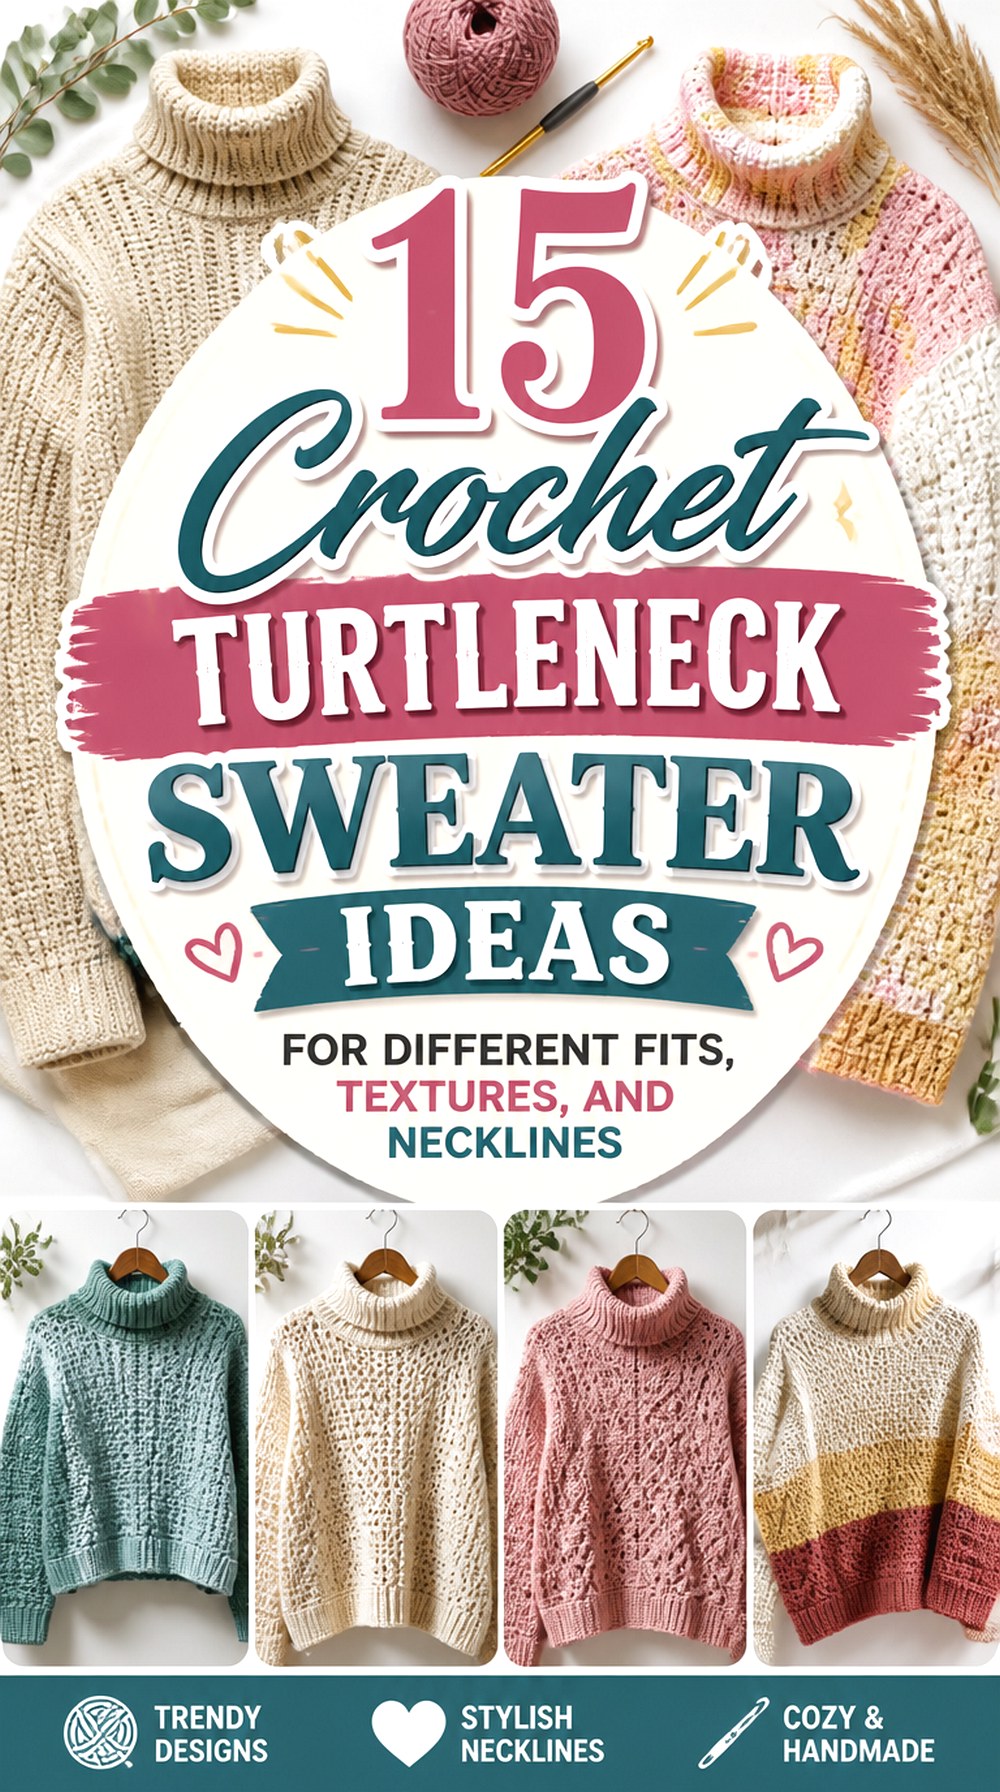
15 Crochet Turtleneck Sweater Ideas for Different Fits, Textures, and Necklines

A crochet turtleneck sweater can range from a softly draped roll-neck pullover to a structured cable sweater, a graphic granny-square design, or a top-down garment that can be checked against your fit as it grows. Those differences matter because the same tall neckline can feel completely different depending on yarn thickness, fabric stretch, shoulder construction, and body ease.
The 15 ideas below focus on genuinely different routes rather than color variations of the same sweater. You will find paneled, raglan, circular-yoke, made-to-measure, ribbed, textured, oversized, and motif-based constructions. Each project also points to an original YouTube tutorial from a different crochet creator, while the planning notes help you decide which shape, collar, fabric, and fitting approach are most compatible with the sweater you actually want to wear.
Quick List
- Crochet Classic Polo-Neck Pullover
- Crochet Fluffy Roll-Neck Jumper
- Crochet Oversized Cable Turtleneck Sweater
- Crochet Clean-Line Roll-Neck Sweater
- Crochet Relaxed High-Neck Pullover
- Crochet Paneled Turtleneck with Ribbed Edges
- Crochet Soft Ribbed Turtleneck Sweater
- Crochet Herringbone Turtleneck Sweater
- Crochet Berry-Texture Turtleneck Sweater
- Crochet Almondridge Stitch Turtleneck Sweater
- Crochet Raglan Turtleneck Jumper
- Crochet Granny Square Turtleneck Sweater
- Crochet Full-Rib Turtleneck Sweater
- Crochet Oversized Border-Detail Turtleneck
- Crochet Bobble-Yoke Turtleneck Sweater
Choose the Collar Before You Choose the Body Shape
With a turtleneck, the neckline is not just finishing. A close standing collar, soft roll neck, and thick fold-over collar can change how the entire sweater feels. Compare the tutorial’s finished collar with a high-neck garment you already wear comfortably. Pay attention to both height and circumference: extra height creates more fabric to fold or bunch, while an opening with too little stretch can be uncomfortable even when the torso fits correctly.
Also think about layering. A substantial folded collar may compete with a close-fitting coat or scarf, while a slimmer high neck is easier to layer. If you are sensitive to pressure or heavy fabric around your neck, prioritize a softer, more flexible collar rather than automatically choosing the tallest option.
Yarn, Texture, and Drape Change the Same Silhouette
Turtleneck sweaters place extra fabric near the neckline, so yarn behavior is especially noticeable. Fluffy yarn can produce a soft halo but hide detailed stitch work. Firmly defined yarn can show cables, berries, ribs, and herringbone texture more clearly, yet a dense fabric may feel heavier than an open or smoother one.
When substituting yarn, compare more than the label’s weight category. Work a useful swatch and look at thickness, recovery after stretching, stitch definition, and how the fabric hangs vertically. A yarn that looks ideal in a small square can behave differently once it becomes a full torso, sleeves, and doubled collar. For heavily textured sweaters, also consider whether the finished fabric will still move comfortably when layered over another top.
Fit Checkpoints That Matter on a High-Neck Sweater
Bust width alone cannot tell you whether a turtleneck sweater will fit comfortably. Check the creator’s sizing or measurement method against your shoulders, intended body ease, armhole position, sleeve length, and neckline. For measurement-led tutorials, record the dimensions you are aiming for instead of repeatedly judging the garment by appearance alone.
The neck opening deserves an early checkpoint. It must work with the collar construction while still allowing the sweater to go on comfortably. For paneled designs, compare corresponding front and back dimensions before assembly. For top-down or raglan sweaters, take advantage of any appropriate try-on point before investing much more work in the body and sleeves. Blocking can refine fabric behavior, but it should not be expected to correct a major sizing mismatch.
1. Crochet Classic Polo Neck Pullover
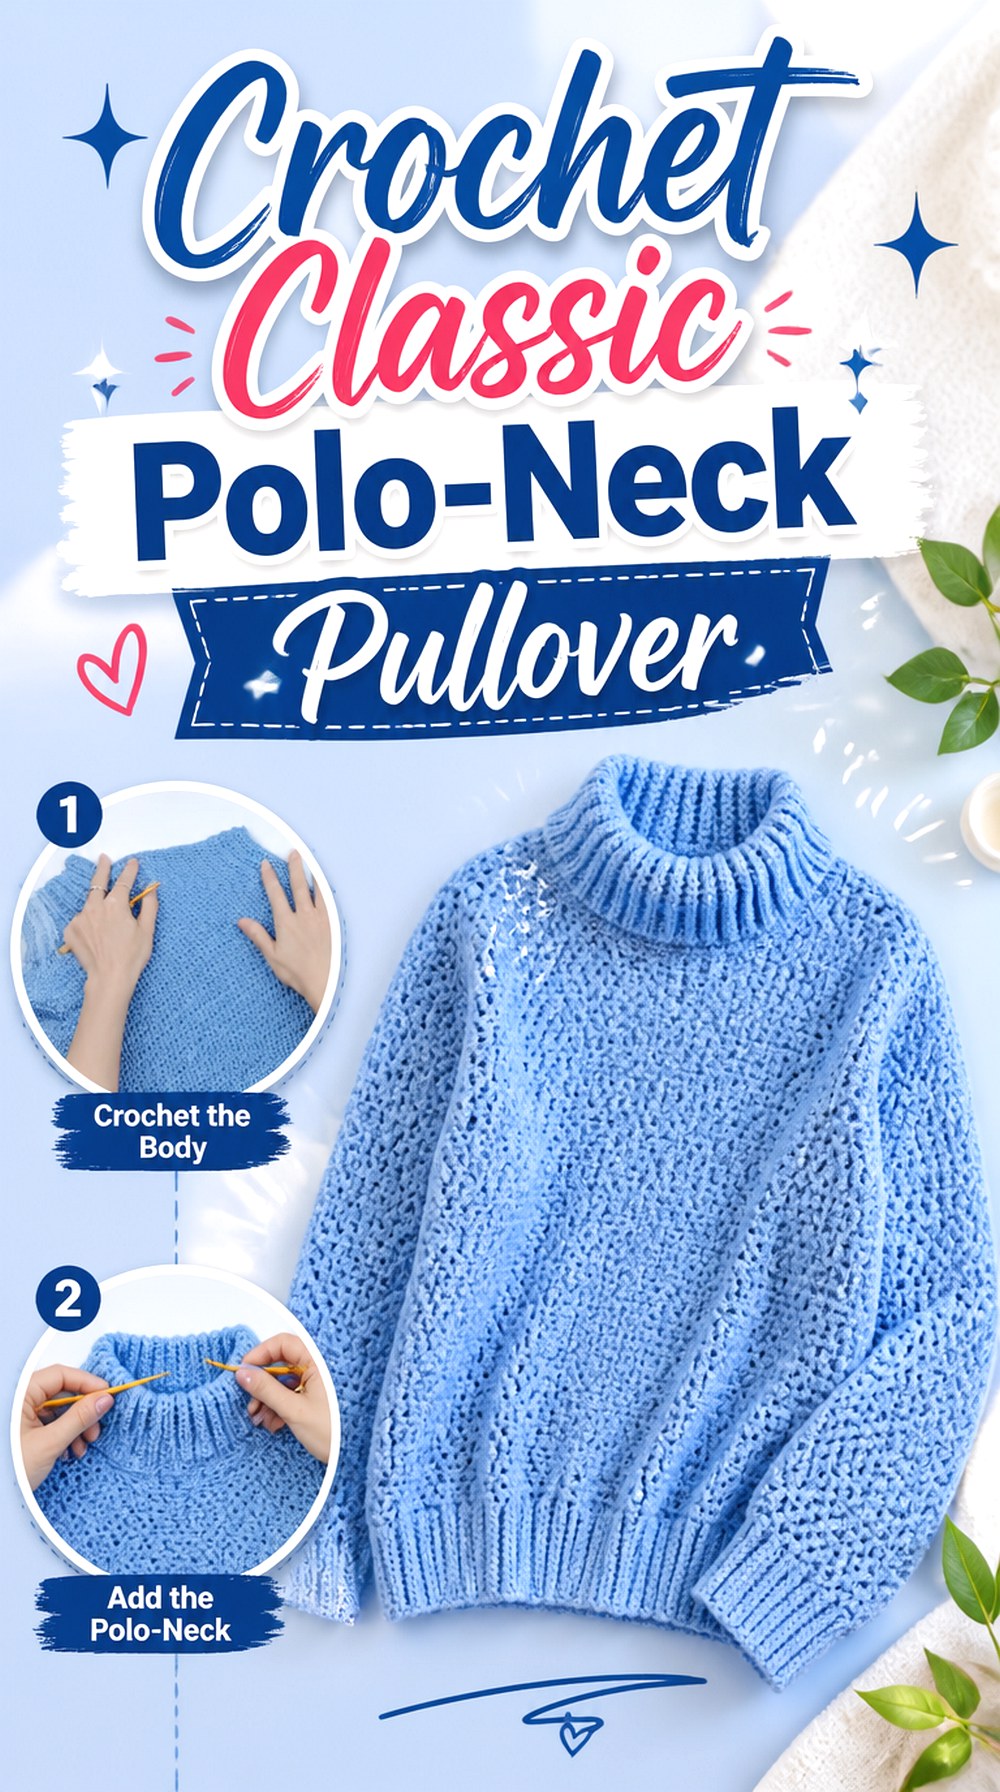
This classic long-sleeve pullover is a useful starting point for readers who want a recognizable sweater silhouette rather than an exaggerated collar or highly decorative surface. ABoC Studio presents the tutorial with an XS-to-XXL size range, making it particularly relevant when you prefer to begin with stated sizing instead of designing every dimension yourself. The finished high neck gives the sweater a polished cold-weather profile without making texture the main feature.
This option suits someone who wants the turtleneck itself to be the focal point. Before choosing a listed size, compare the creator’s information with your body measurements and the amount of ease you prefer rather than relying only on the letter label.
The Polo Neck Needs Stretch as Well as Height
A tall collar can look roomy from the front while still having a restrictive opening. Before committing to the final neckline, consider how easily the opening needs to pass over your head and how much stretch the fabric retains afterward. Increasing collar height alone will not solve a tight circumference. If you substitute yarn, compare the new fabric’s recovery with the tutorial fabric because that can noticeably alter how the polo neck sits.
Treat the Size Range as a Starting Point
An XS-to-XXL range is helpful, but standardized letters are not universal measurements. Compare the relevant finished-garment information in the creator’s pattern or tutorial with your own preferred sweater. Shoulder placement, bust ease, body length, and sleeve length can all change whether a technically correct size feels right. A favorite store-bought pullover can provide a useful comparison garment when you want similar ease.
Keep the Simple Surface Intentional
Because this sweater does not depend on a large motif or dramatic cable panel for its identity, even fabric tension becomes more visible. A consistent swatch is useful for checking whether your chosen yarn creates the clean, wearable surface you expect. If the fabric feels rigid in the swatch, making a larger sweater will not automatically create better drape; compare yarn or hook options before investing in the full garment.
2. Crochet Fluffy Roll Neck Jumper
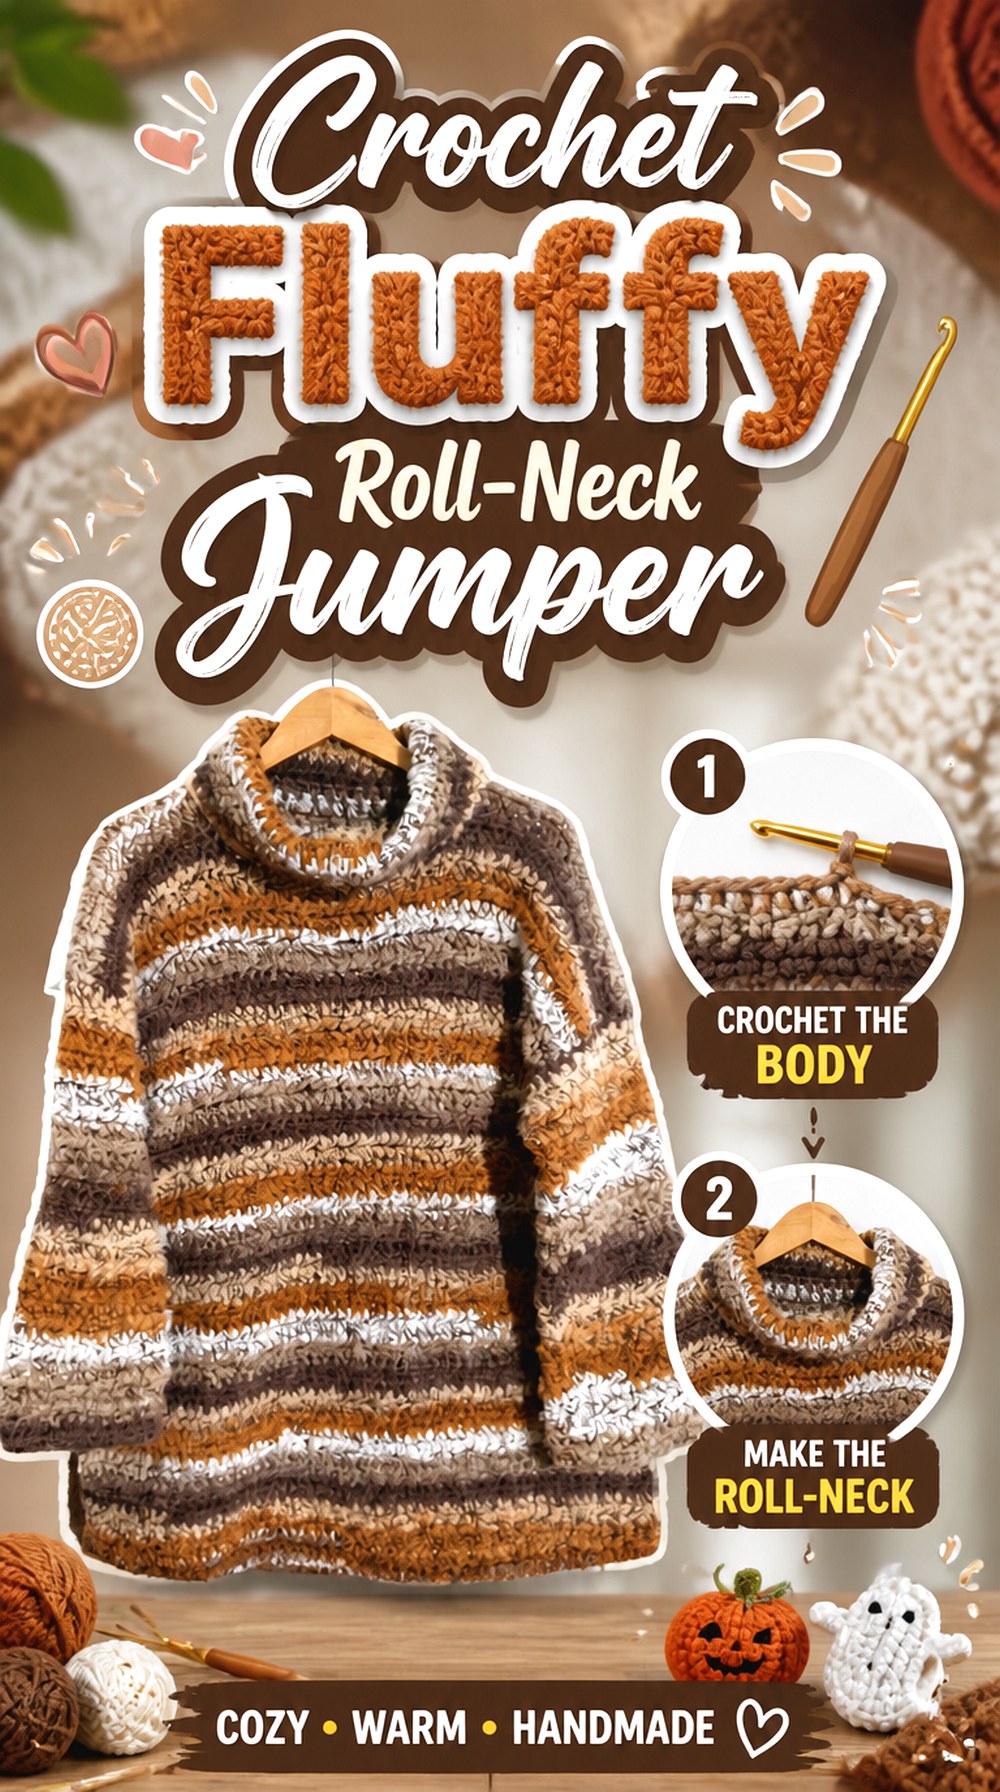
Lucky Platypus Crochet takes the turtleneck idea in a much softer direction with a fluffy roll-neck jumper. The tutorial uses a deliberately fuzzy, substantial fabric and discusses working with layered yarn and larger hooks, so its finished character is very different from a sharply defined ribbed or cable sweater.
Choose this route when a plush surface and relaxed visual volume matter more than crisp stitch definition. The collar and body both contribute to that volume, so think about how much bulk you enjoy around the neck, shoulders, and under outerwear. A yarn substitution can change this sweater more dramatically than it would change a smooth basic pullover because halo, thickness, and drape are central to the finished look.
Fluffy Yarn Softens Every Stitch Boundary
A haloed yarn can blur small stitch details, which is an advantage when the goal is a soft cloud-like surface but a disadvantage if you want every stitch to read sharply. Instead of choosing a substitute because it looks fluffy in the skein, crochet enough fabric to see whether the stitches remain manageable and whether you can identify them comfortably while working.
A Roll Neck Multiplies Collar Bulk
The fabric around a roll neck can overlap or fold, so a thick yarn creates more volume there than the same fabric would across a single-layer torso. Before making the collar taller, test how the fabric behaves when doubled near your neck. Readers who prefer a lighter neckline may want to preserve the sweater concept while choosing a less bulky yarn that still meets the tutorial’s required fabric characteristics.
Check the Sweater Against Your Outerwear
An airy-looking fluffy jumper can still occupy significant space under a fitted jacket. If this is meant to be a winter layering sweater, compare the sleeve and collar volume with the coat you expect to wear over it. A sweater intended mainly as the outer visible layer can tolerate more dramatic volume than one that needs to slide comfortably beneath structured outerwear.
Original Tutorial and Creator Credit
Creator: Lucky Platypus Crochet
3. Crochet Oversized Cable Turtleneck Sweater
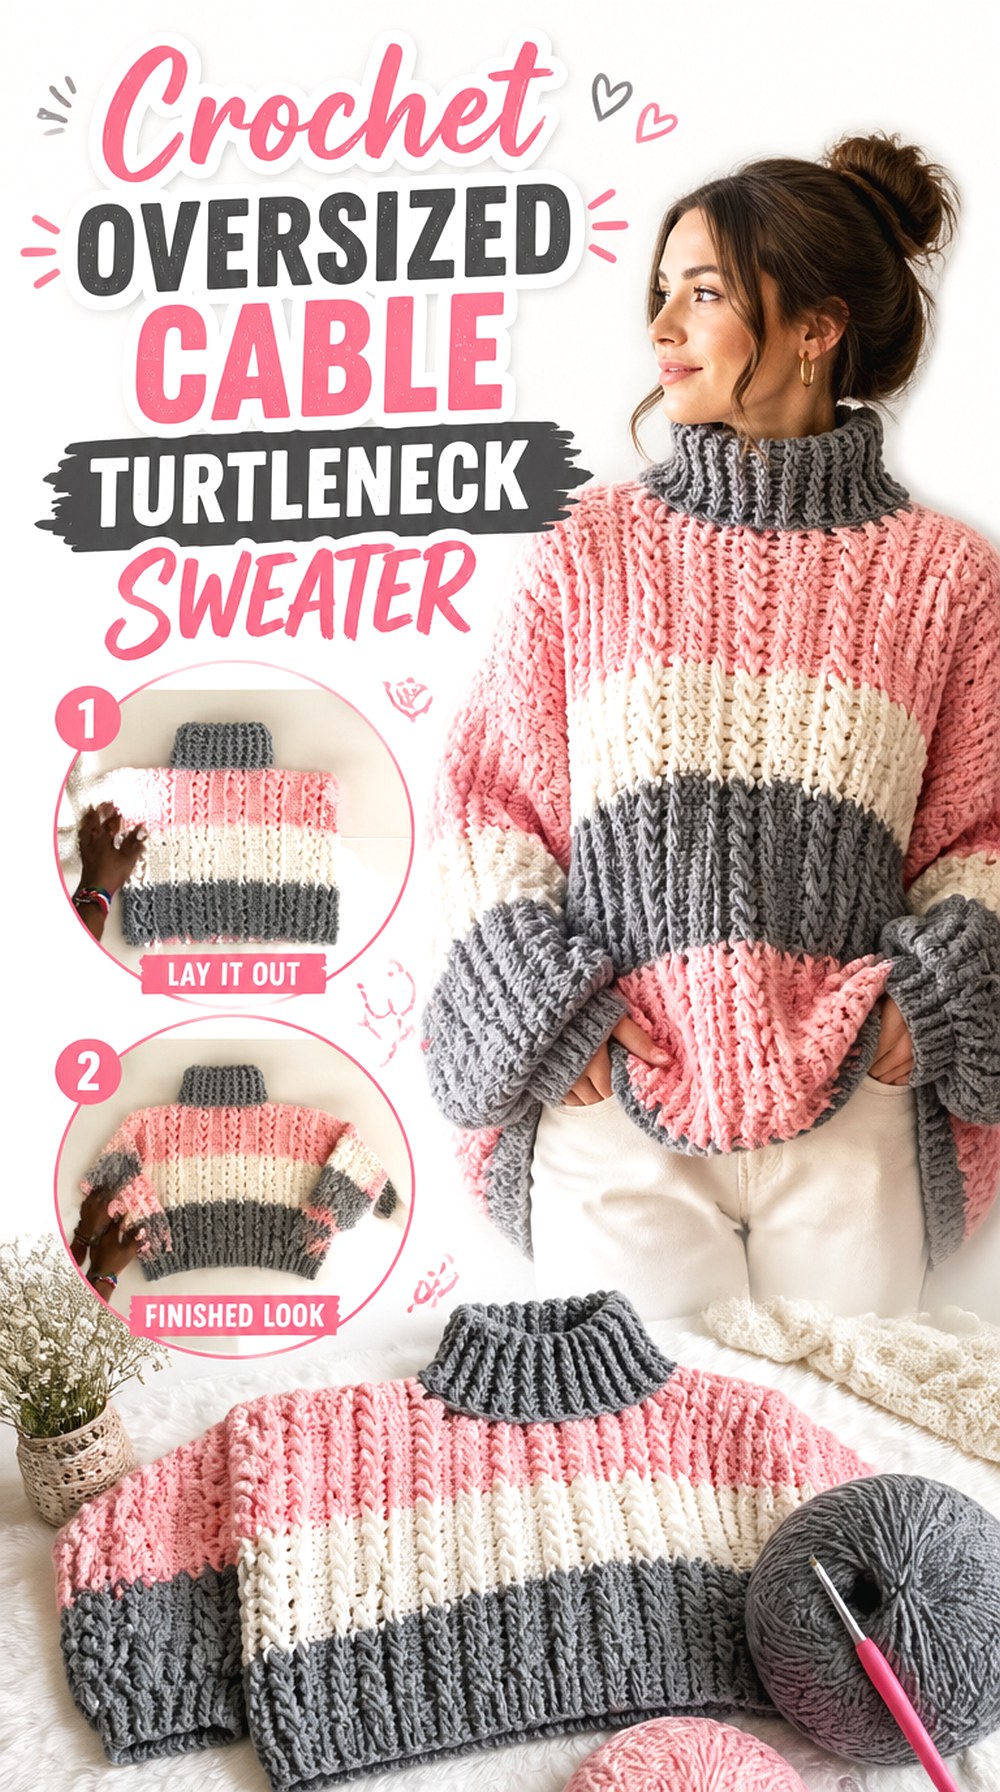
For a more sculptural sweater, AC Crochets demonstrates an oversized turtleneck built around prominent crochet cables. The creator describes the project as an oversized cable-stitch sweater and bases the sizing approach on a shoulder-to-shoulder measurement rather than a fixed single size.
That combination makes this a strong option when you want both generous body ease and visible relief texture. The cables add depth before color enters the design, so yarn selection matters for definition as well as fit. Compared with a plain oversized pullover, this sweater can look visually fuller because raised texture occupies more space across the surface.
Shoulder Width Sets the Oversized Silhouette
Made-to-measure does not mean measurement-free. Because the creator uses shoulder width as an important starting point, decide whether you want a dropped, relaxed shoulder or something closer to your natural shoulder line before translating that measurement into the project. Compare against an oversized sweater you already enjoy instead of assuming that simply adding more width will create balanced ease.
Cable Relief Needs Visible Stitch Definition
A yarn with very strong halo can soften the edges of the cable pattern, while a yarn with clearer definition allows the relief to read from farther away. Swatch enough of the relevant texture to see the effect rather than judging from a plain stitch sample. The most attractive yarn in the skein is not necessarily the one that best shows dimensional crochet.
Raised Texture Can Change Fabric Weight
Cables concentrate additional fabric into the textured areas. That can create a satisfyingly substantial sweater, but it also means the garment may behave differently from a smooth pullover of similar dimensions. Watch how the swatch hangs vertically and consider shoulder comfort, especially if you are intentionally making the body oversized. More width and more texture can compound the overall weight.
Original Tutorial and Creator Credit
Creator: AC Crochets
4. Crochet Clean Line Roll Neck Sweater
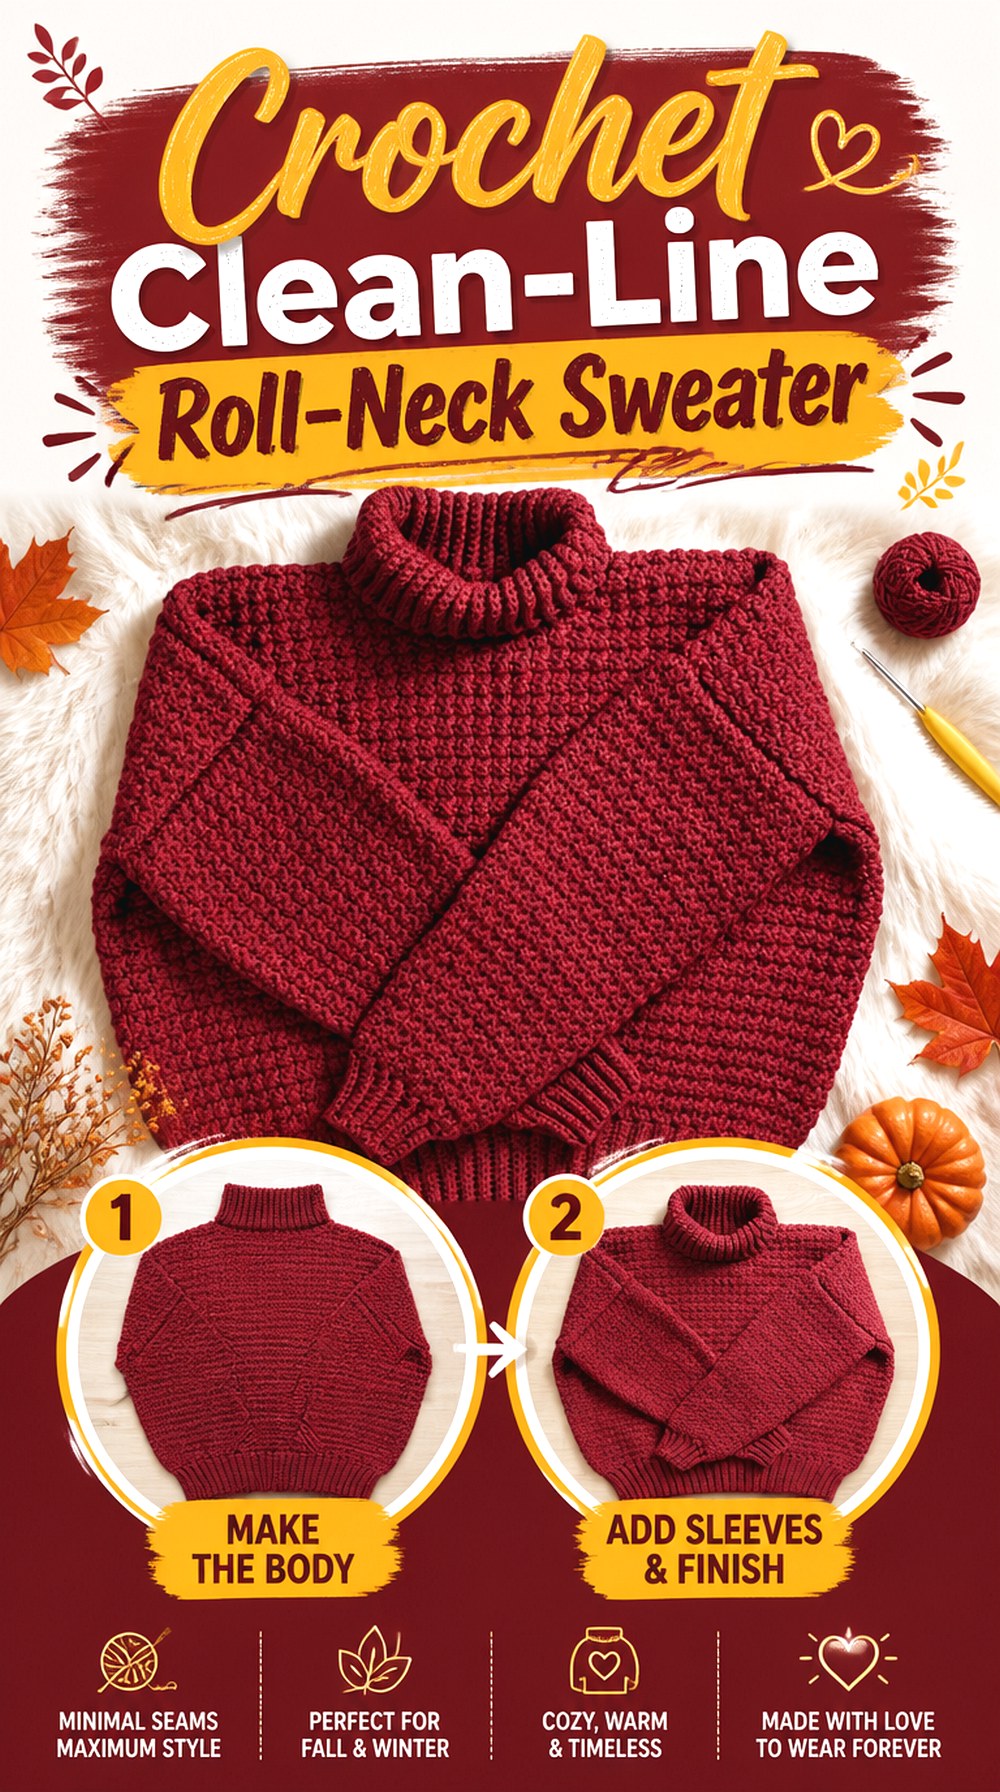
Fully Crochet’s roll-neck sweater offers a simpler visual direction than the cable, fluffy, or motif-heavy options in this collection. Its appeal is the uninterrupted pullover shape: long sleeves, a closed body, and a tall roll neck form the main silhouette rather than competing surface motifs. The public tutorial is specifically presented as a crochet roll-neck sweater.
This makes the project useful if you want your yarn color and garment proportions to do most of the visual work. Because the concept is restrained, small fit differences at the shoulders, cuffs, hem, and collar can have a larger effect on whether the finished sweater looks intentionally relaxed or simply oversized.
A Quiet Surface Puts More Attention on Proportion
With fewer decorative elements competing for attention, the relationship between torso width, sleeve volume, body length, and collar height becomes especially noticeable. Decide which proportion you want to emphasize before extending any section. A longer body with a large roll neck produces a different balance from a shorter body paired with the same collar.
Preview the Full Construction Before Substituting Yarn
When a sweater looks simple, it is tempting to treat yarn substitution as automatic. Review how the tutorial creates its body, sleeves, seams, and neck before deciding. A substitute that produces a noticeably stiffer fabric can alter several areas at once, particularly the roll neck. Matching the intended fabric behavior is more useful than matching color or fiber appearance alone.
The Collar Should Still Look Connected to the Body
A roll neck that is much denser or tighter than the sweater body can appear visually disconnected even when it is technically attached correctly. Compare the collar’s stretch and thickness with the upper torso fabric as you work. If you modify the collar, keep the transition at the neckline in mind rather than treating it as an entirely independent tube.
Original Tutorial and Creator Credit
Creator: Fully Crochet
5. Crochet Relaxed High Neck Pullover
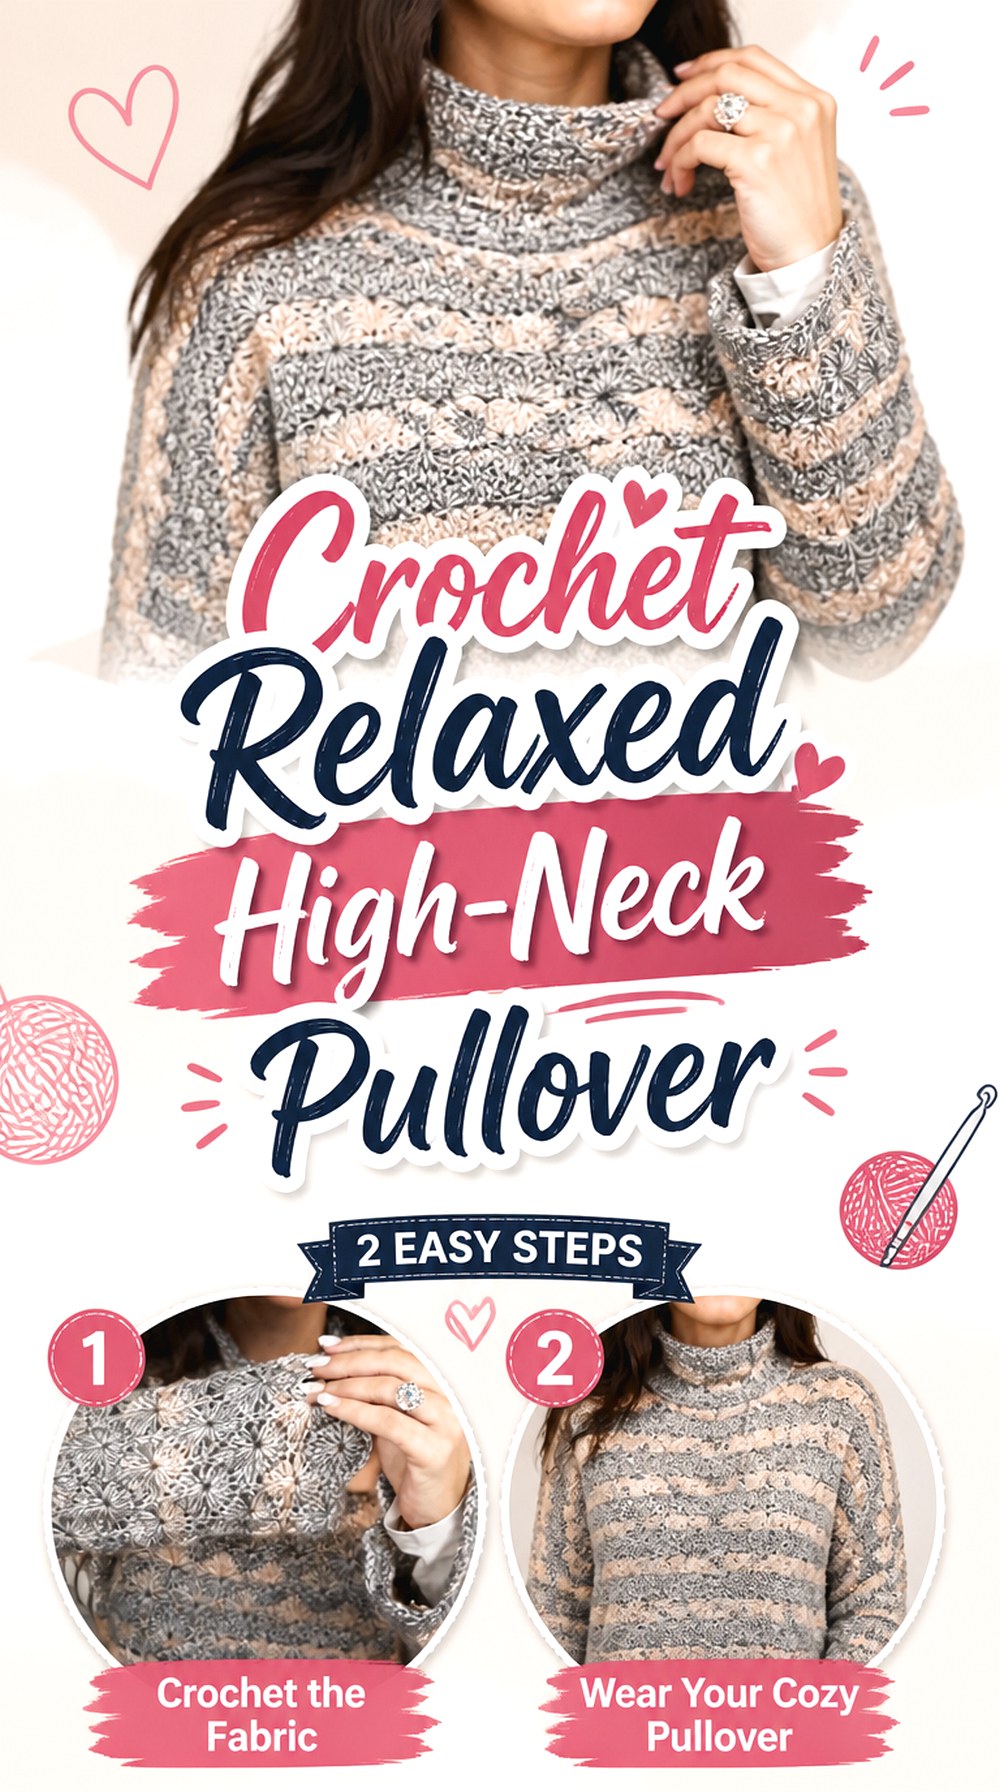
Crochet Maniak’s French-language tutorial shows another route to a classic high-neck sweater. The source is titled as an accessible crochet roll-neck pullover tutorial, giving readers a useful option when the finished garment matters more than following an English-language presentation.
The shape works well as a reference for someone attracted to a conventional pullover with a generous collar rather than a novelty construction. If French is not a language you follow comfortably, preview the demonstration carefully before buying materials. Visual crochet instruction can be very informative, but garment sizing, yarn substitutions, and finishing details are areas where you should know what information you can confidently interpret.
Visual Demonstration Can Carry Part of the Learning
Experienced crocheters may be able to understand a surprising amount from hook placement, fabric orientation, assembly, and try-on shots even when the spoken language is unfamiliar. That does not mean every instruction is safely inferred. Identify in advance which sizing, gauge, or material details you would need translated or independently confirmed rather than guessing from hand movements alone.
Test the Pull-On Opening Early
A closed turtleneck sweater has to pass over the head before collar styling becomes relevant. If you adapt the neck dimensions, check the opening at an appropriate stage instead of waiting until every finishing detail is complete. A collar can be tall and relaxed vertically while its base circumference remains too restrictive.
Use the Finished Silhouette to Judge Ease
When adapting a tutorial across languages or yarns, photographs and finished-video views can help you determine the intended relationship between body and garment. Compare shoulder drop, torso width, and sleeve room with the look you want. Do not infer an exact measurement from appearance; use the visual evidence only to decide which fit questions you need to resolve.
Original Tutorial and Creator Credit
Creator: Crochet Maniak
6. Crochet Paneled Turtleneck with Ribbed Edges
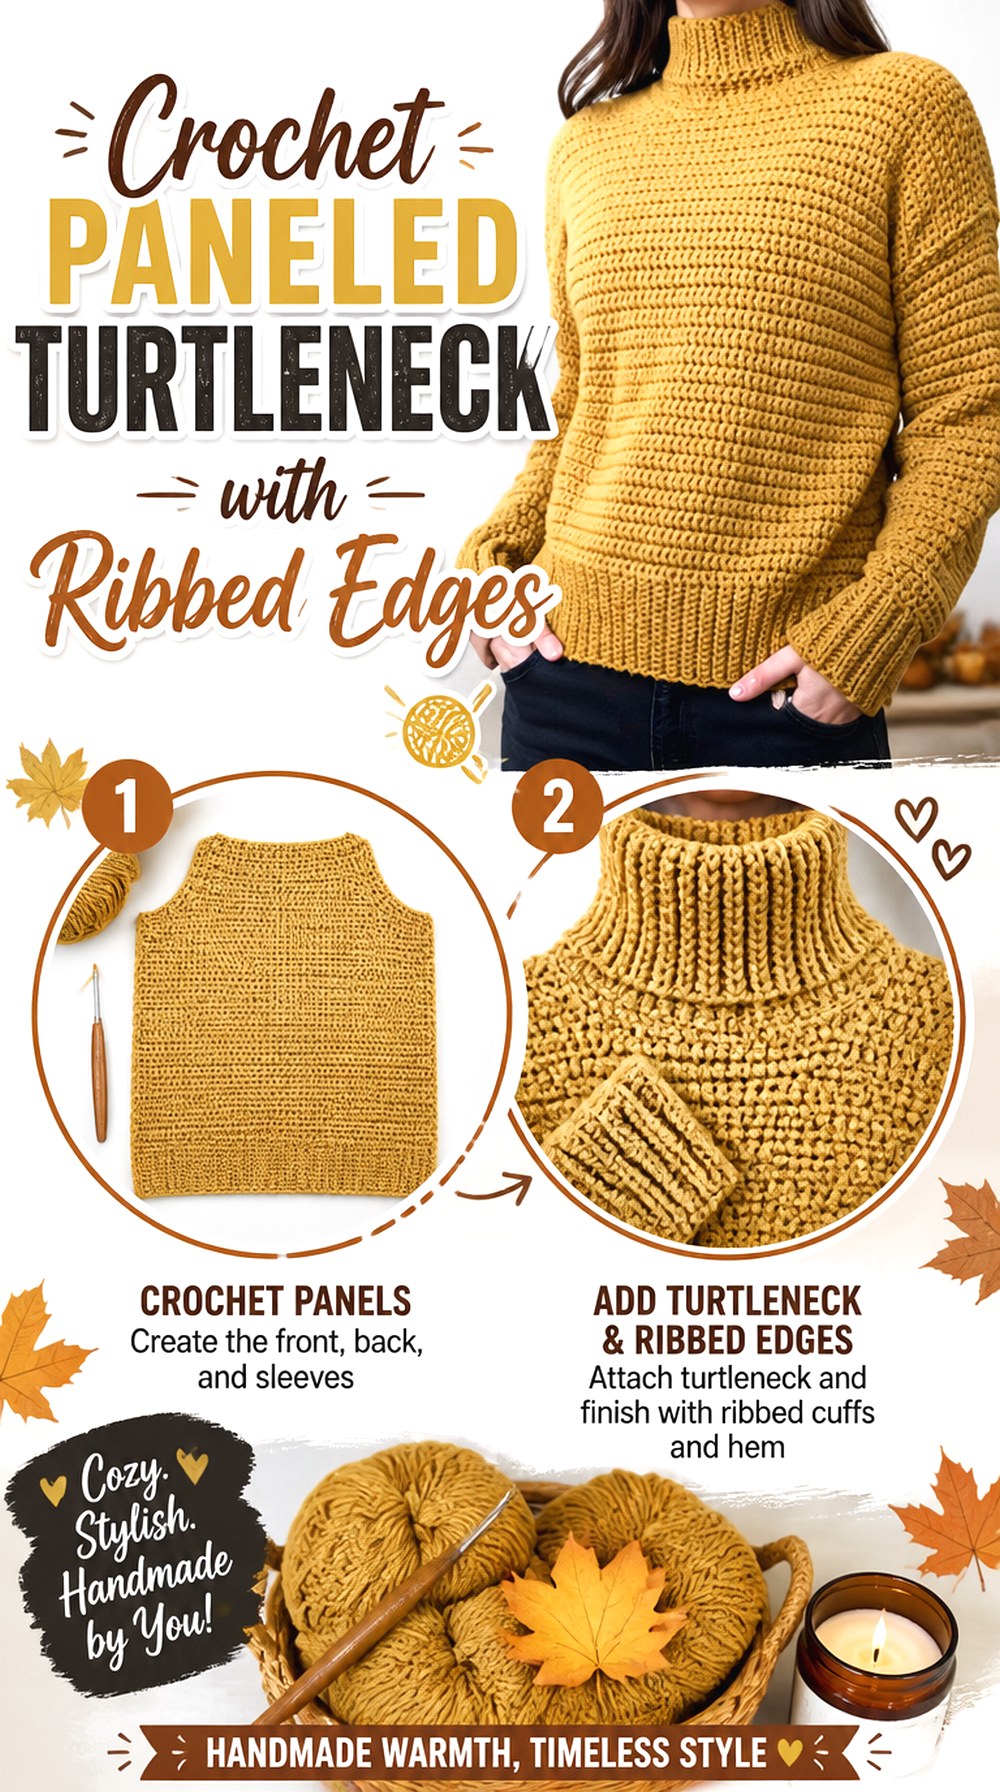
Loopy Mountain Crochet organizes this turtleneck around identifiable garment sections, including body ribbing, the main body, front and back panels, cuffs, sleeves, sleeve attachment, and neckline. That makes the construction particularly useful for readers who like to understand a sweater as a set of components before assembly.
Compared with a top-down raglan, paneled construction gives you more opportunities to lay pieces flat and compare corresponding dimensions. The trade-off is that separate parts need to agree at the joining points. This sweater is therefore a good choice when you enjoy checking symmetry and seam alignment rather than repeatedly trying on an in-progress circular garment.
Separate Panels Make Symmetry Easier to Audit
Before assembly, place corresponding pieces on the same flat surface and compare their dimensions. Small tension differences can accumulate across a long sweater panel even when the stitch work looks consistent. Catching a mismatch before seaming is usually more manageable than discovering that one side pulls differently after the shoulders and sleeves have already been attached.
Ribbed Borders Need to Cooperate With the Main Fabric
Ribbing may contract or stretch differently from the sweater body. That difference is useful at cuffs, hems, and collars, but only when the transition looks intentional. When substituting yarn, compare the ribbing and main fabric in the same swatch session so you can see whether the border pulls in too aggressively or fails to provide enough definition.
Treat the Neckline as a Fit Checkpoint
Because the tutorial reaches the neckline after several body and sleeve stages, it can be tempting to view the collar as decoration at the end. Instead, check the opening and upper-body fit before investing in a tall neck. If the shoulders or neckline base are already uncomfortable, additional collar fabric will not correct the underlying issue.
Original Tutorial and Creator Credit
Creator: Loopy Mountain Crochet
7.Crochet Soft Ribbed Turtleneck Sweater
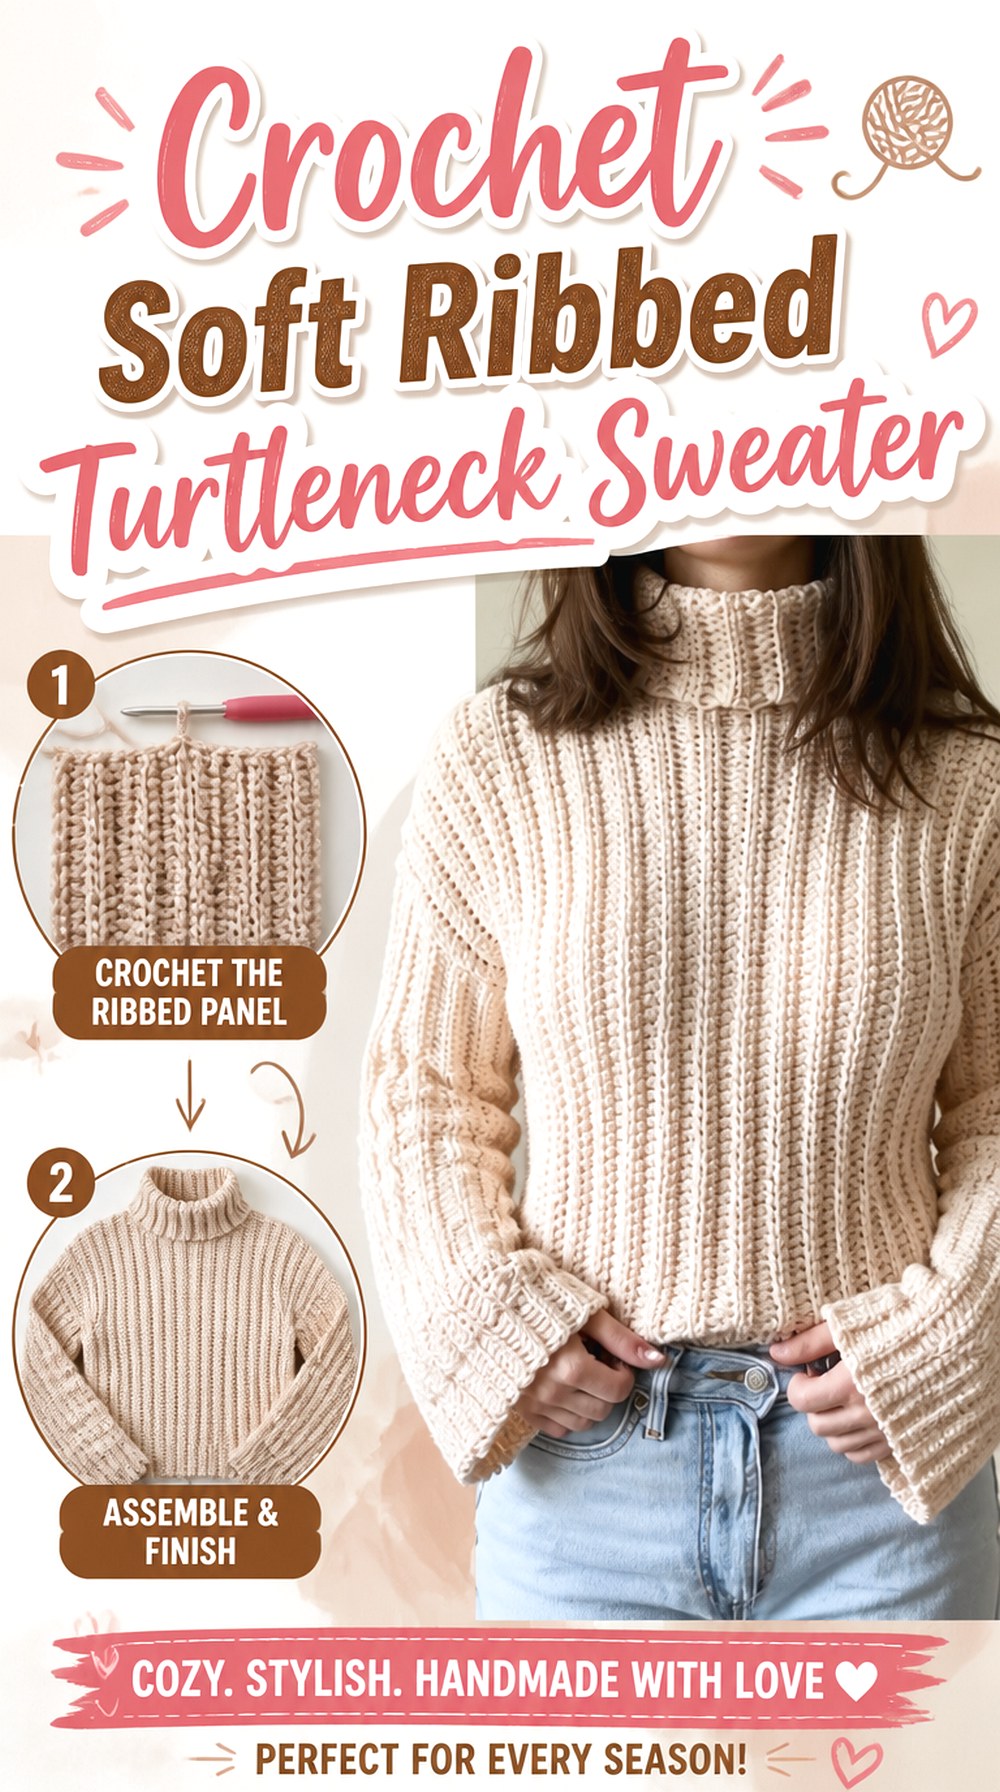
Alona crochets presents a ribbed turtleneck assembled from body panels, shoulders, collar, and sleeves. The tutorial specifies that the sample was worked with yarn held double, which helps explain the substantial fabric visible in the finished garment.
This is a useful choice for readers drawn to the linear look of ribbing without needing cable or motif decoration. Ribbed crochet is visually forgiving in some ways, but its stretch makes fit evaluation important. A panel can measure one width when resting and behave quite differently once worn, so measure consistently and consider how much recovery the fabric has after being gently stretched.
Ribbing Can Look Narrower Before It Is Worn
A ribbed panel naturally draws inward, so a relaxed flat measurement does not tell the entire story. Compare the fabric both at rest and under a gentle amount of stretch similar to how you expect the sweater to sit. Avoid stretching every panel to its maximum just to reach a desired measurement; that can produce a garment that feels overly tensioned in wear.
Holding Yarn Double Changes More Than Thickness
Using two strands together can alter density, weight, stitch definition, and how quickly a collar becomes bulky. If you substitute a single thicker yarn, do not assume it will behave exactly like two strands of the tutorial yarn. Make a fabric comparison first, especially for the neck and shoulder area where additional weight is easy to notice.
Panel Seams Can Help Stabilize a Soft Fabric
A very stretchy surface may benefit visually from the structure created by joined panels. Keep those seams consistent so one side does not pull more strongly than another. When trying the sweater after assembly, look at whether the shoulder and side seams hang where expected rather than evaluating only the overall circumference.
Original Tutorial and Creator Credit
Creator: Alona crochets
8. Crochet Herringbone Turtleneck Sweater
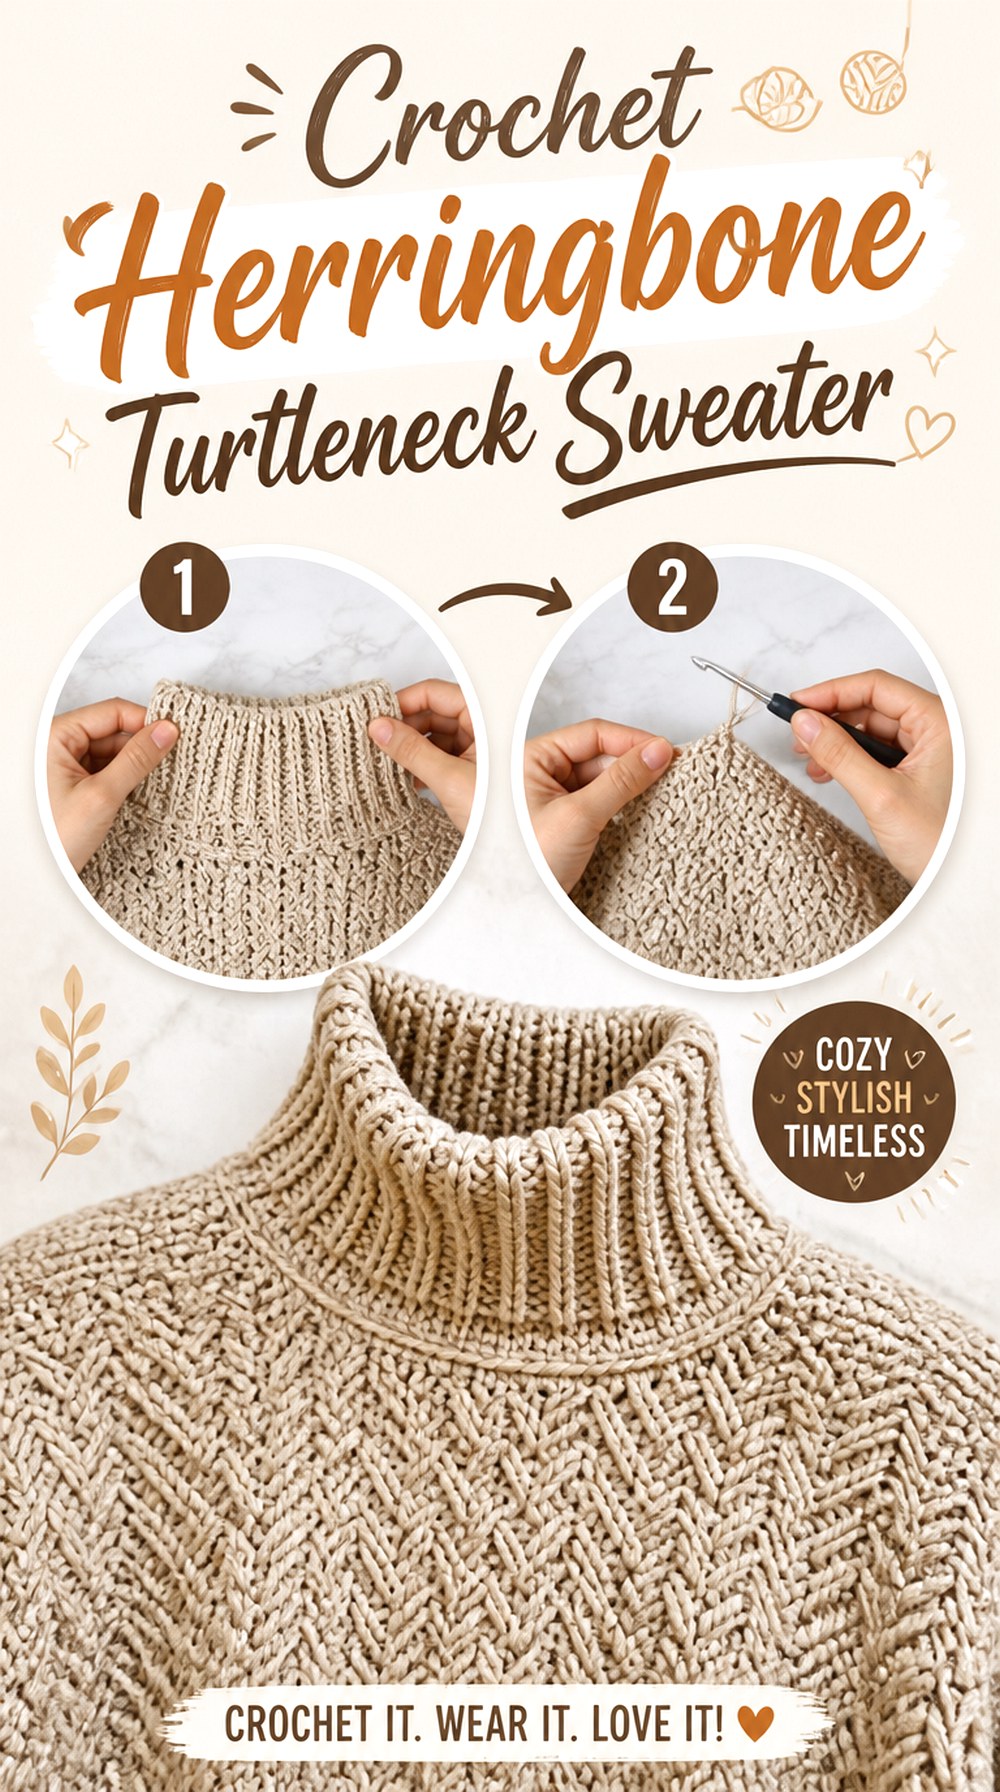
TCDDIY’s turtleneck uses herringbone double crochet as a major surface feature and presents the garment with a measurement-led approach rather than limiting the concept to one rigid finished size. The result has a more directional, closely organized texture than an ordinary smooth pullover.
This option works well when you want texture across broad areas without the pronounced relief of a cable sweater. Herringbone fabric can create strong visual lines, so consistency becomes part of the design. Before deciding on a substitute yarn, check whether the stitch pattern remains distinct and whether the resulting swatch is flexible enough for the torso and collar you plan to wear.
Herringbone Texture Rewards Consistent Tension
Directional stitches make irregular spacing easier to notice across a broad panel. A useful swatch lets you judge not only gauge but also whether the fabric looks even once it hangs vertically. If your tension changes significantly during long sessions, periodically compare the current width with an earlier section instead of assuming the visual texture will hide the difference.
Made-to-Measure Means Rechecking as You Go
A customizable construction transfers more fit responsibility to the maker. Record the dimensions you are aiming for and check them at logical stages rather than relying on memory. If you change yarn or hook size, your own fabric becomes the measurement reference; copying a dimension from a different material combination can defeat the point of a made-to-measure approach.
Sleeve Shaping Should Agree With Shoulder Ease
Roomy shoulders paired with very narrow upper sleeves can feel inconsistent, while generous sleeves attached to a closer shoulder can create excess fabric near the armhole. Before finishing both sleeves, compare the first sleeve’s upper fit with the torso and shoulder shape. The goal is not a universal amount of ease but a transition that matches your intended silhouette.
Original Tutorial and Creator Credit
Creator: TCDDIY
9. Crochet Berry Texture Turtleneck Sweater
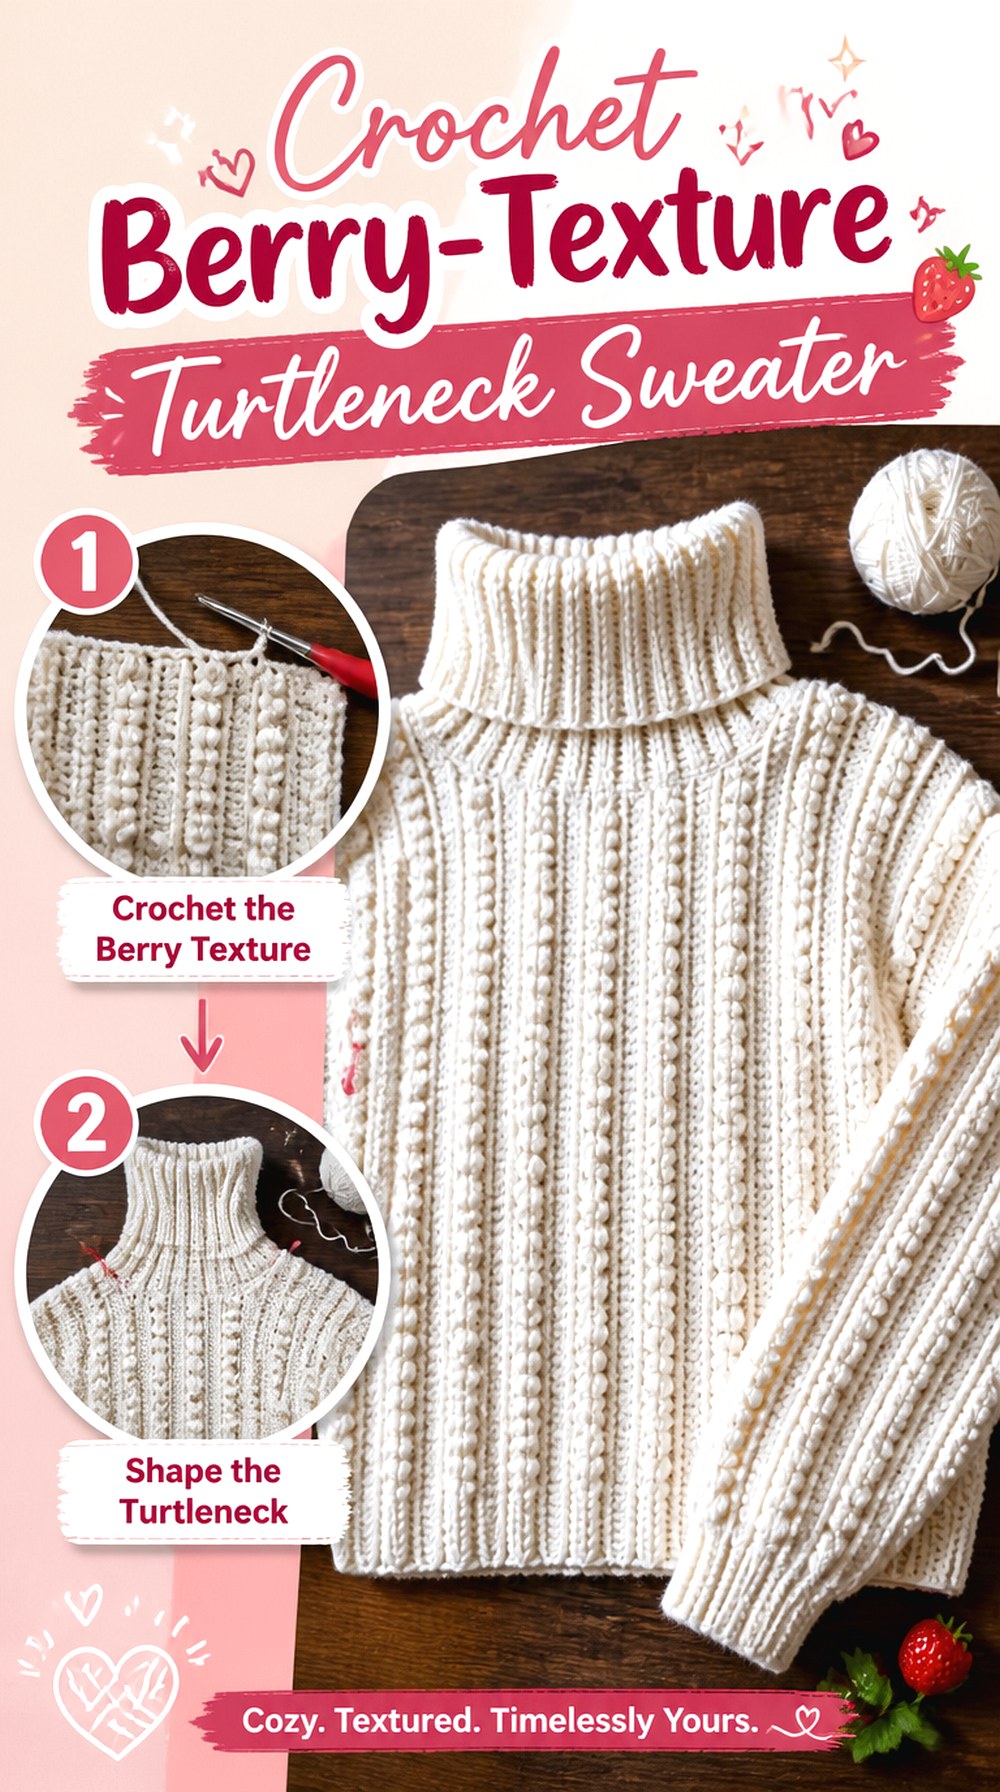
Cathérine Crochet adds strategically placed berry-texture rows to a turtleneck pullover instead of covering the entire surface with heavy relief. The creator also explains that the size can be adjusted through try-on checks during construction and that the approach can be transferred to different yarns and hook sizes when those fit checks are used carefully.
That makes this idea appealing if you want decorative texture but prefer visible breathing room between raised details. It also provides a different customization experience from a fixed panel pattern: the garment itself becomes part of the measuring process. Keep in mind that changing materials still changes fabric behavior, even when you can physically check the fit.
Spaced Berry Rows Keep Texture From Taking Over
Raised berry details create focal lines without requiring the entire sweater to be highly dimensional. If you adapt the placement, look at the sweater as a complete composition rather than deciding one row at a time. Concentrating texture near several neighboring areas can make one portion appear heavier than the rest even when the garment measurements remain unchanged.
Try-On Sizing Is Most Valuable Before Problems Grow
Trying on the sweater is not simply a final confirmation. Use available checkpoints while changes are still manageable. Look at body width, shoulder position, underarm comfort, and overall length rather than asking only whether the sweater physically fits. A garment can have enough circumference and still hang differently from the silhouette you intended.
Yarn Substitution Still Needs a Fabric Test
The tutorial’s adaptable approach does not make all yarns interchangeable. If you choose a new material, first check whether the berry texture remains visible, whether the base fabric moves comfortably, and whether the collar has enough recovery. A successful substitution needs both compatible measurements and compatible behavior.
Original Tutorial and Creator Credit
Creator: Cathérine Crochet
10. Crochet Almondridge Stitch Turtleneck Sweater
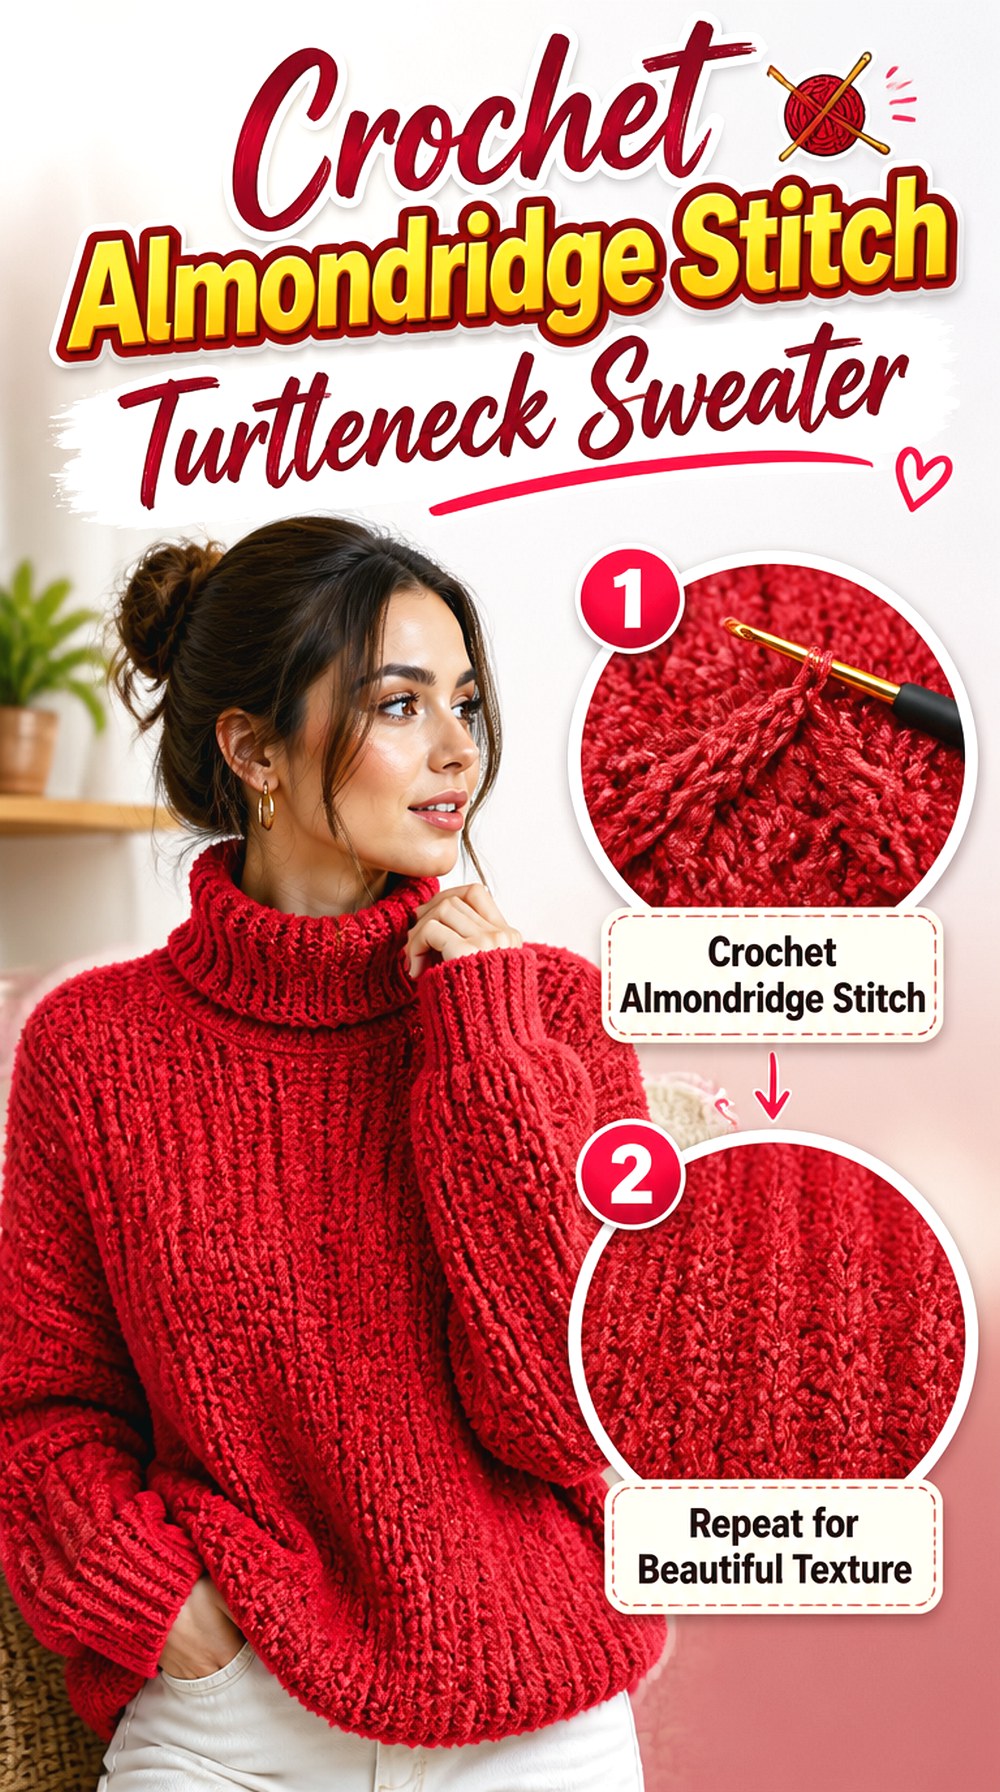
Mary K’s Designs centers this sweater around the Almondridge stitch, giving the surface a different personality from standard ribbing, herringbone, or cables. The creator’s tutorial is explicitly presented as a turtleneck sweater using that stitch, so it is a strong option for readers who want the body texture to remain visible even in a single-color garment.
When texture is the reason you choose a project, swatching becomes a design decision rather than a formality. Look at the sample from several feet away as well as up close. Some yarns make relief and shadow highly visible; others soften the stitch pattern enough that the finished sweater reads almost like a plain surface.
Give the Almondridge Texture Enough Visual Space
A highly variegated yarn can compete with a textured stitch because both color and surface changes demand attention. That does not make variegated yarn wrong, but preview the combination before purchasing sweater quantities. If the stitch pattern is the feature you want people to notice first, a quieter color treatment can let the texture carry more of the design.
Check the Lower-Hem Position Before Altering Length
Texture changes how a sweater looks proportionally, so adding or removing body length can affect more than coverage. Before extending the hem, hold or try the garment at the proposed length and consider where the textured body meets your waist or hips. A change that seems small on a flat panel can noticeably alter the finished silhouette.
Swatch the Texture, Not Just a Plain Substitute Stitch
A plain gauge square cannot fully tell you how a dimensional stitch will behave. Work the actual relevant texture in your test fabric so you can evaluate stitch definition, width, vertical growth, and drape together. That is particularly important when changing fiber or hook because the decorative stitch is one of the central reasons to choose this sweater.
Original Tutorial and Creator Credit
Creator: Mary K’s Designs
11. Crochet Raglan Turtleneck Jumper
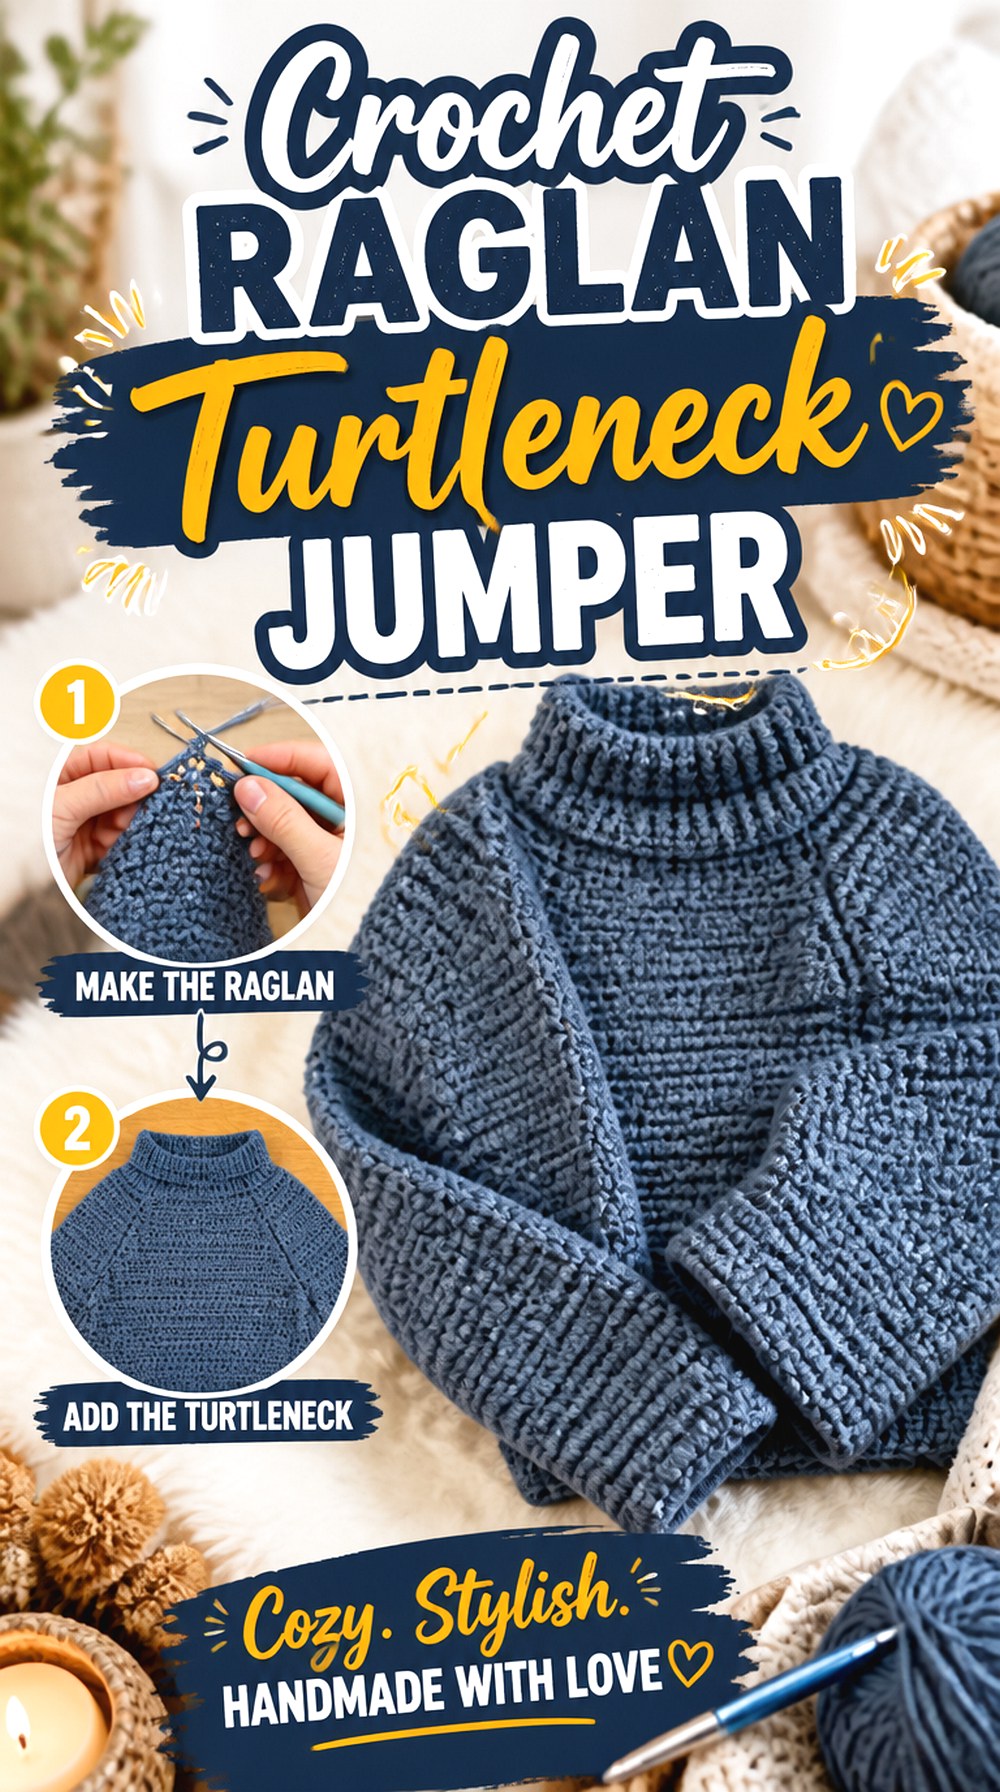
divyne crochet uses raglan construction for this turtleneck jumper, beginning at the collar and developing the upper garment before moving into the body and sleeves. The tutorial’s sections cover the collar, raglan shaping, body, sleeves, and ribbing.
That construction feels very different from sewing several flat panels together. Raglan lines distribute upper-body increases around the shoulders, creating a recognizable diagonal transition from neck to underarm. This route is especially worth considering if you like to see the upper-body shape develop as one connected piece and want fitting decisions to happen earlier in the project.
Collar-First Construction Makes Neck Comfort the First Decision
Because this sweater begins near the neck, evaluate that area before substantial work is added below it. The opening and collar should suit the way you intend to pull on and wear the finished jumper. If you modify the starting circumference without considering later raglan shaping, the change can influence more than the neckline.
Raglan Lines Organize the Upper-Body Shape
Raglan construction spreads shaping along defined lines rather than relying on a separate set-in sleeve seam. Watch where those lines sit relative to your shoulders as the upper section grows. If they are being pulled far forward or backward during a try-on, evaluate the fit before proceeding much farther into the torso.
Check Underarm Room Before Committing to Body Length
Once the upper body has developed enough for a meaningful fit check, pay attention to movement as well as circumference. Raise and lower your arms and look for uncomfortable pulling around the underarm area. Correcting a major upper-body issue early is preferable to finishing a long body and discovering that the sweater only feels comfortable when your arms remain still.
Original Tutorial and Creator Credit
Creator: divyne crochet
12. Crochet Granny Square Turtleneck Sweater
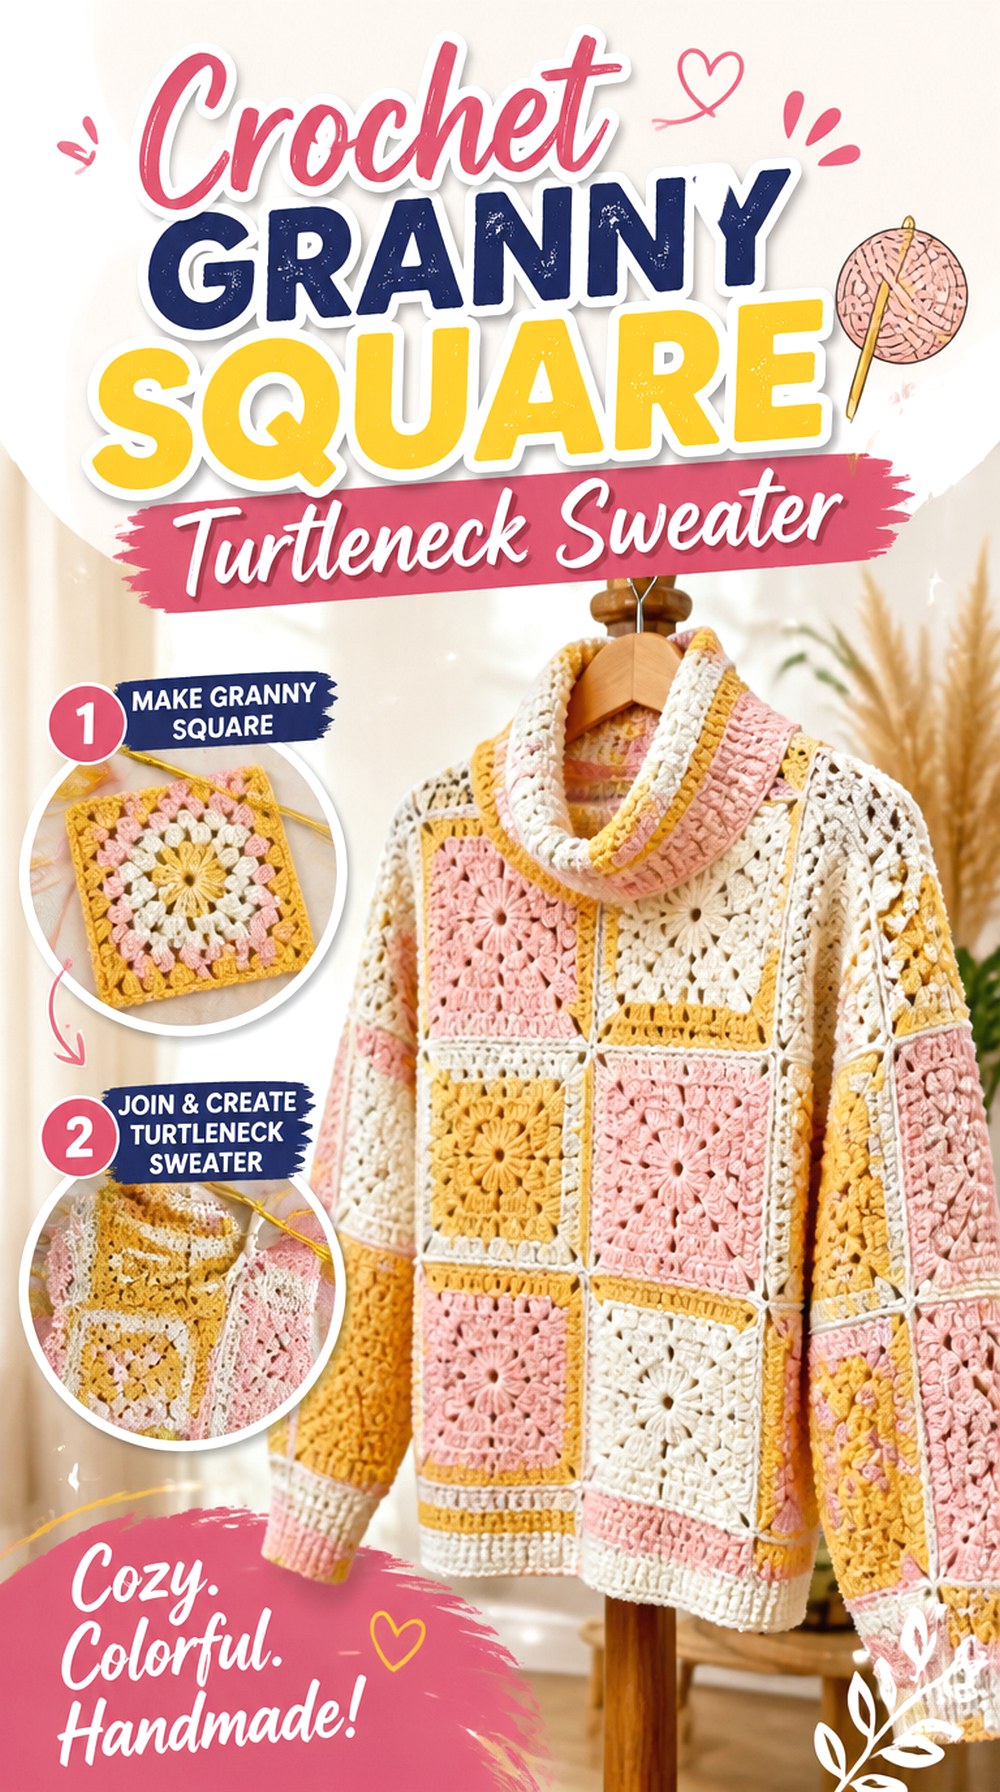
Beautiful Crochet Stuff combines two strong visual elements that do not often appear together: a granny-square garment structure and a high turtleneck neckline. The creator’s tutorial is explicitly presented as a granny-square sweater or pullover with a turtleneck, making this one of the most graphic options in the collection.
This project suits readers who want motif placement to remain visible instead of disappearing into an all-over stitch pattern. The main planning challenge is not simply making attractive squares; the blocked motifs, joins, body grid, shoulder area, sleeves, and collar all need to function as one wearable. Motif-based garments therefore reward layout planning before final joining.
Block the Motifs Before You Trust the Garment Grid
Two squares that look similar straight off the hook can settle into different dimensions after blocking. Compare the blocked motifs before assembling the main garment. This is especially important if several people made the squares, you changed colors or yarn types, or your tension shifted during a long batch of motifs.
Square Placement Controls Graphics and Fit at the Same Time
Motif orientation is a visual choice, but every placement also contributes to real panel dimensions. Lay out the front, back, and sleeve concepts before joining so you can see both color balance and physical span. Moving a statement square from one area to another may improve the design visually while also changing where seams or joins fall against the body.
Motif Math Is Only an Early Planning Estimate
As a non-pattern-specific example, if one blocked square measures 5 inches wide, four squares placed side by side span about 20 inches before you account for joining, edging, and intended garment ease. That simple multiplication is useful for planning, but it is not a finished-size formula. Use your actual blocked motifs and the tutorial’s construction to determine what the garment needs.
Original Tutorial and Creator Credit
Creator: Beautiful Crochet Stuff
13. Crochet Full Rib Turtleneck Sweater
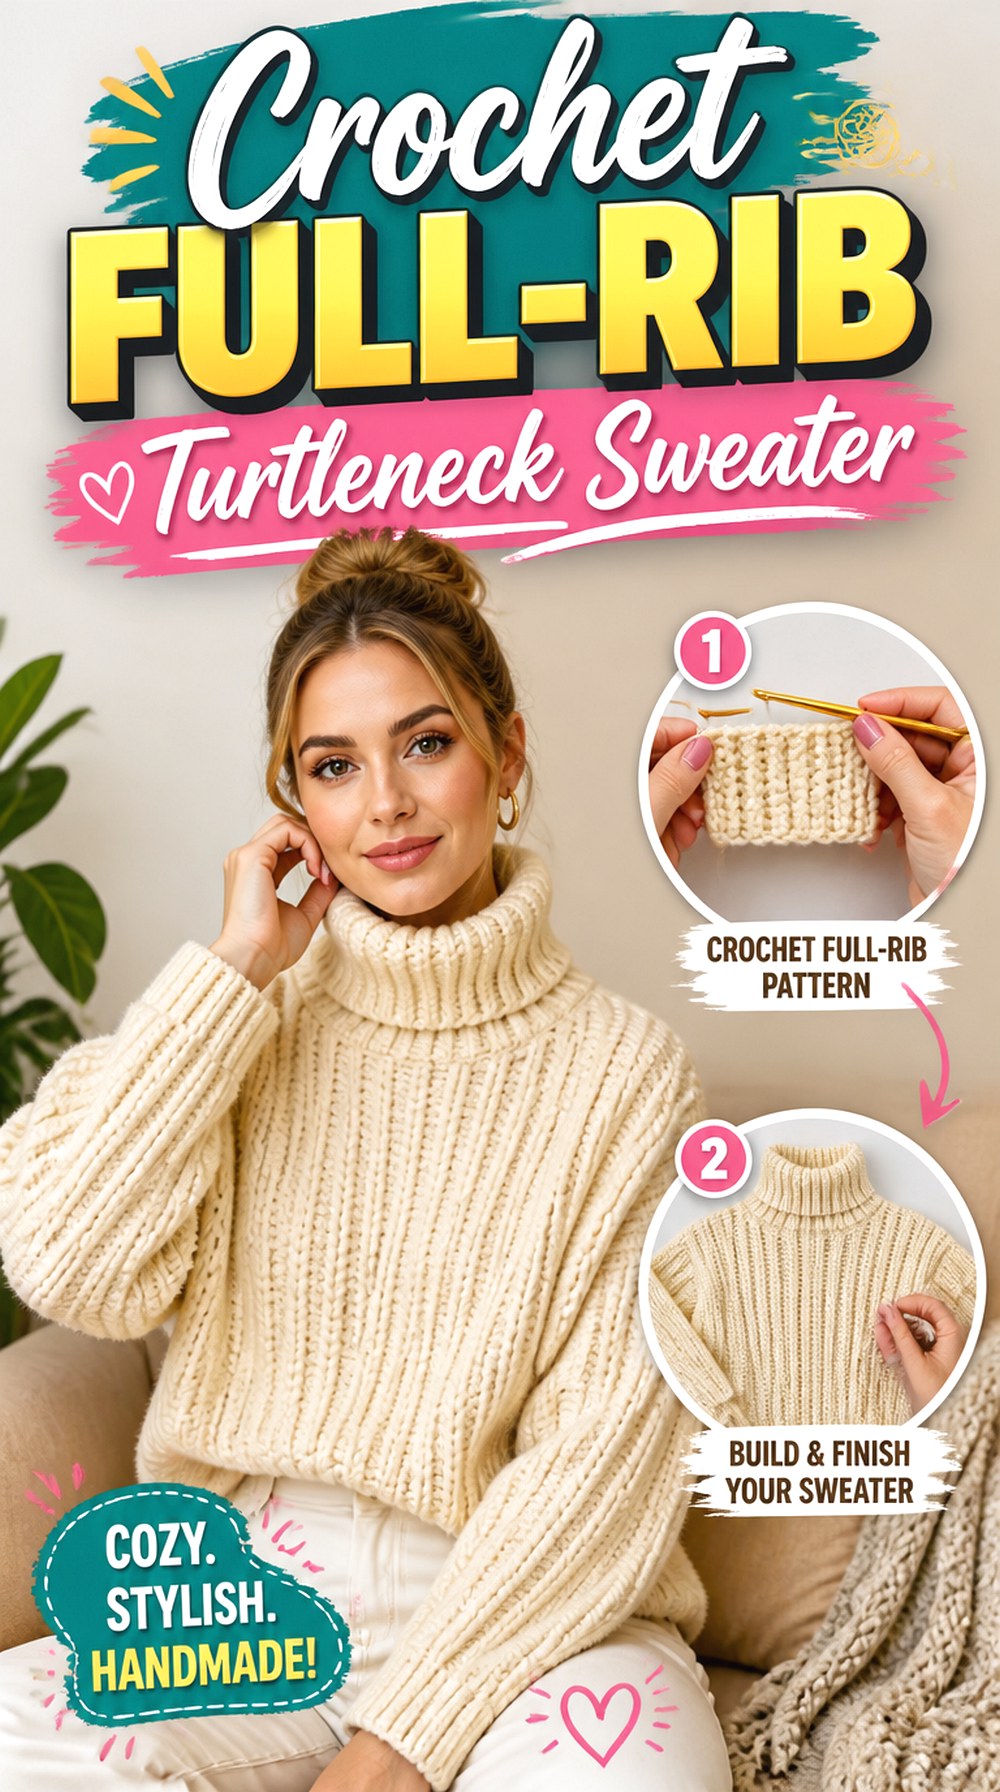
Chenda DIY’s sweater makes ribbing the dominant visual language across the garment. The tutorial separates the project into front and back portions, sleeves, connecting, and the turtleneck, which provides a clear component-based route to the finished sweater.
Compared with the softer ribbed Alona version, this idea is useful when you want the repeated linear texture itself to define the silhouette. Ribbed crochet can visually lengthen a garment and accommodate movement, but its stretch also means resting measurements need context. Keep front and back pieces consistent and evaluate the final fabric under the same conditions each time you measure.
Vertical Ribbing Changes Both Stretch and Visual Length
Strong rib lines guide the eye along the sweater and can make a relatively simple shape feel more structured. At the same time, the fabric may stretch differently along and across those lines. When checking dimensions, place the garment on a flat surface without pulling it and use the same measuring method each time so comparisons remain meaningful.
Pair the Front and Back Before Assembly
Before connecting the main pieces, compare their relevant widths and lengths. Ribbed fabric can contract enough to hide a small mismatch when pieces are casually stacked. Align the major edges without stretching them, then investigate any significant difference before seaming rather than forcing one panel to match the other.
Check the Collar While Finishing Is Still Reversible
The tutorial adds the turtleneck after the main components are connected. That is a useful moment to verify the neck opening before building substantial height. Try the garment carefully and decide whether the opening and base of the collar feel right first; a beautifully ribbed tall neck will not compensate for a base circumference that is uncomfortable.
Original Tutorial and Creator Credit
Creator: Chenda DIY
14. Crochet Oversized Border Detail Turtleneck
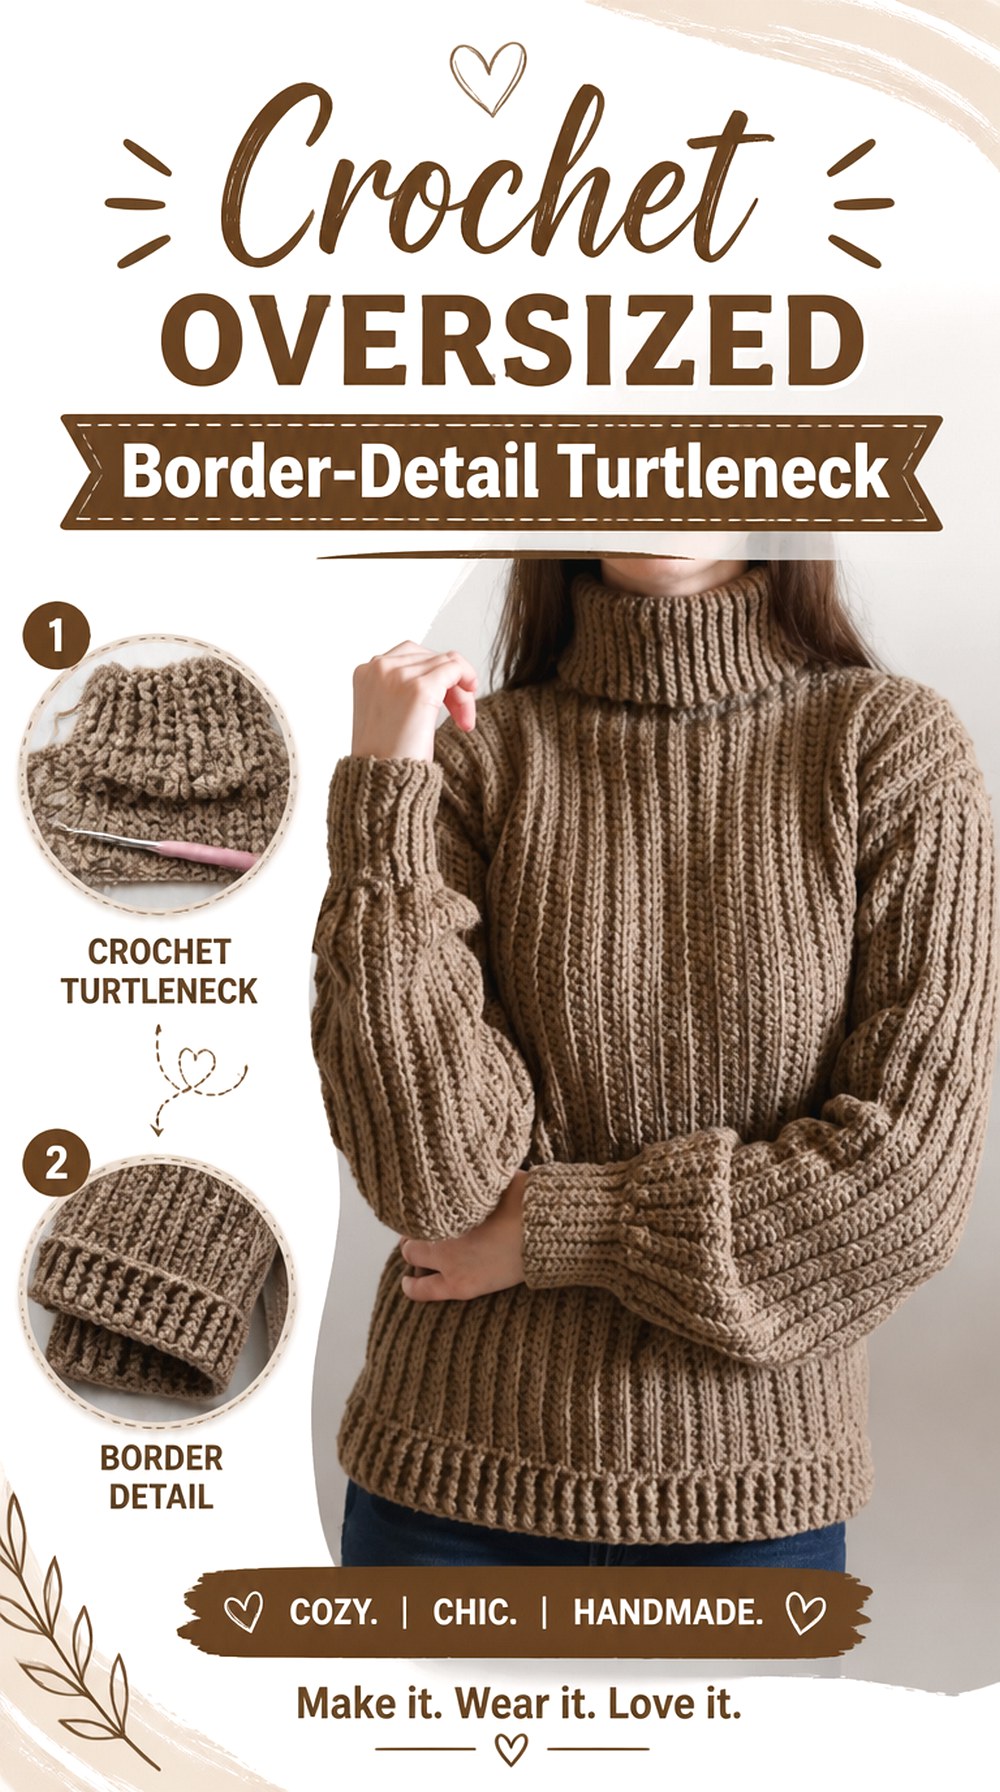
Yarn Cakes, LLC presents an oversized turtleneck sweater tutorial with a roomy pullover silhouette and strongly defined edging. The video demonstrates a small sample size, while the creator’s broader written pattern support covers additional sizes, so readers should distinguish between what the free video demonstrates and what requires separate pattern information.
This sweater is a useful alternative to the cable oversized design because the visual emphasis comes from proportion and borders rather than raised cables. It works particularly well as inspiration for someone who wants an intentionally roomy body but still prefers cuffs, hem, and neckline to look controlled.
Oversized Still Needs a Target Measurement
Adding width indiscriminately does not guarantee a balanced oversized fit. Decide where you actually want the extra ease: across the torso, at the dropped shoulder, through the sleeves, or in several areas together. Compare a well-fitting oversized sweater you already own so that “roomy” becomes a measurable target instead of an abstract instruction.
Defined Borders Can Stabilize a Roomy Body
A substantial hem, cuff, or collar gives the eye a clear boundary around a loose sweater. It can also behave differently from the main fabric if its stitch structure is denser. When substituting yarn, check whether the border contracts excessively or becomes too rigid relative to the body; the goal is definition without an unintended squeeze.
Know What the Video Actually Demonstrates
The tutorial itself demonstrates a particular size, while additional sizing information is associated with the separate written pattern. If you need another size, confirm exactly which measurements and instructions are available from the creator before beginning. Do not scale a sweater merely by guessing at extra rows or stitches from the appearance of the sample.
Original Tutorial and Creator Credit
Creator: Yarn Cakes, LLC
15. Crochet Bobble Yoke Turtleneck Sweater
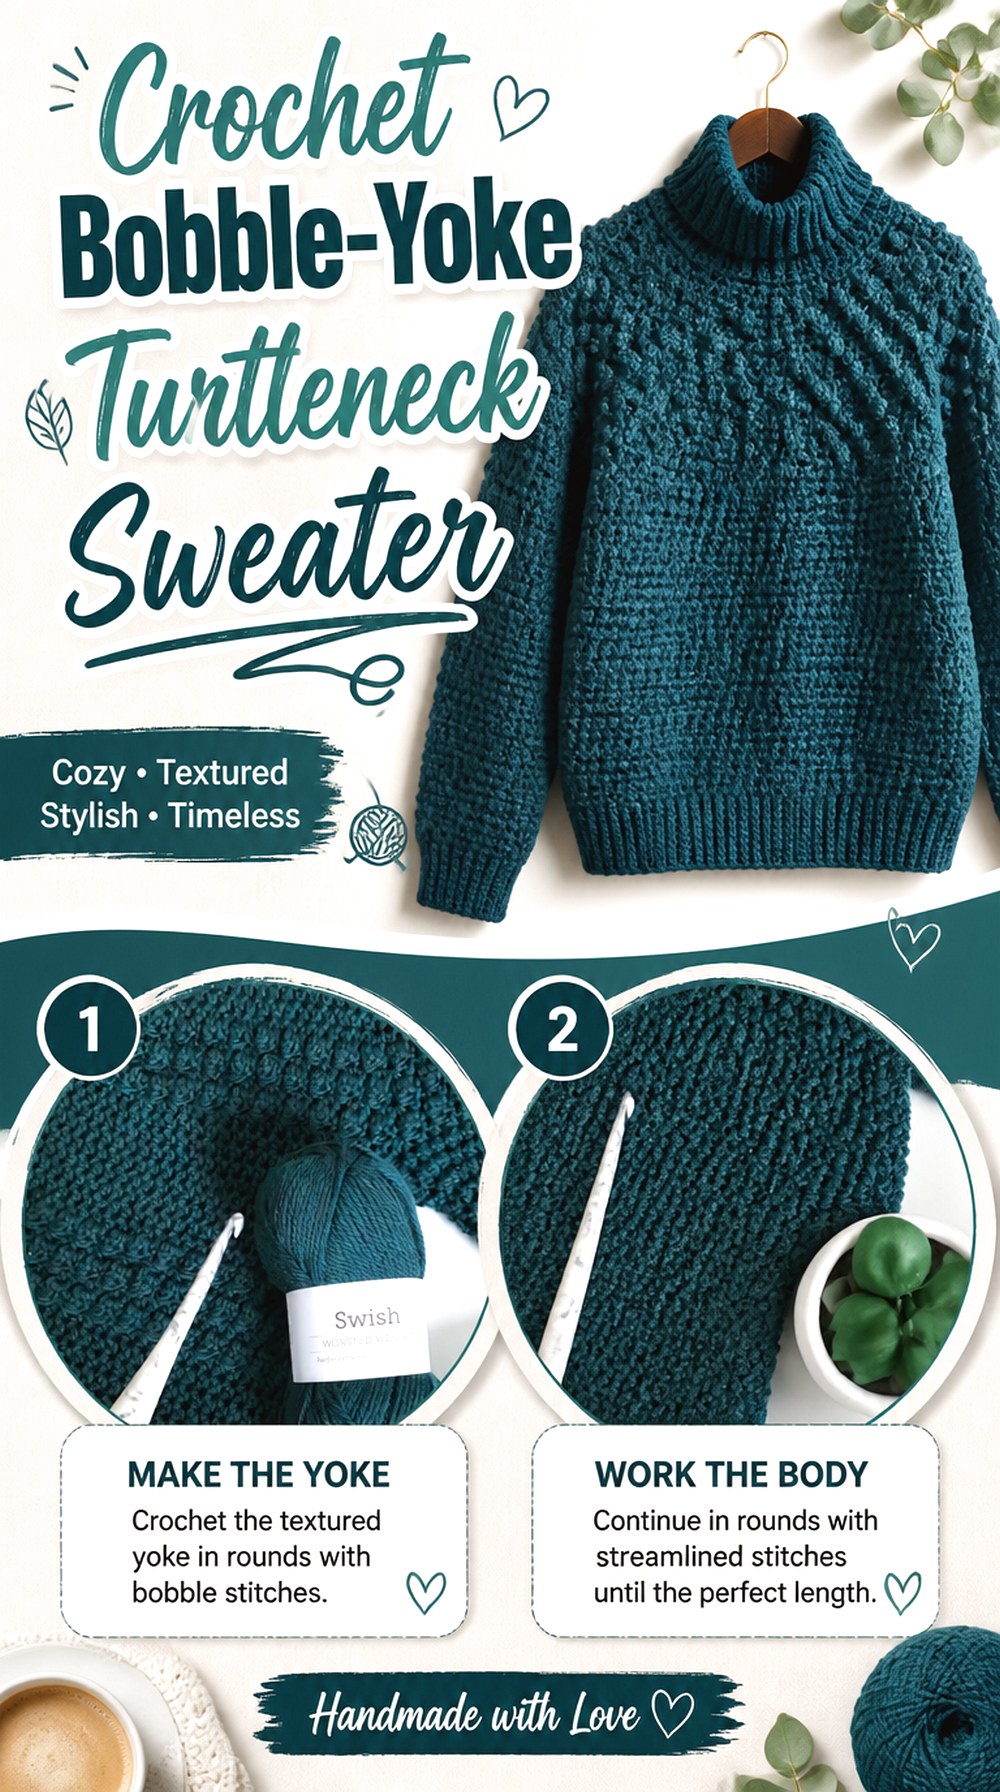
MJ’s Off The Hook Designs’ Cranberry Biscotti sweater is worked from the top down with a circular yoke and uses small bobble details across the garment. The designer’s current project page identifies the construction as top-down circular-yoke and provides a broad written size range, while the YouTube tutorial demonstrates the sweater construction.
This gives the collection a final option that differs substantially from flat panels, granny squares, and diagonal raglan shaping. The yoke spreads growth around the upper body, while the bobbles create texture without relying on large cables. It is particularly appealing if you want a traditional pullover outline with noticeable surface detail.
A Circular Yoke Distributes Shaping Around the Shoulders
Instead of building separate shoulder corners or diagonal raglan lines, circular-yoke construction expands around the upper body. Use appropriate try-on opportunities to observe how the yoke settles across the shoulders and upper chest. If it is developing unwanted rippling or pulling, investigate that before extending the body because later length does not correct an upper-yoke fit problem.
Bobbles Add Texture and Localized Yarn Weight
Small raised motifs may look delicate individually, but repeated across a sweater they contribute extra fabric and visual density. Swatch the bobble treatment with your intended yarn if substituting materials. A very soft, fuzzy yarn can mute the definition, while a heavier or firmer substitute may make the raised areas feel more substantial than expected.
Top-Down Construction Makes Length Decisions More Visible
A top-down sweater lets you see the upper portion in its final orientation before the lower body is complete. That can make body-length decisions easier because you can judge where the hem would fall relative to an already established neckline and yoke. Keep the creator’s construction requirements intact rather than assuming every dimension can be altered independently.
Original Tutorial and Creator Credit
Creator: MJ’s Off The Hook Designs
Which Crochet Turtleneck Construction Should You Choose?
| If your priority is… | Strong options to compare | Main point to check |
|---|---|---|
| A familiar classic pullover | Classic Polo-Neck, Clean-Line Roll-Neck | Size information, collar comfort, and intended ease |
| Soft, plush volume | Fluffy Roll-Neck | Yarn bulk, collar thickness, and outerwear compatibility |
| Strong surface texture | Cable, Herringbone, Almondridge, Berry-Texture | Stitch definition, fabric weight, and drape |
| Flexible upper-body fitting | Raglan, Bobble-Yoke | Neck opening, shoulder development, and underarm room |
| Flat-piece construction | Paneled Ribbed-Edge, Soft Ribbed, Full-Rib | Matching panel dimensions and seam alignment |
| Bold graphic design | Granny Square Turtleneck | Blocked motif dimensions, placement, and joins |
| Deliberate oversized styling | Cable Turtleneck, Border-Detail Turtleneck | Where added ease is placed rather than simply adding width |
The largest decision is usually construction rather than decoration. If you enjoy measuring pieces on a table, paneled sweaters provide clear checkpoints. If you prefer seeing the upper fit develop while you work, raglan and top-down yoke options may be more appealing. Motif sweaters need more layout planning, while heavily textured sweaters make yarn choice particularly important.
Conclusion
These 15 crochet turtleneck sweater ideas cover much more than different stitch patterns. For soft volume, start with the fluffy roll-neck design. For strong texture, compare the cable, herringbone, Almondridge, berry, and bobble options. If construction is your priority, the paneled sweaters offer clear flat measurements, while the raglan and circular-yoke projects develop the upper body in a connected form. The granny-square version is the standout choice when motif placement should be part of the garment’s identity.
Whichever direction you choose, compare the neckline, intended ease, fabric behavior, and construction style before buying sweater quantities of yarn. Use the original tutorials near each idea for the creators’ exact construction details and any project-specific sizing information.
Frequently Asked Questions
How high should a crochet turtleneck collar be?
There is no universal ideal height. A collar can stand upright, fold once, or create a softer roll depending on its height, circumference, yarn, and stitch structure. Compare the tutorial’s finished neckline with a sweater you already find comfortable. If modifying the height, also consider fabric thickness because a bulky material becomes much more substantial when several layers gather around the neck.
What yarn works best for a crochet turtleneck sweater?
Choose yarn according to the fabric the project needs rather than assuming one fiber or weight is universally best. Cables and dimensional textures benefit from enough definition to remain visible, while a fluffy roll neck deliberately uses softness and halo. For any substitution, compare gauge, drape, stretch, recovery, and collar thickness in a useful swatch before committing to the full garment.
How can I keep a crochet turtleneck from feeling too tight?
Pay attention to the opening circumference and fabric stretch before adding the full collar height. If the neckline base already feels restrictive, making the collar taller does not solve the problem. Check the tutorial’s intended construction and any sizing guidance before changing it. Yarn substitutions also matter because two fabrics with similar flat measurements can have very different stretch and recovery.
Is a top-down turtleneck easier to customize than a paneled sweater?
It depends on how you prefer to make fit decisions. Top-down raglan or circular-yoke sweaters can offer useful try-on opportunities while the body is developing. Paneled sweaters make it easier to measure and compare separate pieces flat before assembly. Neither method automatically guarantees a better fit; choose the process that gives you the clearest checkpoints for the adjustments you expect to make.
Can I make a crochet turtleneck sweater oversized by choosing a larger size?
Sometimes a larger size can create more ease, but it may enlarge several areas at once, including shoulders, sleeves, and neckline. That is not always the same as intentionally designed oversized proportions. First decide where you want the extra room, then review the creator’s sizing guidance and finished measurements when available. A favorite oversized garment can provide a useful comparison for your target dimensions.
Should I block sweater pieces before assembling them?
Follow the creator’s project-specific instructions, but blocking can be particularly useful when individual pieces or granny-square motifs need to match before joining. Compare dimensions consistently and avoid assuming blocking will repair a major size difference. For motif garments, blocked square size is especially useful for planning the final grid because small discrepancies can accumulate across several joined motifs.