Crochet bicycle seat covers can change the look of a plain saddle while also giving readers a small, shaped project with a clear purpose. This collection focuses on covers that vary by fit, surface style, saddle shape, and the way the finished piece sits around the seat.
Some options are closer to classic fitted bike saddle covers, while others lean into granny-style color, beach-bike usefulness, or padded e-bike seating. Because bike seats are not all the same size, each tutorial should be checked carefully against the actual saddle before choosing yarn or starting the project.
Quick List
- Crochet All-Size Fitted Bicycle Saddle Cover
- Crochet Compact Everyday Bicycle Seat Cover
- Crochet Measured Bike Saddle Cover
- Crochet Quick Granny-Style Bicycle Seat Cover
- Crochet Beach-Ride Bicycle Saddle Cover
- Crochet Decorative Pattern Bicycle Seat Cover
- Crochet Four-Wheel E-Bike Seat Cover
- Crochet Freehand Padded E-Bike Seat Cover
Why These Crochet Bicycle Seat Covers Are Worth Making
A bicycle seat cover is a small project, but it still asks for practical decisions. The cover needs to match the shape of the saddle, sit smoothly around the front and back, and avoid loose edges that may shift during use. Color also matters more than it might on a flat item because the cover is visible from several angles on the bike.
These ideas are useful for comparing fitted covers, decorative covers, and larger e-bike-style seat covers. Readers can look for the shape closest to their own saddle, then check the creator’s material list, attachment method, and finished view before committing.
1. Crochet All Size Fitted Bicycle Saddle Cover

A fitted saddle cover is the most direct option for readers who want the crochet piece to follow the shape of the bicycle seat. This one is useful because the source is framed around making the cover for different seat sizes, so the focus is on adapting the general shape rather than copying one fixed saddle.
The finished look appears neat and practical, with the cover wrapping around the saddle instead of sitting like a loose pad. It stands apart from the more decorative choices because fit is the main feature.
Check the Seat Shape First
A bicycle saddle can be narrow, wide, rounded, or sharply tapered at the front. Before choosing this idea, readers should compare their seat shape with the finished cover shown in the tutorial. A fitted cover works best when the front point, side curve, and back width are all considered before the yarn is chosen.
Confirm the Sizing Method
Because this project is presented as suitable for more than one size, the sizing guidance is the key detail to watch. Readers should look for how the creator checks the cover against the saddle as the shape develops. The exact counts should stay with the original tutorial, but the measuring habit is worth noting.
Think About Shape Retention
A cover that fits closely should not rely only on stretch. Readers may want to check how the lower edge is finished and how the cover grips the underside of the seat. If the source does not clearly confirm long-term shape retention, the finished cover should be treated as a decorative bike accessory rather than a guaranteed performance item.
Creator: AramarCreaciones
2. Crochet Compact Everyday Bicycle Seat Cover

This compact bicycle seat cover keeps the focus on a straightforward saddle shape. It may suit readers who want a smaller cover that looks controlled rather than oversized. The finished item appears to cover the main seat area without adding a lot of extra bulk around the sides.
Compared with the all-size option, this idea feels more like a simple everyday cover. It is a good project to review when the goal is a neat bicycle accessory that does not compete with the whole bike frame.
Look Closely at the Top Edge
The top edge matters because it is the part most visible when the bike is parked. A clean edge can make the cover look intentional instead of improvised. Readers should watch how the top surface is shaped and check whether the final edge sits flat across the saddle without curling or pulling.
Check the Underside Finish
For a bicycle seat cover, the underside is just as important as the top. A loose lower edge may shift, while a tight lower edge may be hard to place over the saddle. Readers should check how the creator finishes the cover underneath and whether the fastening method is clearly shown before starting.
Review the Full Guide First
This type of small project can seem simple at a glance, but the shaping is what makes it fit. It is useful to watch the full guide before buying supplies so the reader can see where the cover widens, narrows, and closes around the seat. That preview helps prevent surprises later.
Creator: Sarifali creation
3. Crochet Measured Bike Saddle Cover
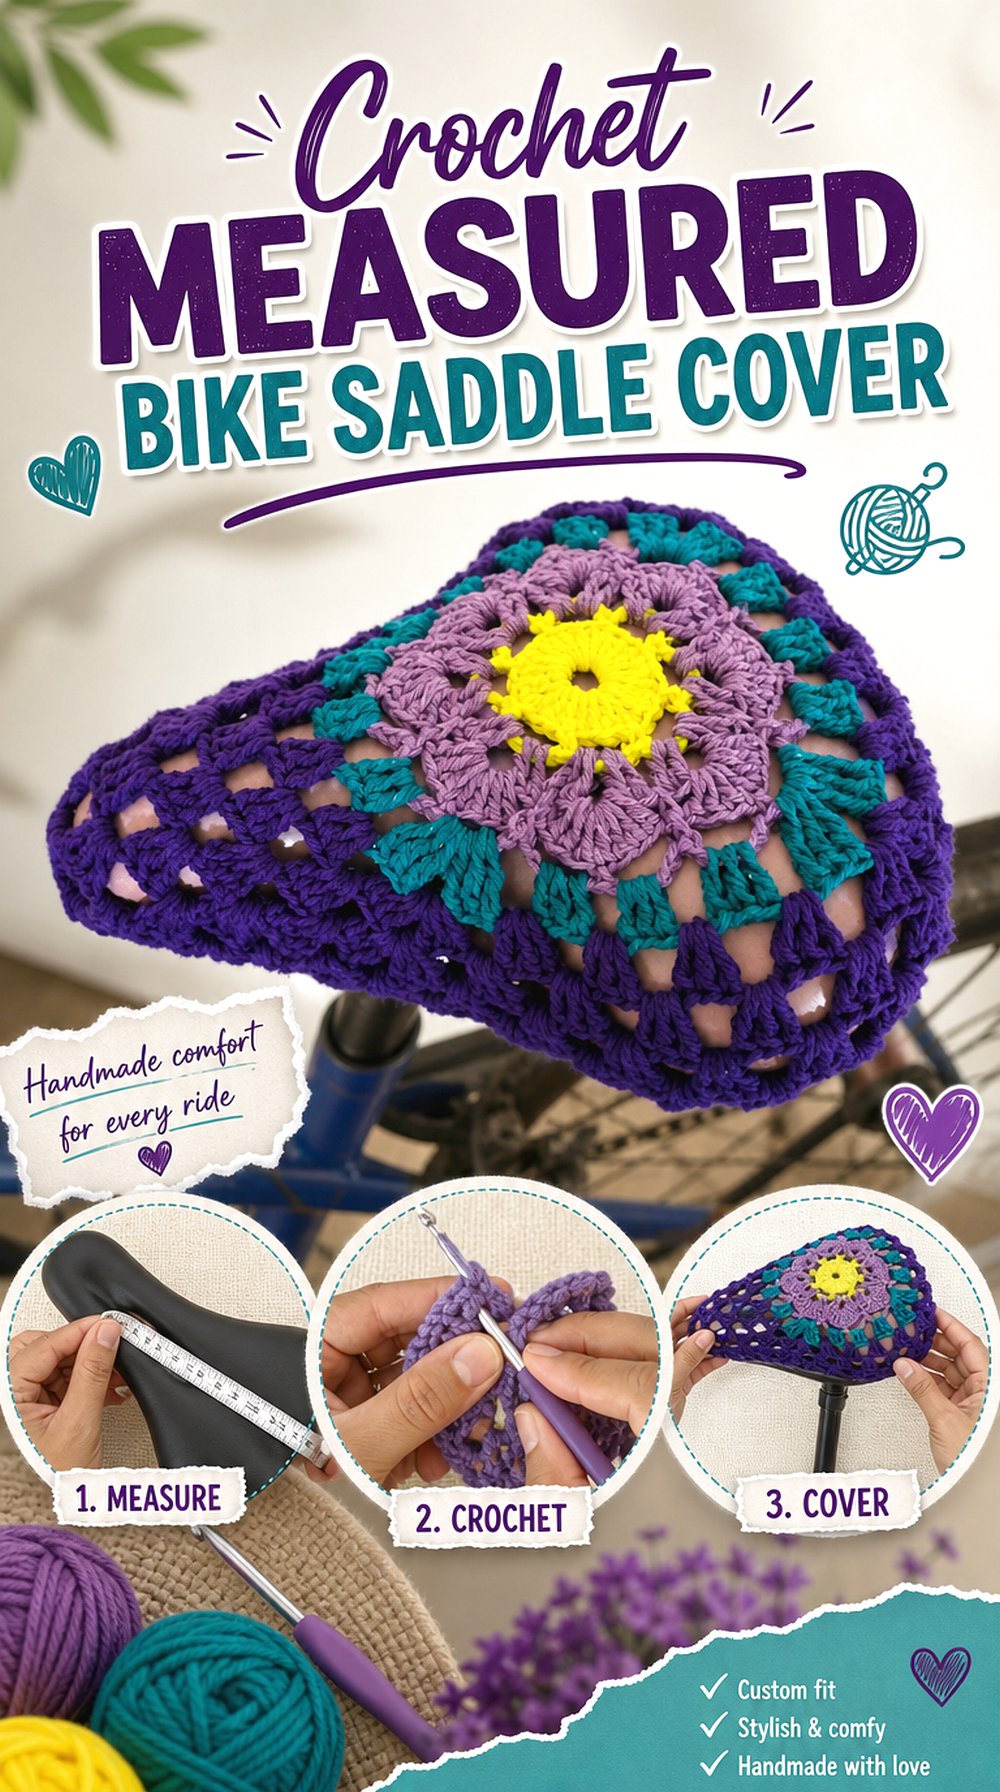
A measured bike saddle cover is helpful when readers want a clearer size reference before deciding whether a tutorial matches their own seat. This source describes a bicycle saddle cover with a stated size of 29 x 27 cm, which gives readers a concrete point to compare with their bike before beginning.
The finished cover has a practical shaped-saddle purpose rather than a purely decorative look. It differs from the more flexible all-size tutorial because the measurement gives the project a stronger starting frame.
Note the Important Measurements
The listed 29 x 27 cm size should be treated as a reference, not a promise that it fits every bike. Readers should measure the widest part and length of their own saddle first. If the bike seat is larger, smaller, or shaped differently, the tutorial may still be useful, but the fit should be reviewed carefully.
Compare the Shape as You Work
A measured cover can still change in appearance depending on tension and yarn choice. Readers should compare the developing shape to the saddle instead of waiting until the end. The most useful checkpoints are the narrow front, the widest back section, and the way the sides begin to wrap down.
Check What Is Included
Before starting, readers should see whether the source includes only the video demonstration or also written notes, material details, or extra guidance. A measured project is easier to follow when the maker can pause, compare, and record progress. If written support is not linked, simple personal notes may help.
Creator: Ponto Alto Crochê
4. Crochet Quick Granny Style Bicycle Seat Cover

A granny-style bicycle seat cover brings more pattern and color to the bike than a plain fitted cover. This idea works especially well for readers who want the saddle to look playful and handmade while still following a recognizable seat-cover shape.
The visible appeal comes from the familiar grouped crochet look, but the practical question is still fit. It is different from the measured option because the design character is stronger, and the final choice of color can change the whole mood of the bicycle.
Keep the Granny Detail Balanced
A granny-style look can become busy if every color fights for attention. Readers may want to choose a main color direction before starting so the saddle still looks neat from a distance. The crochet texture should support the seat shape, not hide it completely under too many competing color changes.
Check the Finished Dimensions
Even a quick-looking cover needs the right finished size. Readers should compare their saddle to the finished piece shown by the creator and confirm whether any size guidance is included. A cover that is too shallow may slip, while one that is too wide may bunch around the lower edge.
Watch the Corners and Curves
A bicycle saddle is not a true square, so the curved shaping deserves careful attention. Readers should slow down where the cover changes direction or begins to wrap around the seat. The original tutorial should be used for exact stitch counts and shaping details, especially around the pointed front.
Creator: SV ARTE SANA
5. Crochet Beach Ride Bicycle Saddle Cover

This beach-ride saddle cover idea is useful for readers who want a bicycle accessory with a seasonal reason behind it. The source frames the cover around returning from the beach, which makes the project feel connected to sun, parked bikes, and warm-weather use.
The cover still needs careful checking because crochet fabric is not automatically weatherproof or heat-safe. Its value is in the shaped handmade layer and bright bike style, not in any unsupported promise about protection.
Consider Where the Bike Is Parked
A beach or summer bike may sit in strong sun, sand, or damp air. Readers should think about where the bicycle is usually parked before choosing a yarn or leaving the cover outside. Unless the creator gives specific care and weather notes, the cover should be removed or checked regularly when conditions are rough.
Confirm the Attachment Style
For a cover used on an outdoor bike, attachment matters. Readers should look for how the lower edge grips the saddle and whether the cover can be removed when needed. A decorative cover should not shift around the seat or interfere with normal riding position.
Think About Cleaning
Beach use can mean sand, sunscreen, dust, or moisture. If the tutorial does not clearly state care instructions, readers should keep the yarn label and follow fiber-specific cleaning advice. It is better to plan for occasional cleaning before choosing a pale color or a yarn that may be difficult to care for.
Creator: @elangeldeabril
6. Crochet Decorative Pattern Bicycle Seat Cover
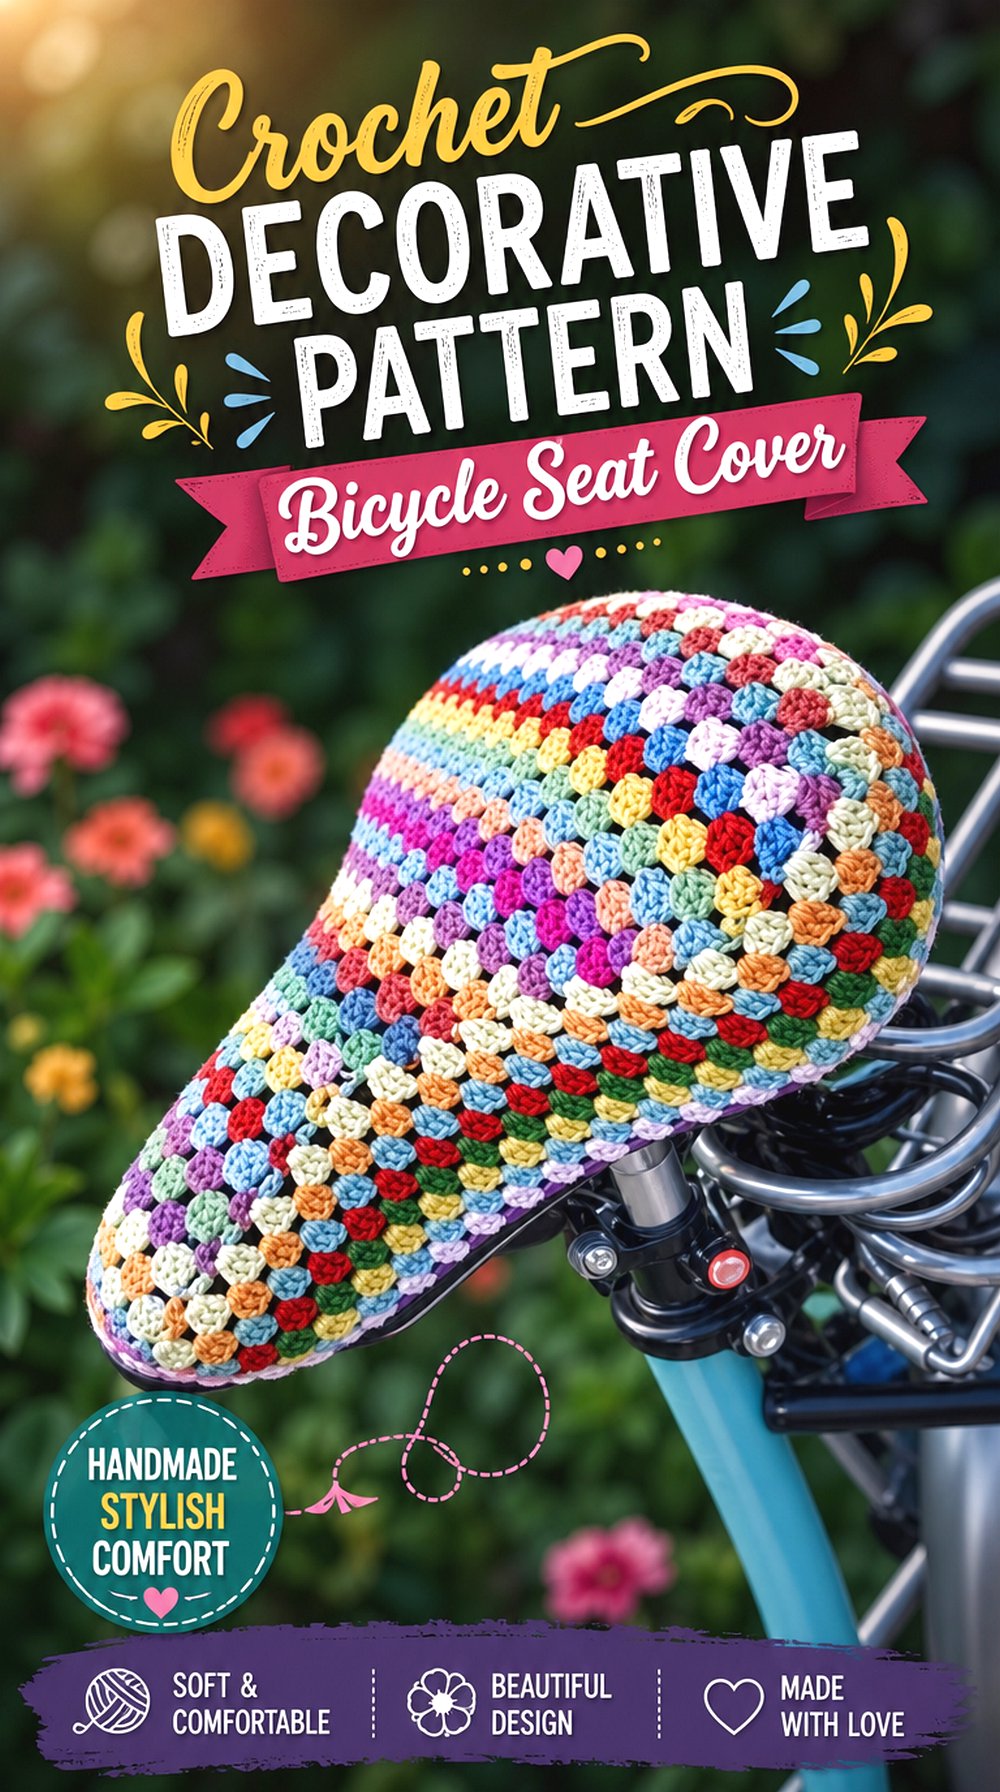
A decorative pattern bicycle seat cover is more about surface design than strict minimalism. This idea suits readers who want the saddle to become a visible part of the bike’s personality, especially on a simple cruiser, town bike, or display bike.
Because the available source is titled around a crochet bicycle seat cover pattern design, readers should pay extra attention to whether the video gives enough construction detail for their learning style. The finished look may inspire the direction, but the exact making should come from the original source.
Decide on the Visual Focus
With a decorative cover, the reader should decide whether the color, stitch texture, or overall saddle shape is the main focus. Too much contrast can make the seat look crowded. A limited palette can make the pattern easier to see while keeping the bicycle itself from looking overloaded.
Information to Confirm First
This is the kind of source where readers should confirm the level of instruction before relying on it. They should check whether the video shows the full process, the material list, the underside finish, and the final fit on a saddle. If any of those details are unclear, another tutorial may be easier to follow.
Look for a Final Fit View
A final fit view helps readers judge whether the cover hugs the seat or sits loosely on top. The best angle shows the side and underside, not only the top. That view is especially important with decorative designs because surface beauty does not always show how the cover stays in place.
Creator: World beauty
7. Crochet Four Wheel E Bike Seat Cover
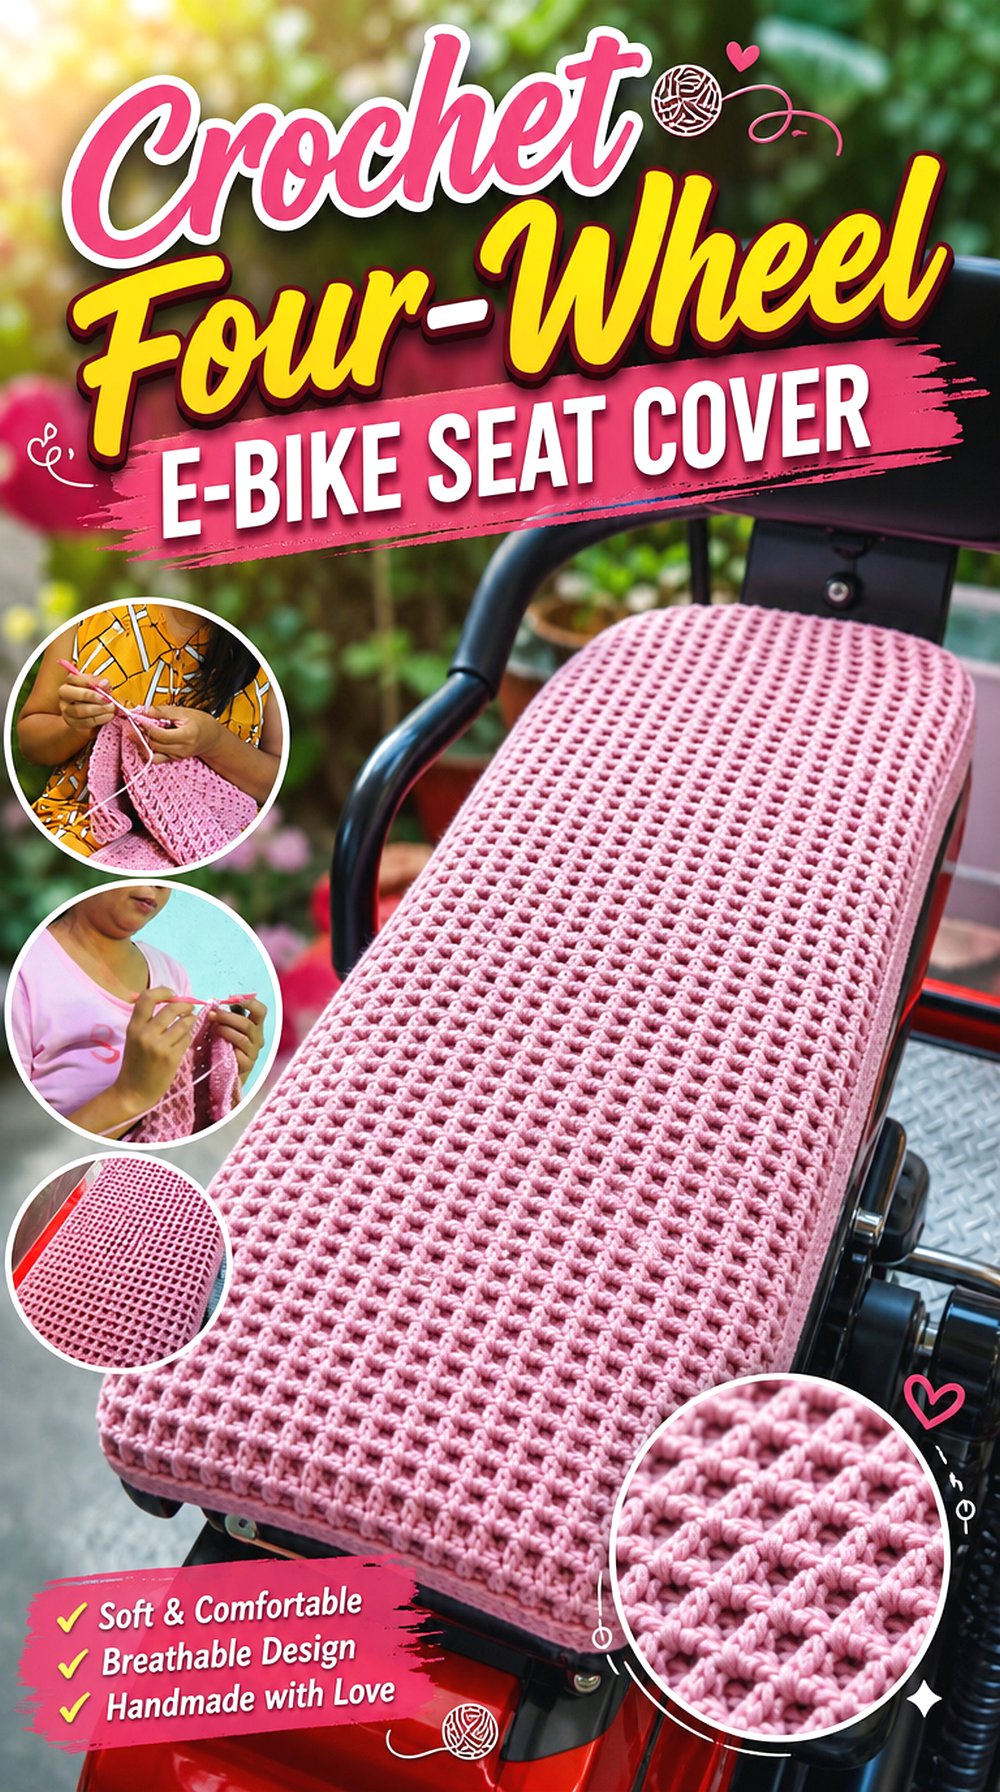
A four-wheel e-bike seat cover is different from a narrow bicycle saddle because the seat area may be wider and more cushion-like. This project is useful for readers comparing crochet covers for nonstandard bike seating, especially when a regular saddle tutorial does not match their setup.
The second-try framing suggests the maker worked toward a usable result, so readers should watch carefully for what changed and why. This idea belongs in the list because it expands the category beyond classic pointed saddles.
Compare It With Your Actual Seat
A four-wheel e-bike seat may not match a standard bicycle saddle. Readers should compare width, depth, corners, and seat thickness before using this as a guide. If the seat is flatter or wider, the project may be more relevant than a narrow saddle cover, but exact fit still depends on the original seat.
Watch for Problem-Solving Moments
Because this source follows a successful second attempt, readers can learn from the decision points as much as from the finished cover. It is useful to notice where the first approach may have needed changes, then use that awareness when checking their own seat shape and material choices.
Check Before Riding With It
A cover for a larger e-bike-style seat should be checked while the bike is still stationary. Readers should make sure the cover does not slide, bunch, or interfere with sitting position. The source should be followed for construction details, but each rider still needs to judge the finished fit on their own equipment.
Creator: Khayste Crafts
8. Crochet Freehand Padded E Bike Seat Cover

A freehand padded e-bike seat cover is the most flexible idea in this group. Instead of focusing on a classic pointed bicycle saddle, it leans toward a softer, larger seat-cover concept. That may help readers who want inspiration for a wider e-bike seat or a custom-shaped cover.
Because it is described as freehand, readers should not expect the same structure as a counted pattern. The value is in studying the finished concept, then checking whether the source gives enough detail for their own comfort level.
Understand the Freehand Format
A freehand project can be useful, but it asks more from the maker. Readers should check whether the creator explains decisions clearly or mostly shows the finished result. Anyone who prefers exact counts, written notes, and repeated measurements may want to pair this inspiration with a more structured tutorial.
Think About Padding Carefully
The word padded may sound appealing, but readers should avoid assuming comfort, safety, or long-distance support from crochet alone. The important point is to inspect what the creator actually includes and how the finished piece sits on the seat. Any extra thickness should be checked against normal riding position.
Test the Finished Cover Gently
Before using a padded cover for a full ride, readers should place it on the seat and check whether it moves under body weight. A cover that feels fine in the hand may behave differently on a bike. The original source should guide the making, while the final fit should be judged on the actual seat.
Creator: Made by Manda Mal
Conclusion
These crochet bicycle seat cover ideas range from fitted saddle covers to decorative granny-style pieces and larger e-bike seat covers. For a standard bicycle, the all-size, compact, measured, or granny-style options may be the closest match. For wider or unusual seating, the e-bike projects give a different shape to study.
The best choice depends on the actual saddle, how the lower edge is finished, and how much instruction the reader wants. Use the original tutorials once near the end of planning for exact construction details, material lists, and fit checks.
FAQs
How do I choose the right crochet bicycle seat cover idea?
Start by comparing the shape of your saddle with the finished cover in the tutorial. A narrow pointed saddle needs different shaping than a wide cruiser or e-bike seat. Check the length, widest point, underside depth, and final side view before choosing a project.
Should a crochet bicycle seat cover be tight or loose?
It should sit securely enough that it does not shift around the saddle, but it should not be so tight that it distorts the crochet fabric or becomes difficult to remove. The original tutorial’s attachment method is important, especially around the lower edge and narrow front.
Can I leave a crochet bike seat cover outside?
Only do that if the yarn, construction, and creator’s care notes support it. Crochet fabric can absorb moisture, collect dust, or change shape depending on fiber content. When care information is not clearly stated, remove the cover during rain or long outdoor storage.
What should I check before changing yarn?
Changing yarn can affect size, stretch, thickness, and how the cover grips the saddle. Before substituting, compare yarn weight, fiber behavior, and the finished measurements given by the creator. A thicker yarn may make the cover bulkier, while a stretchier yarn may change the fit.
Can I sell bicycle seat covers made from a YouTube tutorial?
Check the creator’s terms before selling finished items. Some creators allow personal use only, while others may allow limited selling with conditions. Look for license wording, video description notes, pinned comments, or linked pattern terms, and follow local business and safety requirements.